John Hornick — Chef’s Apprentice
Vacuum sealing is one of the best ways to keep food fresher longer. It’s simple, fast, and can save you money. Plus, it helps prevent freezer burn, reduces waste, and is perfect for sous vide cooking. If you’ve ever thrown away spoiled food or struggled with freezer burn, vacuum sealing might become your new best friend.
Many people think vacuum sealing is complicated. But honestly, it’s easy to add to your routine. Once you get the hang of it, it becomes second nature. Let’s dive into how vacuum sealing works, what tools you need, and how to do it right.
Why Vacuum Sealing Is Essential for Food Preservation
The Limitations of Grocery Store Packaging
When you buy food at the store, it usually comes in plastic wrap or butcher paper. These options aren’t vacuum sealed, which means they contain air, which is one of the enemies of food preservation. Air can cause food to spoil faster, turn brown, or develop freezer burn. Freezer burn happens when ice crystals form on the food’s surface, ruining texture and flavor.
Imagine putting a steak in the freezer in its original wrapper. It might look okay at first, but after a few months, it could be dried out and tough because of exposure to air. Vacuum sealing helps eliminate that air, preventing these problems.
Benefits of Vacuum Sealing
- Lasts longer in the freezer: Foods can stay good much longer.
- Maintains flavor and texture: Keeps food tasting fresher and looking appealing after thawing.
- Saves money: Buy in bulk, portion it out, and thaw as you need it.
- Ideal for sous vide cooking: Seal food to cook evenly in water baths.
- Reduces waste: Prevents spoilage of too-long refrigerated food.
Zippy Sucking
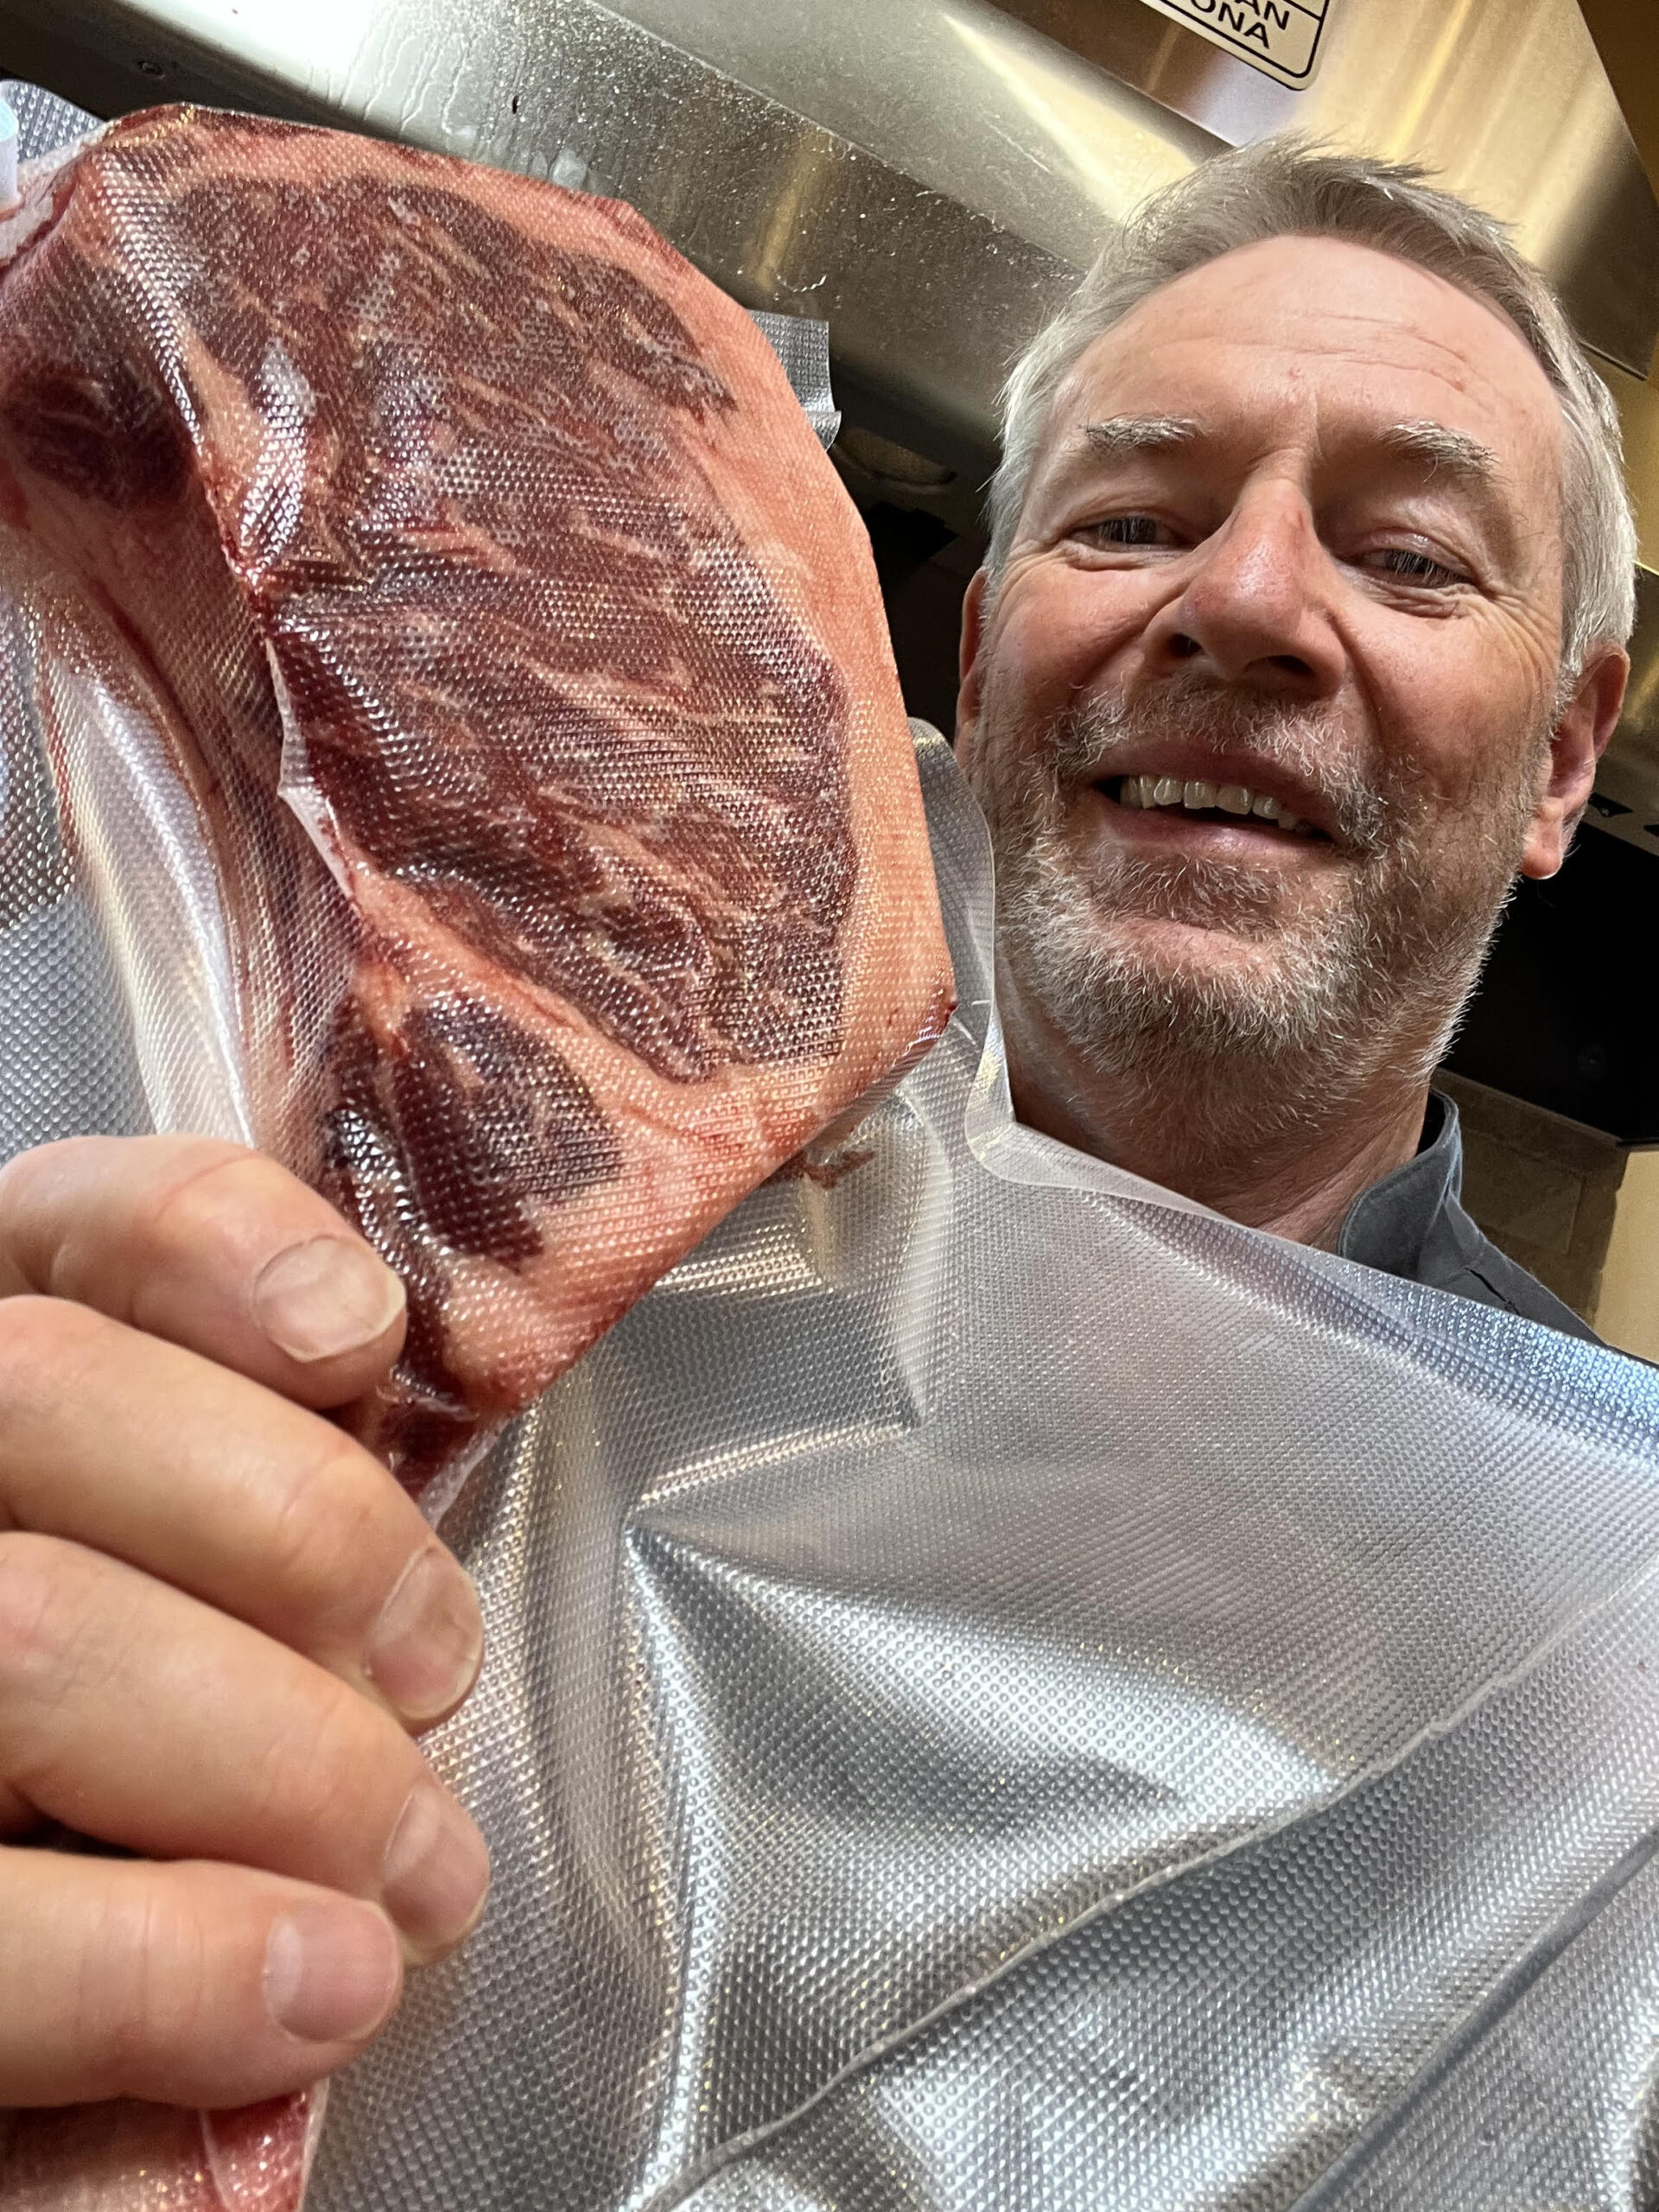
My wife’s grandmother and mother, and my wife, call vacuum sealing “zippy sucking”. I often do too. It’s a better name than “vacuum sealing” and makes it sound fun. I buy large packs of chicken breasts or thighs and large portions of New York Strip steak. Instead of freezing everything the way it came or cooking everything right away, I divide it into smaller portions, zippy suck in portions to serve 1, or 2, or 4 people, and freeze them. This saves me money by buying in bulk and the smaller portions are ready when I need them.
Equipment and Supplies Needed for Effective Vacuum Sealing
Essential Tools and Accessories
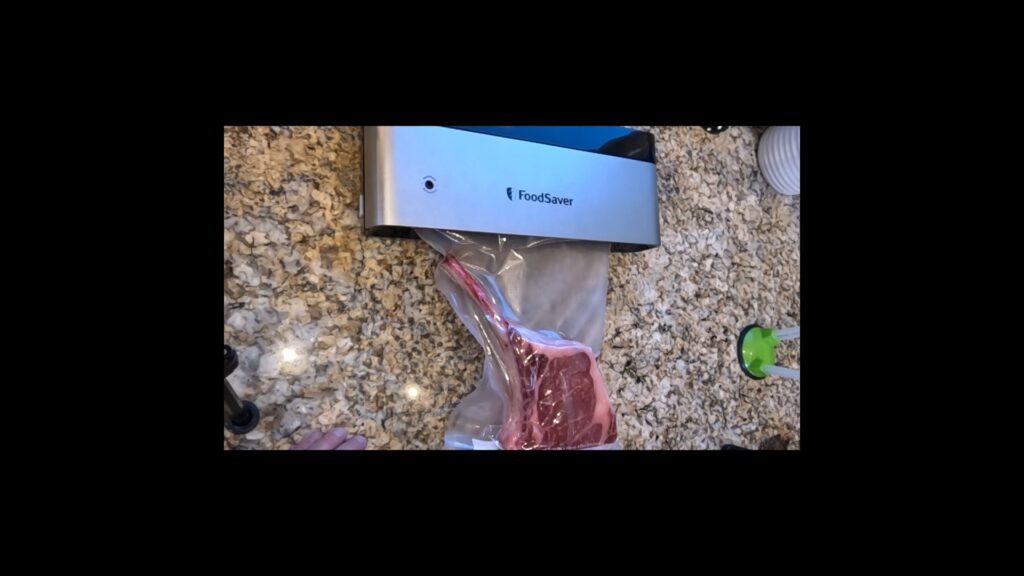
- Vacuum Sealer Machine: The key tool to remove air and seal vacuum bags. My favorite is the FoodSaver brand because of its reliability.
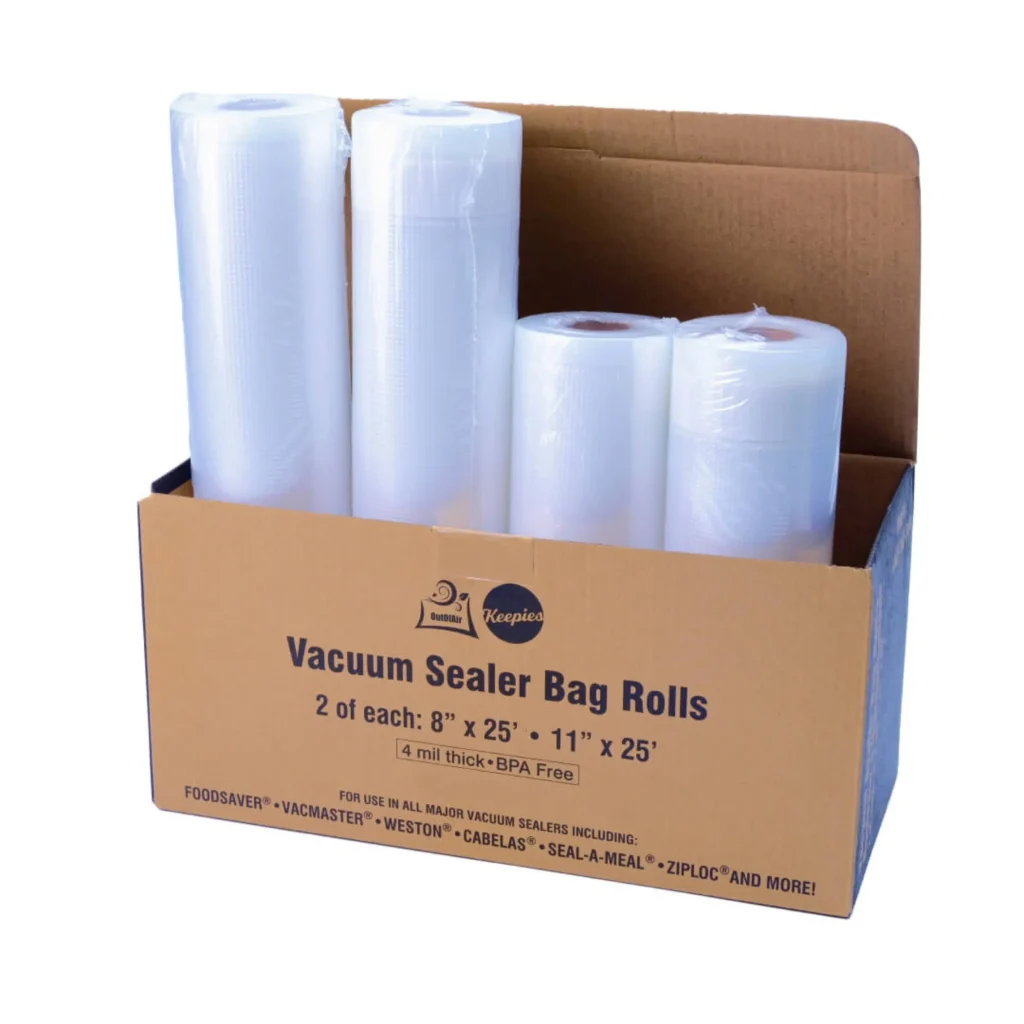
- Vacuum Bags: You can choose between pre-made bags or rolls.
- Bag Filler: A handy tool that holds the bag open, making it easier to put in food. I use the Jokari bag filler all the time. I say in many of my videos that this device should be awarded the Nobel Prize for bag filing technology, and if there is no such category, they should start one.

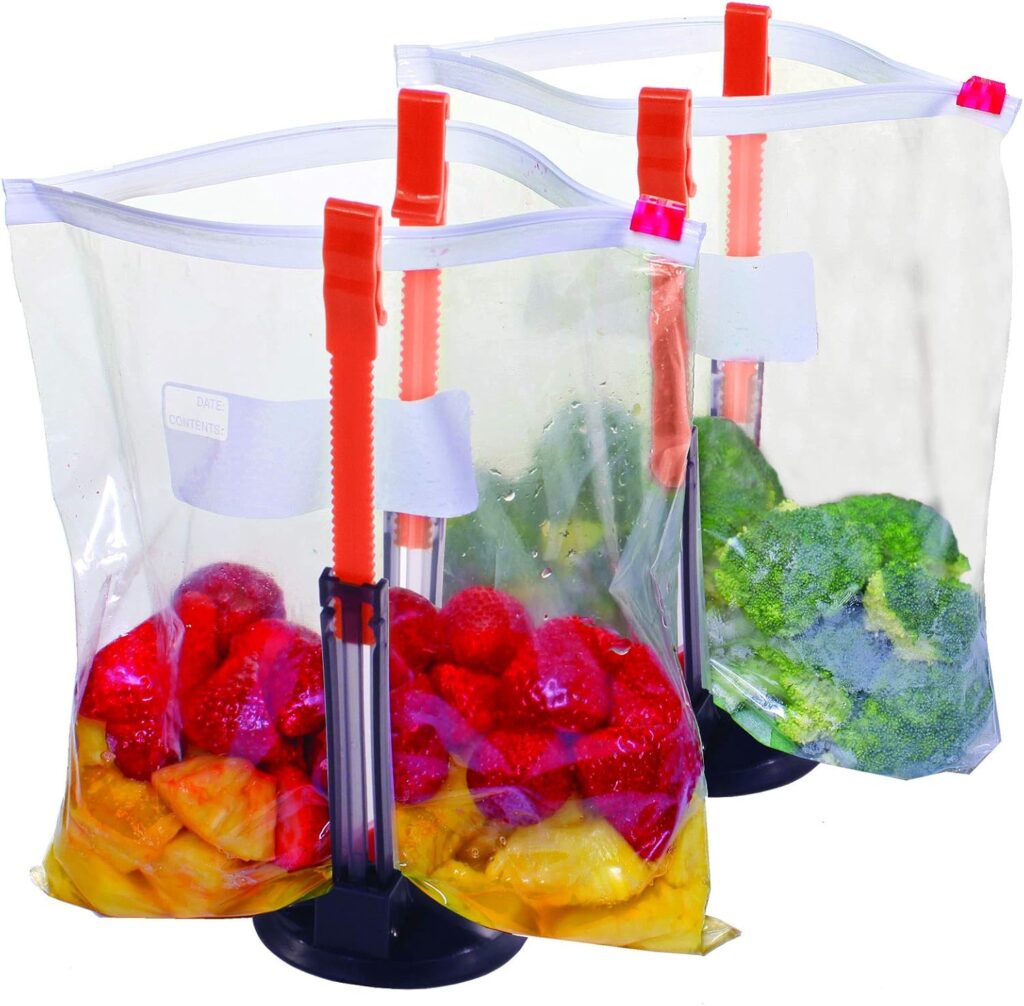
I’ve used many brands of vacuum bags. The OutOfAir brand bags are heavy duty, easy to write on, come in handy sizes, and have guide lines for cutting straight if you are making custom-sized bags from a roll.
Additional Tools for Convenience
- Tongs: Keep your hands clean and avoid contamination when handling food.
- Sharpie: For labeling bags with contents and date.
- Scissors: To cut bag rolls into the right size.
- Kitchen Scale: To weigh and portion food accurately.
How to Use Vacuum Sealing for Different Food Types
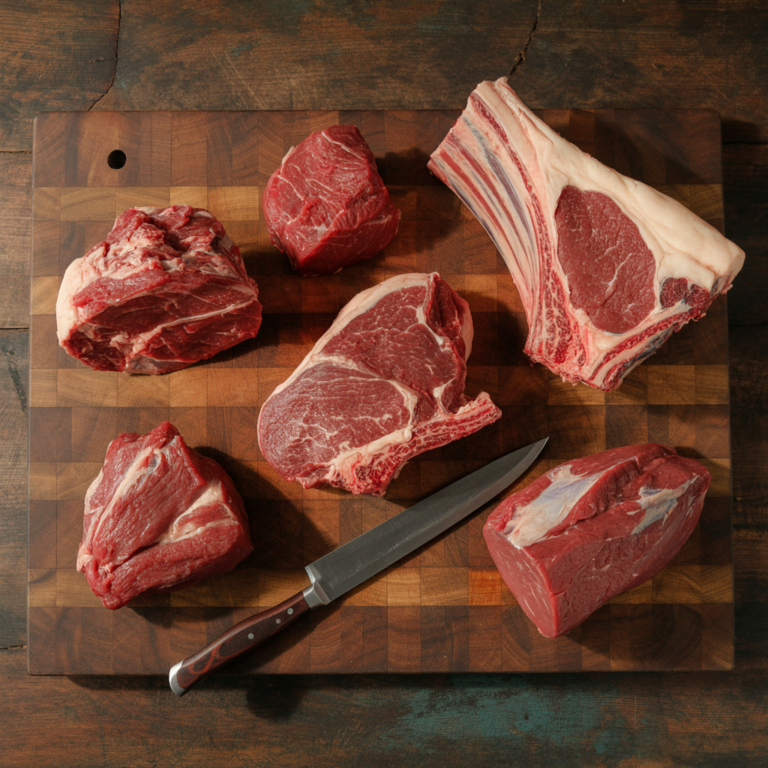
Freezing Food for Long-Term Storage
Of course fresh is fresh and frozen is frozen. Frozen — even vacuum-sealed frozen — is not fresh. But vacuum sealing is perfect for keeping meats, seafood, and vegetables much closer to their freshness when you bought them, compared to non-vacuum-sealed supermarket packaging. If you have a choice between buying supermarket food that is vacuum sealed or is not vacuum sealed, choose the vacuum-sealed option. This method prevents freezer burn and keeps food fresher. It’s a simple step that can make your food and your dollars last longer.
Preserving Cooked and Prepared Foods
If you prepare or cook batches of food like meatballs, burgers, or pulled pork or chicken, vacuum seal them before freezing. Seal individual portions to reheat easily later. Vacuum sealing cooked foods helps them stay tasty and moist.
Fridge Preservation and Short-Term Storage
You don’t always need to freeze food immediately. Sometimes, you want to keep proteins or leftovers fresh a few days longer. This happens often in our house. For example, we buy a piece of fish, intending to cook it that night. Then we go out to dinner instead. We have plans the next night, but we don’t want to freeze the fish before we cook it a couple of days later. Vacuum sealing can extend fridge life without freezing. This is perfect for foods you plan to use in the next few days.
Sealing Highly Perishable Food
Some foods, like fresh wasabi root and truffles, are highly perishable. If they don’t come vacuum sealed, vacuum seal them right away, which will help to preserve their freshness, aroma, texture, and taste.
Sealing Perishable Items with Limited Use
Some ingredients, like rice or beans, can become rancid if stored too long. Vacuum sealing such ingredients keeps them fresher longer. For instance, I vacuum seal paella rice and arborio rice, which I don’t use often. It stays good much longer than if it is not vacuum sealed, especially if I put the vacuum sealed bag in the fridge or freezer.
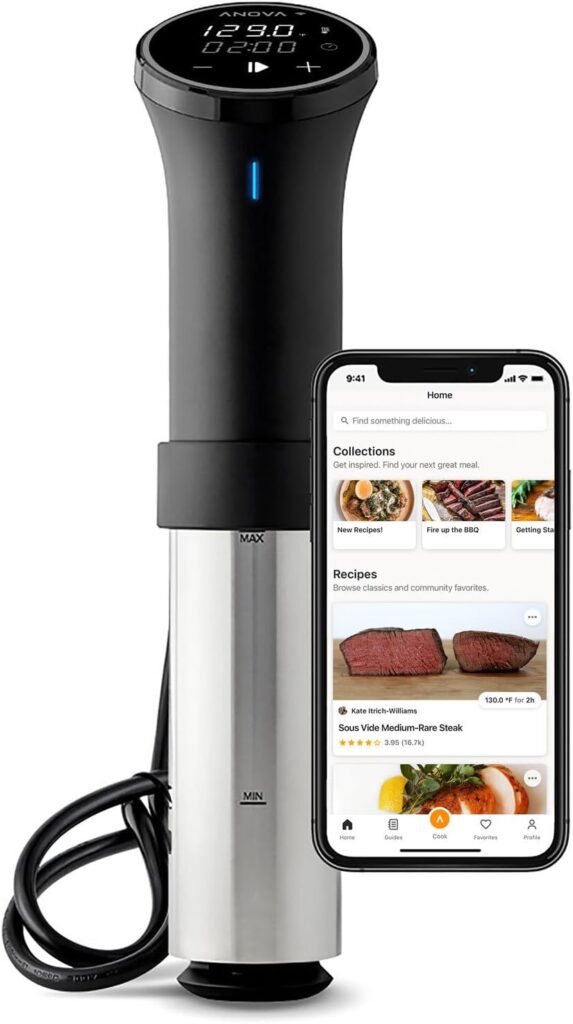
Sous Vide Cooking
Sous vide means to cook under a vacuum. Put vacuum-sealed food into a water bath and cook at a precise temperature for perfect results. It allows food to be cooked at temperatures that would be too low to be safe, but for the vacuum. It also allows foods to be cooked for a long period of time, and to precise temperatures.
[Check out my video on sous vide cooking.]
Step-by-Step Guide to Vacuum Sealing
Preparing and Packaging Food
- Pick the best size pre-made bag or measure the right length if you are making custom bags from a roll. I eyeball the length I need to cut.
- If you are making custom bags, cut straight with scissors and seal one end. I use bags with reference lines to help cut straight, like the OutOfAir roll.
- Fill the bag with your food using tongs and the bag filler. Leave some space at the top.
- Place the open end into the vacuum sealer.
- Close and lock the lid and start the vacuum process. Wait until the machine indicates the seal is complete.
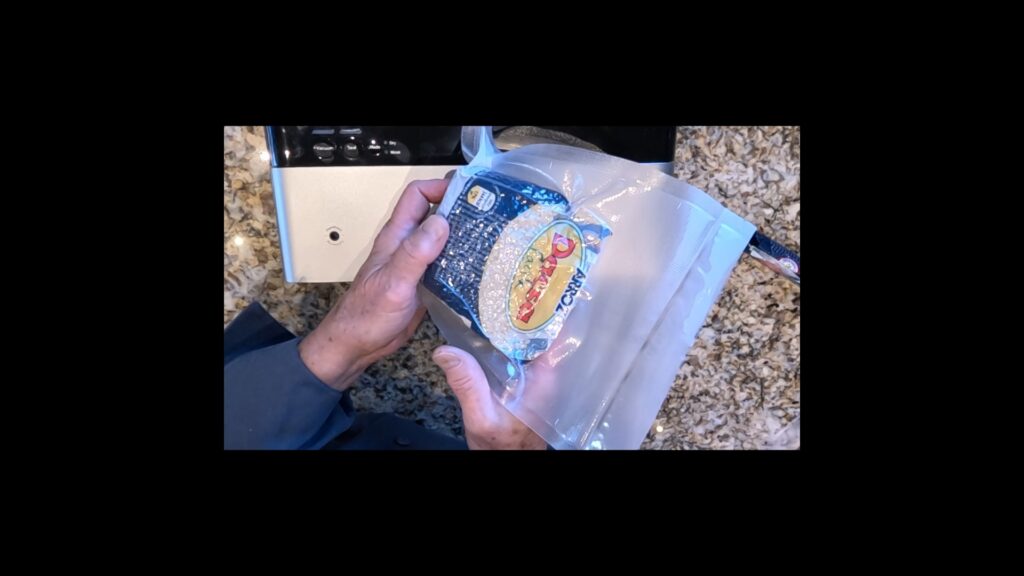
- Label the bag with what’s inside and the date and weight. I often don’t include the date because I cook my way through frozen food pretty quickly.
Expert Tips and Best Practices
- Make sure the bag isn’t too small. The food should be a couple of inches away from the top of the bag. If the food is at the top of the bag, you may not be able to close and lock the vacuum sealer lid.
- Vacuum seal the bags as you fill to save time. Seal a bag as you are filling the next. Developing a routine helps save time and frustration, and makes the process fun.
- Make sure bags are properly sealed. It usually isn’t necessary to check for leaks. You can usually easily see if all of the air has been sucked out.
- Write on bags what’s inside. If you don’t you will certainly find a vacuum-sealed bag containing who knows what?
- Write the weight on the bag. This really helps you decide later which bags to thaw and cook, depending on your needs that night.
- Seal the end of rolls once you’re done filling so it’s ready for the next time.
- Pat damp food dry before placing it into the vacuum bag.
- If the food is very moist, pat it dry as best you can, then freeze it. After it’s frozen, place it in a vacuum bag and vacuum seal it.
- Don’t procrastinate, which leads to spoilage and throwing cash in the trash. Over time, sealing becomes quick and easy.
Conclusion
Vacuum sealing is a simple tool that offers huge benefits. It keeps food fresher longer, saves money, and cuts down on waste. Whether you’re freezing meats, sealing leftovers, or prepping for sous vide, mastering this skill can change how you handle food.
Don’t wait to get started—set up your vacuum sealer today, develop a routine, and enjoy fresher, more organized meals every week. Happy zippy sucking!
Disclosure: As an Amazon Associate I earn from qualifying purchases. If you buy from a link on this site, I may earn a small commission from the vendor without any additional cost to you. No company pays me to say anything in particular, or to say nice things. I only stand behind products I believe in.