John Hornick — Chef’s Apprentice
Making fresh pasta at home is more than just a cooking skill—it’s an ancient art. The smell of dough, the satisfaction of cutting your own noodles, and the taste of a dish made from scratch add up to a memorable experience and build your kitchen skills. With a few simple ingredients and the right techniques, you can turn raw flour and eggs into beautiful, al dente linguine that rivals anything from a restaurant. Ready to learn how? Let’s dive into the complete process of making pasta dough and cooking perfect linguine from scratch.
Make Pasta in Italy!
Of course Italy is the Land of Pasta. It’s everywhere and it’s good everywhere. It’s almost impossible to get a bad bowl of pasta anywhere in the country. Making it is a matter of national pride, and for chefs, a matter of personal integrity.
If you want to learn to make pasta in Italy, click here to book a hotel in Rome. For a pasta-making experience, or other foodie travel to Rome, click here. And check out my other posts:
Chef’s Apprentice Travels Tastes & Toasts: 4 Days in Rome
Chef’s Apprentice Travels Tastes & Toasts: Venice, Italy
Chef’s Apprentice Travels Tastes & Toasts: Florence, Italy
Understanding the Basics of Pasta Making
The Significance of Fresh Pasta
Fresh pasta stands out because of its freshness and tender texture. Unlike store-bought dried pasta, homemade varieties absorb sauces better and cook almost instantly. Plus, it allows you to experiment with flavors—adding herbs, spinach, or even beet juice for color (that will be covered in a future post) —unlocking endless culinary possibilities.
Key Ingredients for Pasta Dough
- All-purpose flour: Acts as the backbone, providing gluten for elasticity.
- Eggs: Binder that adds richness and stability.
- Olive oil: Improves dough texture and adds flavor.
- Water & Salt: Adjust hydration and seasoning.
The Art of Pasta Texture
Getting the perfect dough depends on understanding its feel. It should be firm enough to hold shape but soft enough to work, which depends on how much water you add. Factors like humidity, temperature, and the environment of your kitchen also influence how much water you will need. A good rule: your dough should be tacky but not sticky, and definitely not dry and crumbly.
Essential Equipment for Making Pasta at Home
Must-Have Tools
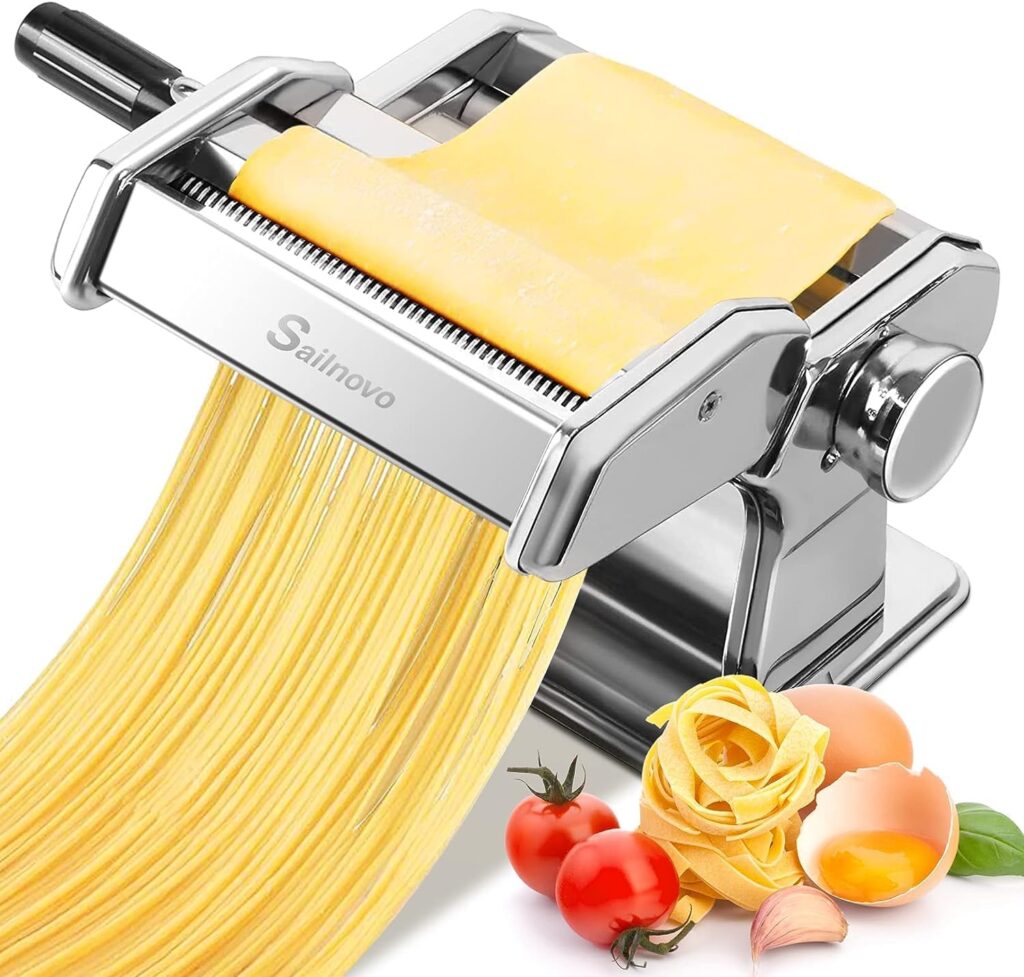
- Pasta machine: A hand-cranked model makes rolling easy and very hands-on.
- Pasta cutter attachment: An attachment cuts your pasta sheets into linguine. The same cutter will cut the sheets into fettuccine, so everything I say here about linguine applies to fettuccine too.
- Pastry knife and measuring tools: For precise ingredient measurement and mixing. I like the Oxo brand of almost any cooking tool.
- Sheet pan with cornmeal: To rest and prevent sticking of finished pasta. I use commercial quality sheet pans, which are economical and made to take abuse.
- Pasta pot with insert: Makes cooking and draining straightforward. I don’t buy fancy pots.
Tips for Equipment Care
Right after use, always clean your pasta machine and cutter attachment with a slightly damp cloth. Don’t immerse it in water or put it in a dishwasher— slightly damp and gentle cleaning ensures it lasts for years. I once immersed my cutter attachment. After that, it squeaked as I used it, until it eventually died.
Step-by-Step Guide to Making Pasta Dough
Preparing Your Workspace and Ingredients
First, choose a clean, dry surface. The room should be Goldilocks temperature, just right, not too hot or too cold (normal room temperature). Have all ingredients ready to go because timing matters. Measure your flour carefully (1 cup); precision helps with consistent results.
Forming the Flour Well and Adding Liquids
- Mound 1 even cup of flour on your work surface.
- Use your finger to make a well in the center, big enough to hold your egg, olive oil, and water.
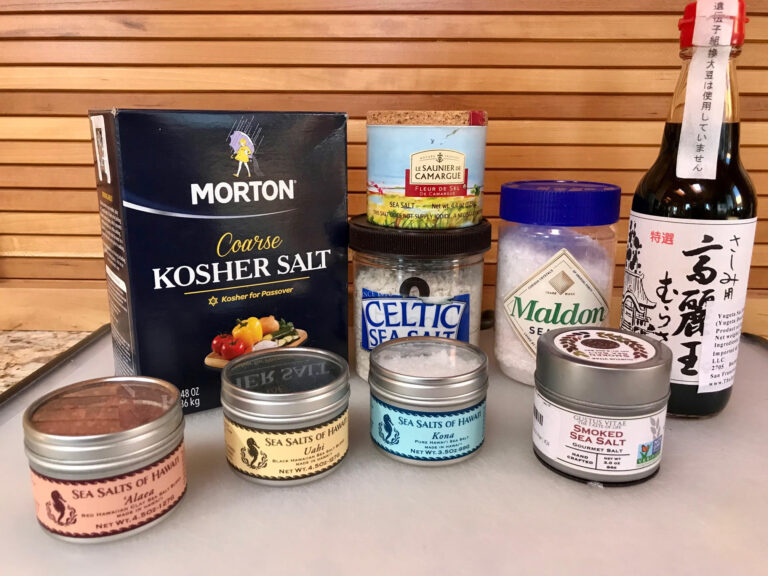
- Crack one egg into the well, add a pinch of Kosher salt, 1 tablespoon of olive oil, and about 1 1/2 tablespoons of water (preferably warm water). In a dry environment, use 2 tablespoons of water.
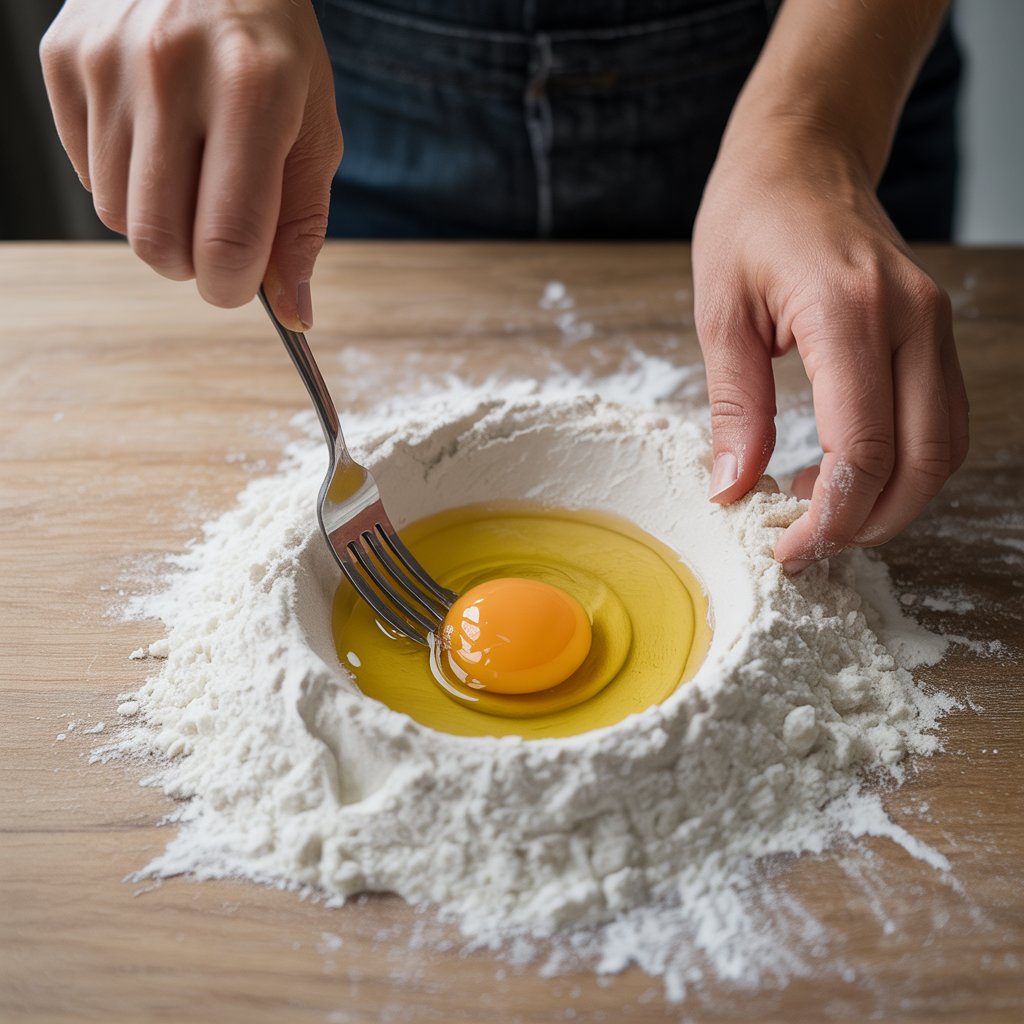
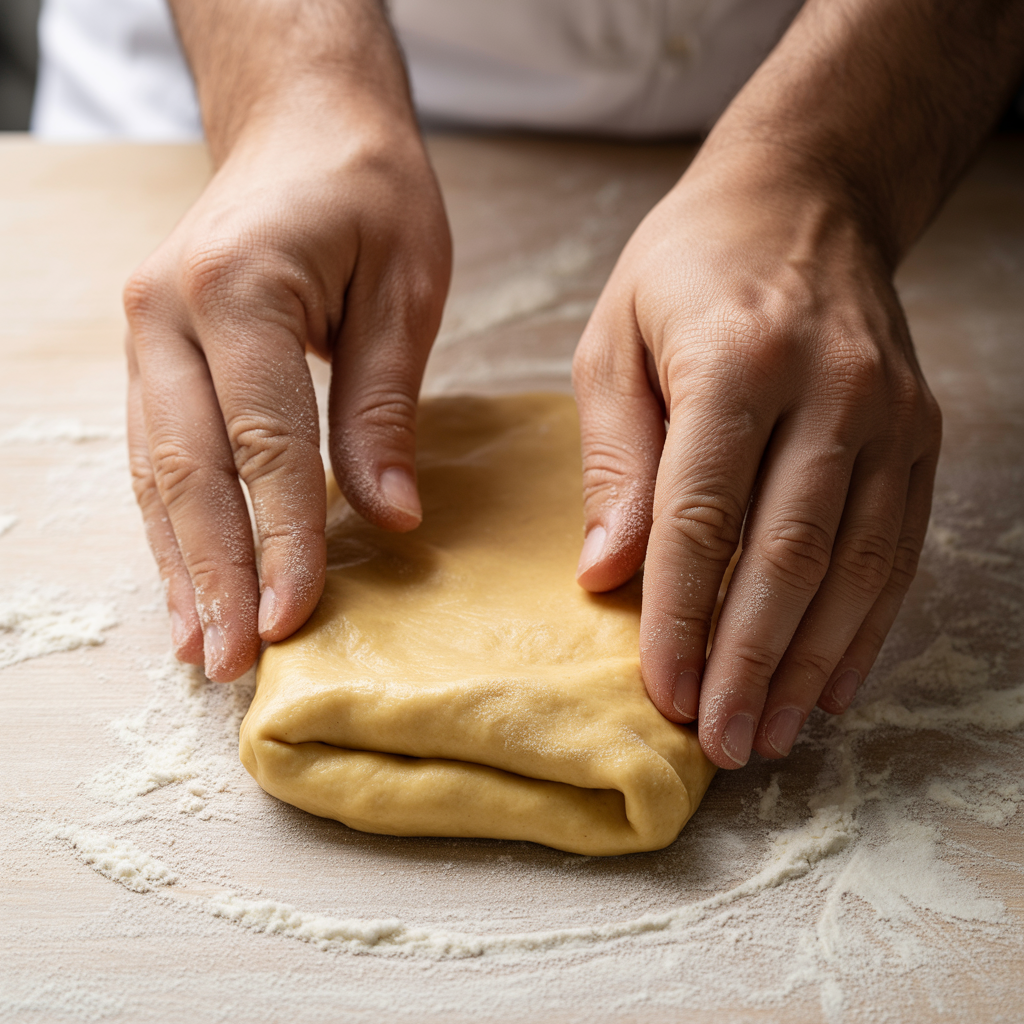
Mixing and Developing the Dough
Using a fork, gently stir the egg and liquids, pulling in flour from the edges gradually, being careful not to break out of the well. As the ingredients begin to come together, switch to a pastry knife and fold the ingredients. Avoid overworking—resist the urge to knead too much, which will make the dough tough and too elastic. Once the dough forms a rough ball, press it into a flat disc. Fold it a few times until the ingredients are pretty well incorporated and the dough holds together. For my how-to video, click here.
Rolling and Cutting the Pasta
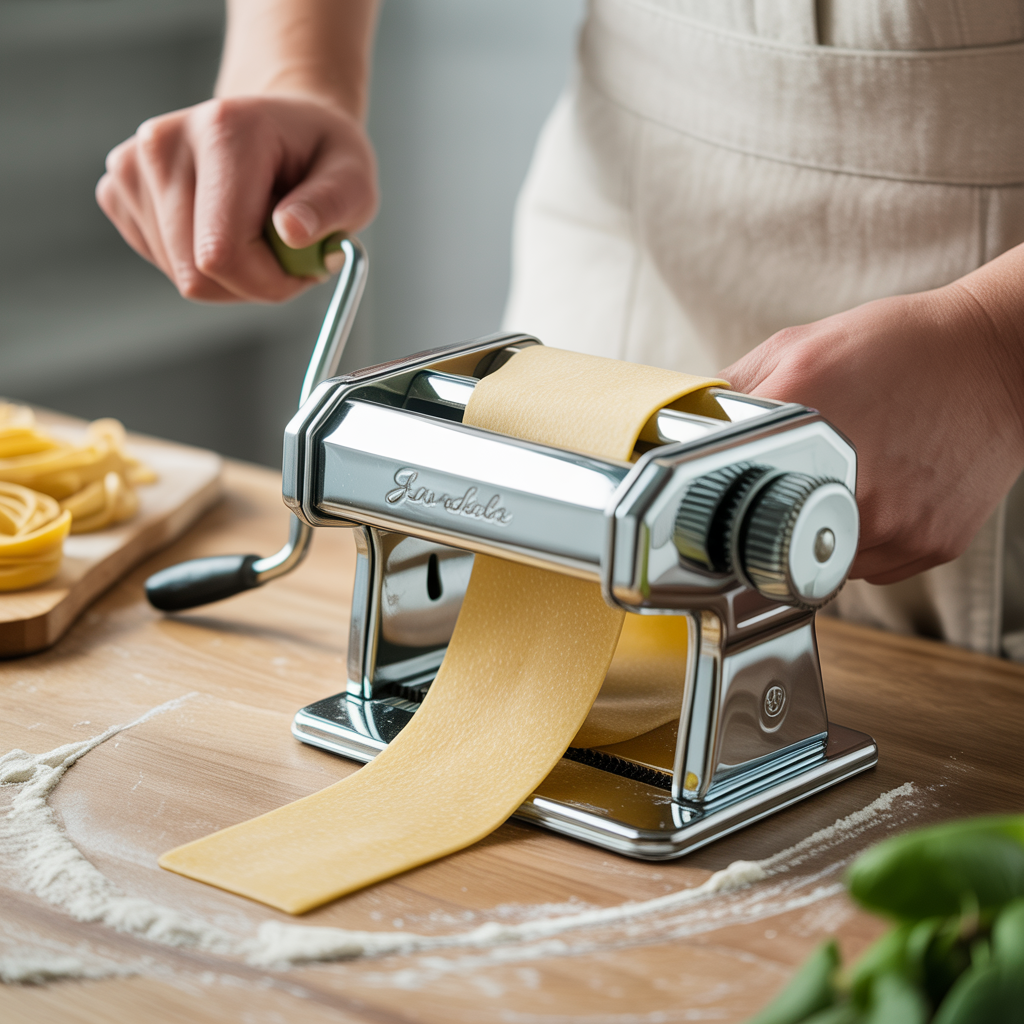
Using the Pasta Machine Effectively
Start at the thickest setting—usually marked “1”—and feed the dough through. Fold it in thirds to make a patty about the width of the rollers and roll it again on no. 1. Repeat a few times to smooth out the dough. You want a uniform, pliable sheet.
Resting the Dough
After you get the pasta sheet the way you want it, fold it into thirds and wrap the dough patty in a damp cloth or paper towels, then let it rest for about 15-20 minutes. Resting relaxes the gluten bonds formed as you made the dough, making the pasta easier to roll out.
Rolling Out the Dough
Gradually thin the sheet by changing the machine to thinner settings, one step at a time. Different pasta machines have different numbers for the thinnest setting. Some go to 7 and some go to 9. I’ve even seen 11. You need to get a feel for your pasta. If you think it’s getting too thin to work with, don’t thin it any more. If you feel you rolled it too thin, fold it and start again at no. 1.
As you roll it out, use a knife or pastry knife to cut the pasta into manageable lengths. I usually cut it so that the sheets are about 12″ long.
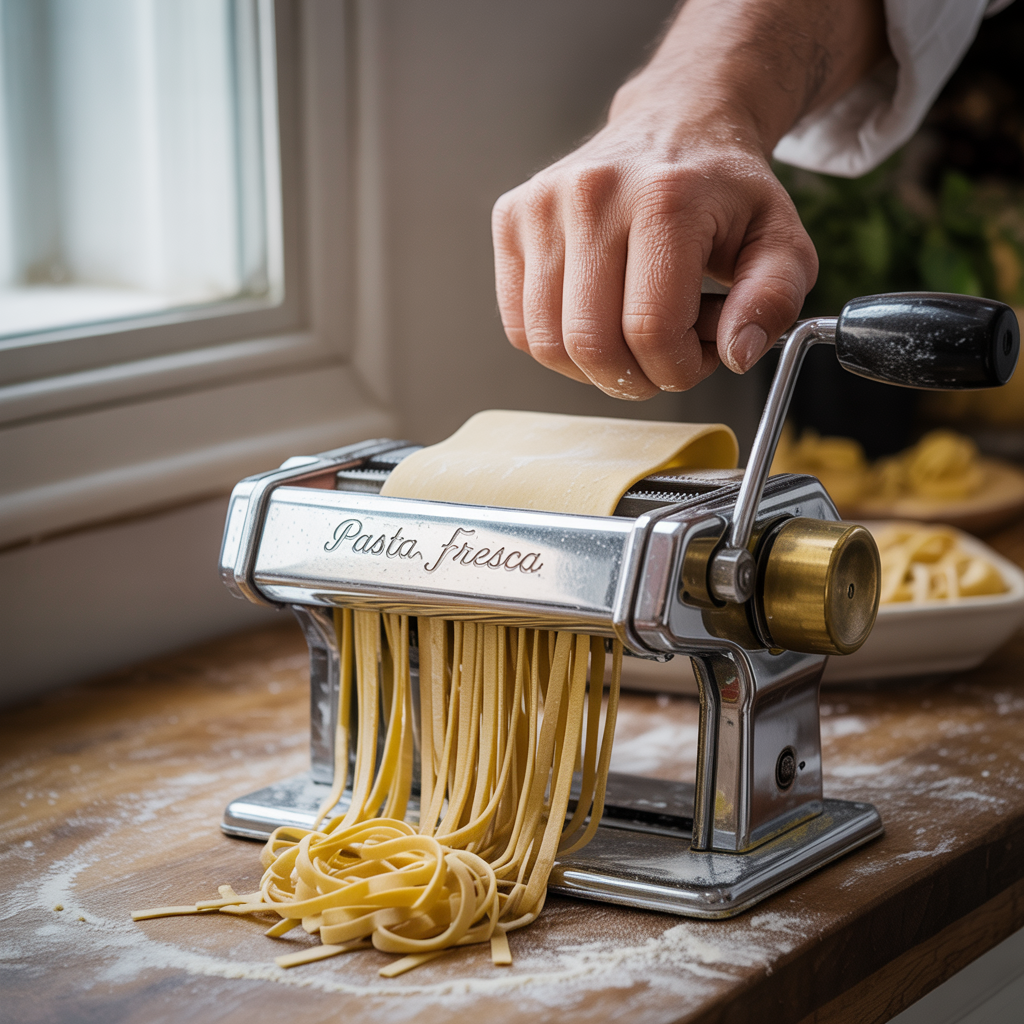
Cutting
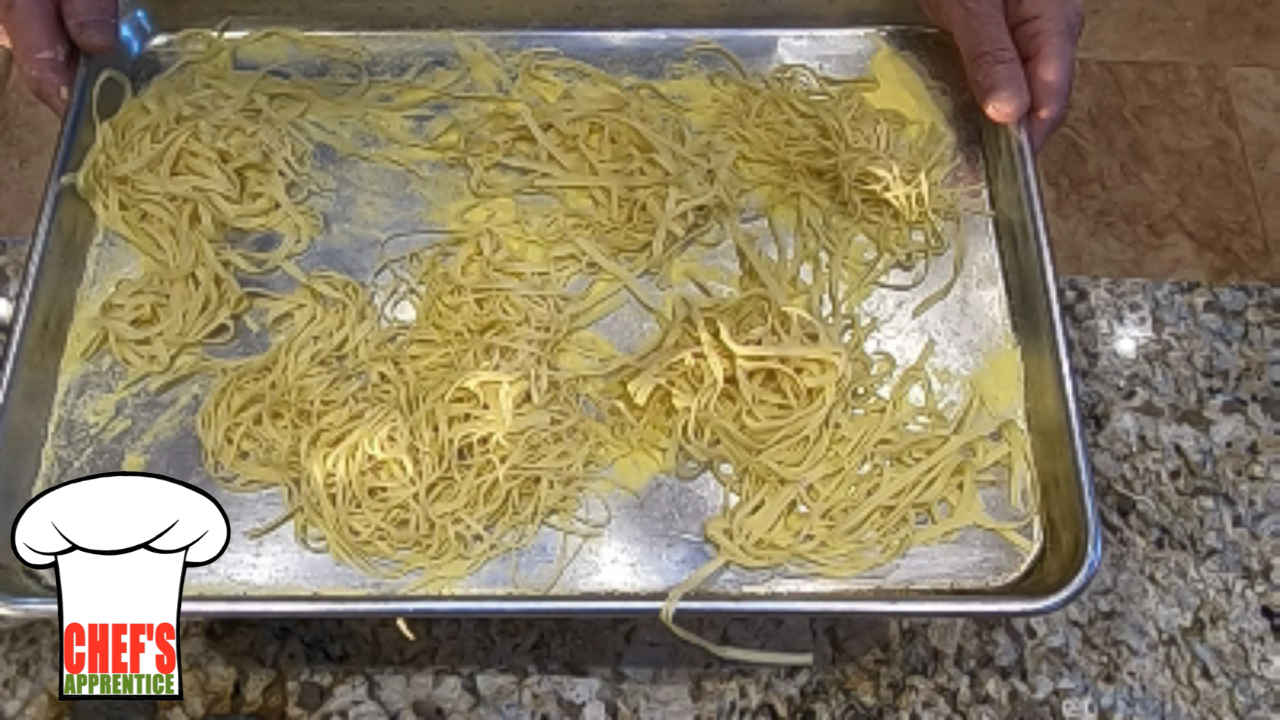
Attach the linguine cutter to your pasta machine. Feed the sheets of dough through, gently catching the cut strands as they exit the bottom of the cutter. Toss the noodles lightly with cornmeal to stop them from sticking and set aside on a sheet pan dusted with corn meal. If you will be cooking immediately, you can use flour instead of corn meal.
Handling Your Pasta Before Cooking
Fresh pasta dries out quickly and should be cooked the same day it’s made, or the next day at the latest. Keep it covered in the fridge. Keep it loose and generously dusted with corn meal to prevent sticking. If you have a dog, don’t rest the pasta on the countertop, hanging over the edge. One of my Siberian Huskies once found it there and trimmed the pasta strands very neatly to the edge of the countertop. After that, she was a Pasta Hound.
Cooking Fresh Pasta to Perfection
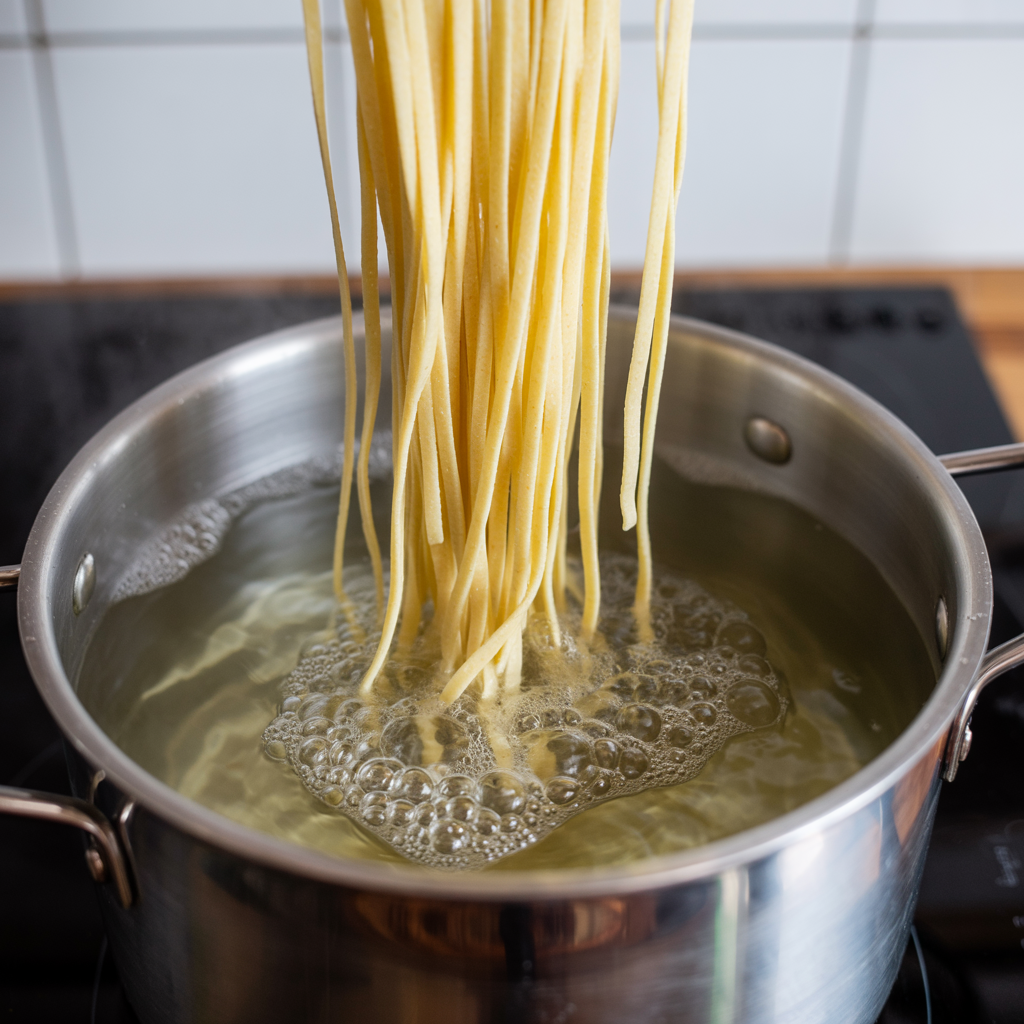
Timing and Technique
While traditional dried spaghetti takes 8–12 minutes, fresh pasta needs only about 30 seconds to 1 minute in boiling water. Timing is crucial—keep a close eye so it doesn’t overcook.
Achieving Perfect Al Dente
Your pasta should be tender but still slightly chewy when done. To test, bite into a noodle; it should have a slight firmness. After you remove the pasta from the boiling water, quickly rinse it with cold water to halt cooking and preserve that perfect texture.
Practical Cooking Tips
- Bring your water to a full boil before dropping in the pasta.
- Use a colander for draining to avoid breaking the delicate noodles, or cook the pasta in a pot with a pasta strainer insert. When the pasta is done, remove the strainer and run it under cold water.
- Have your sauce ready. If it’s not ready, dip the pasta back into the hot water for a few seconds, drain it, and sauce it.
Expert Tips and Common Pitfalls
- Keep dough hydrated but not sticky.
- You want to get the right consistency on setting no. 1. If the pasta is too sticky, dust it with flour before running it through the machine again, on no. 1. If the pasta is too dry, wet your hand, pat the pasta with your wet hand before folding it, fold it, and run it through again on no. 1.
- Rest your dough after you are happy with its consistency on no. 1—it makes rolling easier and improves texture.
- Overworking the dough up through setting no. 1 makes it tough, so fold and press gently.
- Clean your machine after use with a damp cloth—never the dishwasher. Be sure to get any dried bits of dough. If you don’t get the dried bits out, they may cause your next pasta sheets to tear or have holes.
Conclusion
Perfecting homemade pasta is achievable with patience and practice, but it’s not hard to do. Start simple, focus on the texture of your dough, and don’t rush it. The reward? Delicious, restaurant-quality pasta made right in your kitchen. Once you get the hang of it, you’ll find yourself turning out pasta faster than you think—and impressing everyone at the dinner table. Eventually, you will be able to make pasta from scratch and cook it faster than you could cook store-bought pasta.
Disclosure: As an Amazon Associate I earn from qualifying purchases. If you buy from a link on this site, I may earn a small commission from the vendor without any additional cost to you. No company pays me to say anything in particular, or to say nice things. I only stand behind products I believe in.
Ingredients:
- 1 cup flour
- 1 large egg
- 1 Tb. olive oil
- 1 1/2 – 2 Tb. warm water
- Pinch of Kosher salt