John Hornick — Chef’s Apprentice
Using homemade stock adds depth and richness to any dish. Chicken stock or duck stock, with intense flavor and robust aroma, elevate soups, risottos, and sauces to the next level. Making your own stock might seem complex, but with the right approach, it’s simple and rewarding. This guide walks you through every step for making either chicken or duck stock, for the best results.
Choosing and Preparing Ingredients for Chicken or Duck Stock
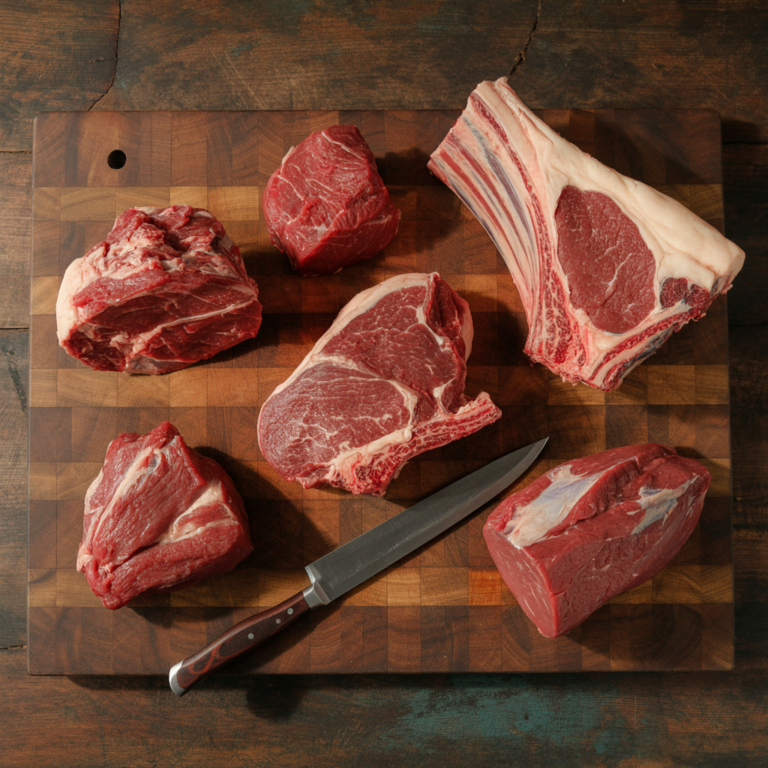
Selecting the Right Bones
Start with fresh chicken or duck bones or carcasses—these are packed with flavor. I buy whole chickens and ducks, break them down into pieces, and freeze the backs to use later in stock. See my videos on breaking down chickens and ducks. If you have leftover parts or trimmings from a roasted chicken or duck, use those too. They contribute extra richness and collagen. Trimming off skin and excess fat helps keep the stock clear and clean.
See my video Making Duck Stock. You can apply the same techniques to making chicken stock.
Prepping Vegetables
The classic vegetable combo for stock is onions, carrots, and celery. The ratio isn’t strict, but a general rule is three parts onions to two parts carrots, and one part celery. For example, use two large onions, a couple of carrots, and a handful of celery tops or trimmings.
See my Stock Chart.
Onion prep tip: Roll the onion under your hand while pressing on it, to loosen the skin for easy peeling. Slice off the end opposite the root, peel away the skin, then roughly chop. Tiny skin bits don’t matter—they’ll strain out later.
Veggie tips: Peeled carrots are less bitter, and using celery leaves or tops adds flavor without waste. If you have any odd vegetable trimmings, add those too.
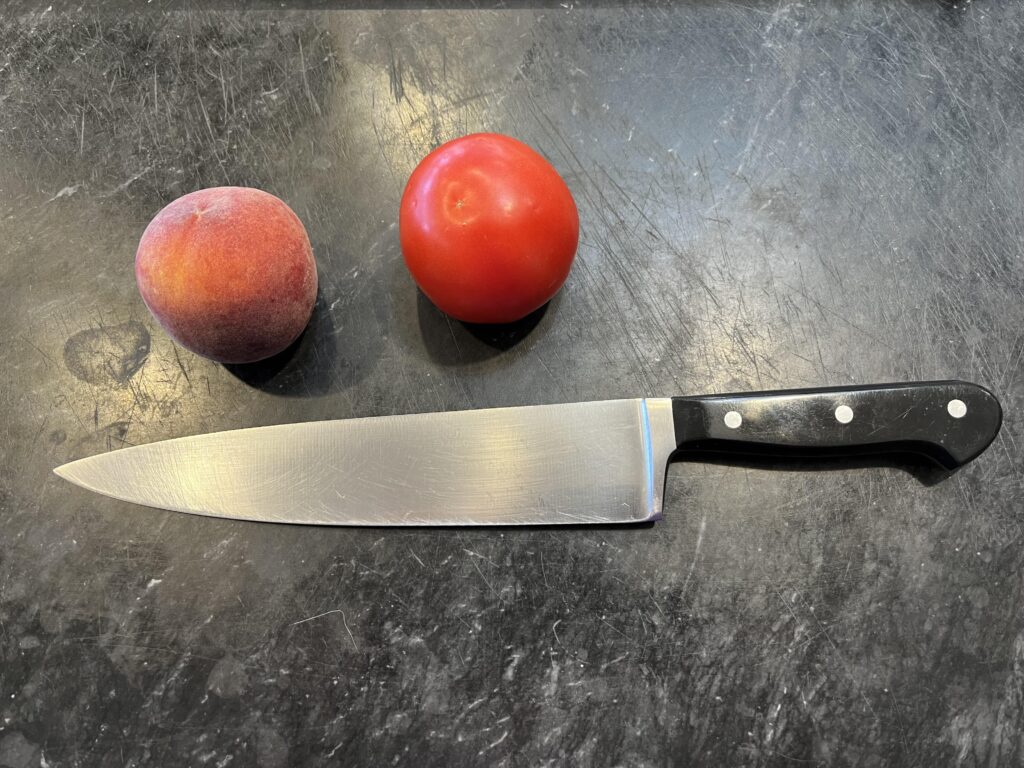
I’ve provided a link to a good chef’s knife. I like Wusthof brand. Take care of it and it will last you a lifetime. The True Board best-ever cutting board is shown in the banner.
Aromatics and Seasonings
Add a few flavors to boost taste. Use one head of garlic with the top cut off, or peeled cloves. Toss in some fresh thyme sprigs, parsley stems, bay leaves, and black peppercorns. Tying herbs into a bundle isn’t necessary because you’ll strain everything later.
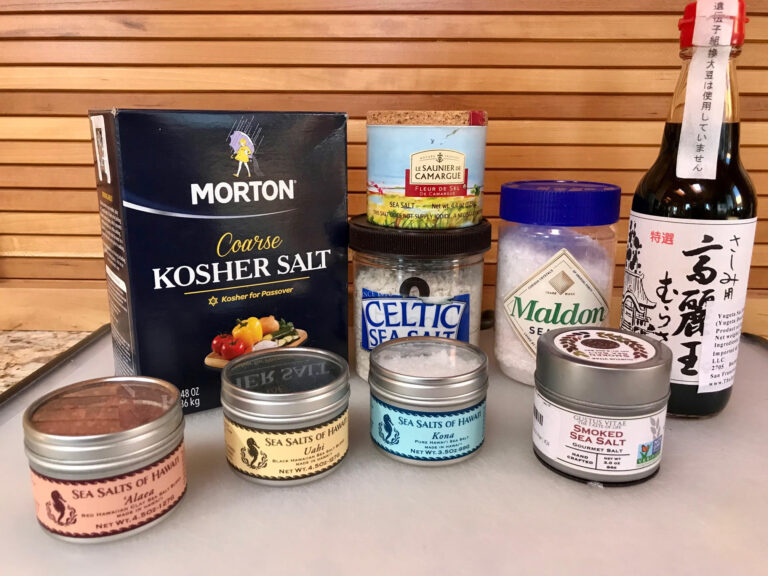
Note: Salt isn’t added when making stock because it can get too salty if you reduce it later. It’s better to season dishes individually. This is also a reason not to buy pre-made stock, which contains a lot of sodium. If you must buy pre-made stock, buy the unsalted variety, but this still probably contains more sodium than homemade stock. Also, if you buy it, buy stock, not broth.
Building the Perfect Stockpot and Layering Ingredients
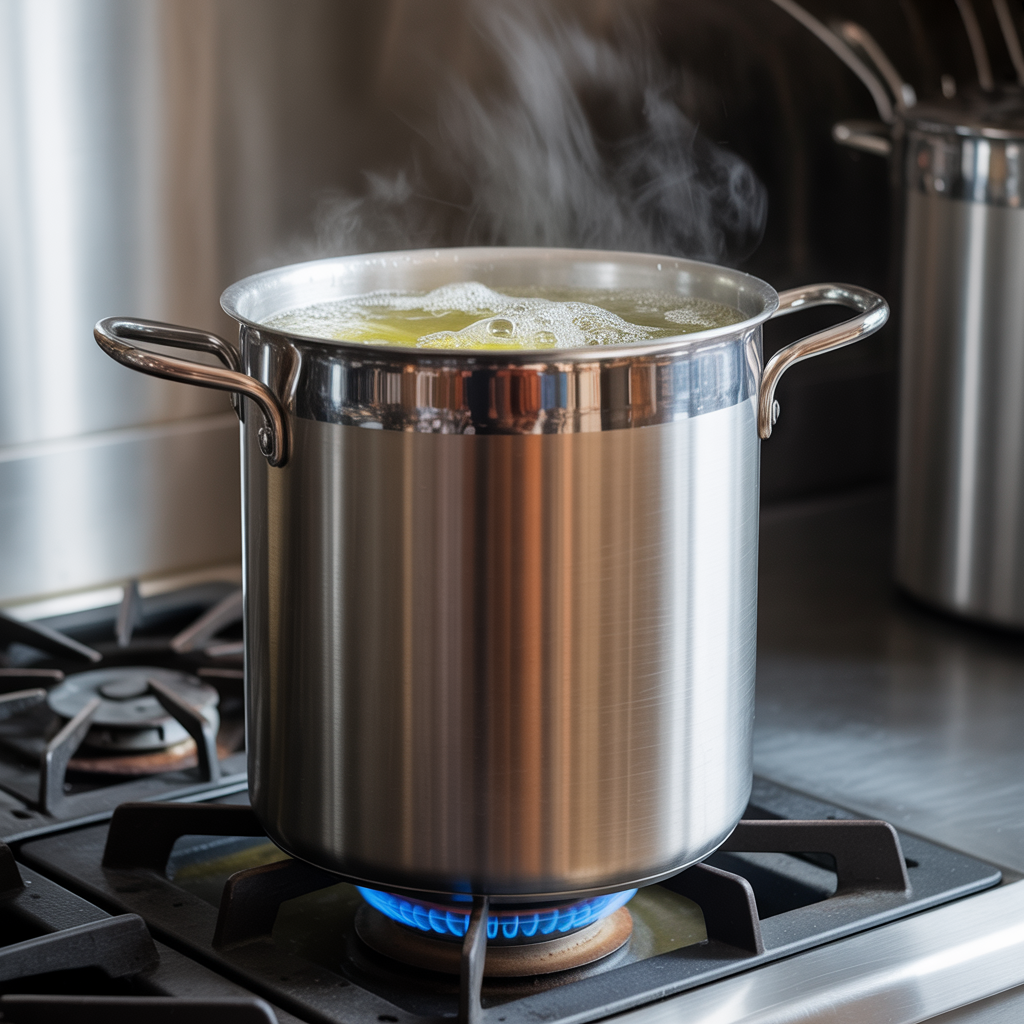
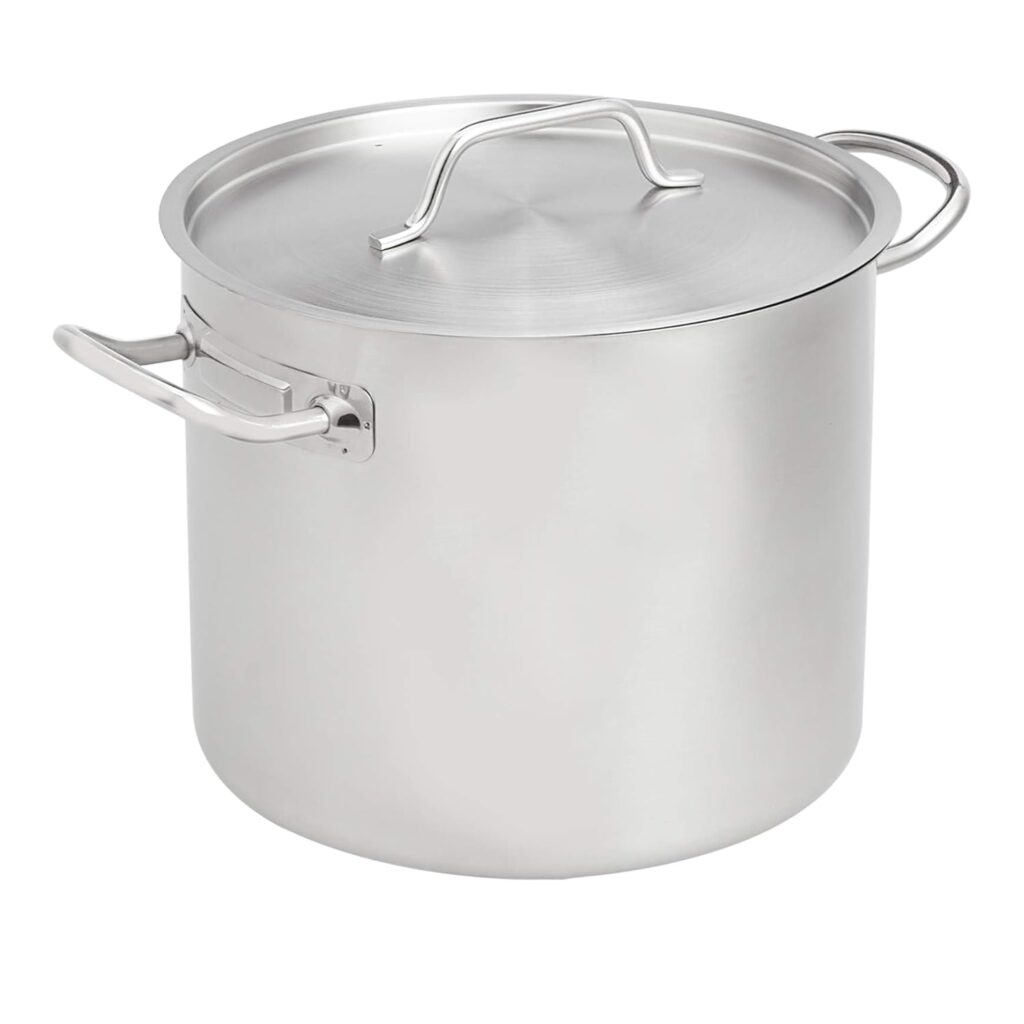
Choosing the Right Stockpot
Pick a tall, wide stock pot. This helps reduce evaporation and allows condensation to drip back, reducing the loss of volume and flavor. Click on the photo below for a proper, functional, and economical stock pot. You can buy a much prettier one, buy why spend the money?
Layering for Max Flavor
Place the bones and vegetables into the pot. Fill it with water just enough so it covers everything by about 1″—usually about an inch below the pot’s rivets works well. Don’t overfill, or you’ll struggle to maintain a gentle simmer.
Avoiding Excess Fat
Trim excess fat from the bones beforehand. Fat can make the finished stock cloudy and greasy. Duck is especially fatty, so trimming helps keep the stock clear.
Cooking Techniques for Stock
Temperatures and Simmering
Start by turning the heat to medium-high. Bring the water to a gentle simmer—bubbles should be slow and soft, not a rolling boil. When the stock just begins to simmer, lower the heat to keep it steady. Be careful not to let it boil. If the stock boils, it will emulsify fat, which is difficult and sometimes impossible to remove completely.
The Right Cooking Time
Simmer for around three hours. This allows the bones to release their flavors, collagen, and a rich, gelatinous texture.
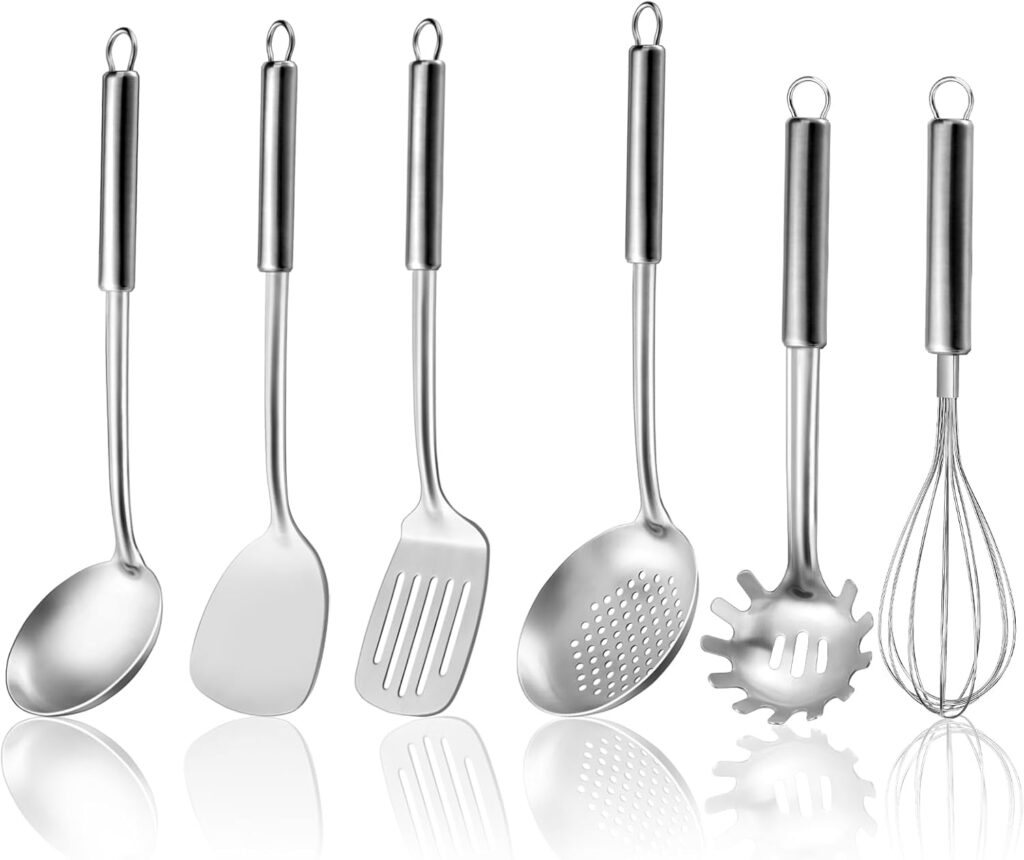
Managing Impurities
As the stock cooks, foam and scum may form on top. Use a skimmer or slotted spoon to remove these bits. Doing this a few times keeps the stock clear and free of impurities. I’ve provided a link to a set of functional and economical cooking utensils.
Post-Cooking Processes and Straining the Stock
Cooling and Refrigeration
Once simmered, turn off the heat and let the stock cool slightly. Put it into the fridge with a slightly cracked lid—this lets heat escape. Chill overnight, so the fat rises to the top and hardens.
Removing Bones and Vegetables
The next day, skim off the solidified fat. Then use a fine mesh strainer or cheesecloth for straining the stock. Discard the bones and vegetables—they’ve given all their flavor.
Clarifying and Refining
If the stock still contains excess fat or cloudiness, it can be cleaned further. Strain through a fine chinois or cheesecloth. For an ultra-clear result, repeat straining. This step makes the stock perfect for sauces or elegant dishes.
Storing and Using Duck Stock
Proper Storage
Pour cooled stock into airtight containers of different sizes and label them. Without labels, it is difficult to tell stocks apart. Everyone says to freeze for up to three months. This is probably a good practice, but I freeze stock much longer in a freezer with a temperature below zero degrees Fahrenheit.
I also freeze some stock into ice trays for those times when I need just a little stock, for example, to add to vegetables.
If you freeze your stock and find any fat on top when you go to use it, skim it off.
Creative Uses
Chicken and duck stock add deep flavor to soups, risottos, and braises. Use it as a base for sauces or to cook rice for extra savoriness. It’s a versatile ingredient that enhances almost any dish.
Reheating
When ready to use, thaw and reheat gently on the stove. You can also thaw it in the microwave oven, which is perfect for this purpose. I’ve used only small, inexpensive microwave ovens for many years, like the one shown below.
Conclusion
Making and using chicken or duck stock at home will transform your cooking, adding a flavorful, rich base for countless recipes. Use fresh bones, proper prep, and slow simmering to get the best results. Remember to skim impurities and strain well for clarity. With these tips, your homemade stock will become a staple in your kitchen. Elevate your cooking and enjoy the superior taste of your own craft.
Disclosure: As an Amazon Associate I earn from qualifying purchases. If you buy from a link on this site, I may earn a small commission from the vendor without any additional cost to you. No company pays me to say anything in particular, or to say nice things. I only stand behind products I believe in.
Ingredients
- 5-6 chicken or duck backs, or roughly the equivalent amount of bones
- About 1 cup onions, roughly chopped, for about 3 lbs. of bones
- About 2/3 cup carrots, peeled and chopped, for about 3 lbs. of bones
- About 1/3 cup celery (including tops and leaves if okay), chopped, for about 3 lbs. f bones
- a few sprigs of fresh thyme
- Stems from a bunch of parsley
- 2 large bay leaves
- About 1 Tb. black peppercorns
- 1 head of garlic with the top cut off
- Vegetable trimmings (optional)
Step-By-Step
- 1. Trim skin and fat from the bones
- 2. Prep the vegetables according to the ingredients above
- 3. Place ingredients in stock pot and cover with water by about 1″
- 4. Bring to a simmer. Don’t boil. Simmer for about 3 hours, skimming as needed
- 5. Cool slightly, then refrigerate overnight
- 6. Skim off the solidified fat
- 7. Strain out the solids and discard
- 8. Further clarify if necessary
- 9. Freeze and label