John Hornick — Chef’s Apprentice
Risotto, a classic Italian rice dish, is often perceived as intimidating to cook, but mastering its creation is within reach. This guide demystifies the process, offering a foundational “master recipe” that unlocks a world of culinary creativity. From selecting the perfect rice to achieving that signature creamy texture, learn the essential techniques to elevate your home cooking.
By understanding the core principles of risotto preparation, you can confidently experiment with an endless array of ingredients and flavor profiles. This expert guide will equip you with the knowledge to craft a truly satisfying risotto, whether for an elegant dinner party or a comforting weeknight meal.
This comprehensive guide covers everything you need to know, from the crucial aromatics to the final artful garnish, ensuring your risotto is always a triumph.
See my video Risotto Master Recipe.
1. Dine on Risotto in Italy
You can find risotto throughout Italy, but it’s a staple in the Northern Italian regions of Lombardy, Piedmont, and the Veneto. You’ll find a creamy, saffron-infused version in Milan (Lombardy), hearty risottos in Piedmont (think mushrooms, truffles, sausages), or the simplicity of risi e bisi (rice and peas) or risotto with squid ink in Venice.
Click here to book a hotel in Milan. For a risotto experience, or other foodie travel to Milan, click here.
To travel to Alba in the Piedmont, which is famous for its truffles, click here. For a risotto experience in Alba, or other unforgettable food-related travel to Piedmont, click here.
To visit Venice, click here and see my post, Chef’s Apprentice Travels Tastes & Toasts: Venice, Italy. For fun foodie things to do in Venice, click here.
2. The Foundation: Essential Risotto Ingredients and Equipment
Gathering the right ingredients and tools is the first step to risotto success. This section details exactly what you’ll need to create a delicious and authentic risotto. Having your ingredients prepped before cooking the rice makes the cooking process much smoother and more enjoyable.
2.1 Selecting the Right Rice for Risotto
The type of rice you use is critical for risotto’s signature creamy texture. Traditional risotto rice varieties, like Arborio and Carnaroli, have a high starch content. I use arborio most often because I like its cooked creaminess.
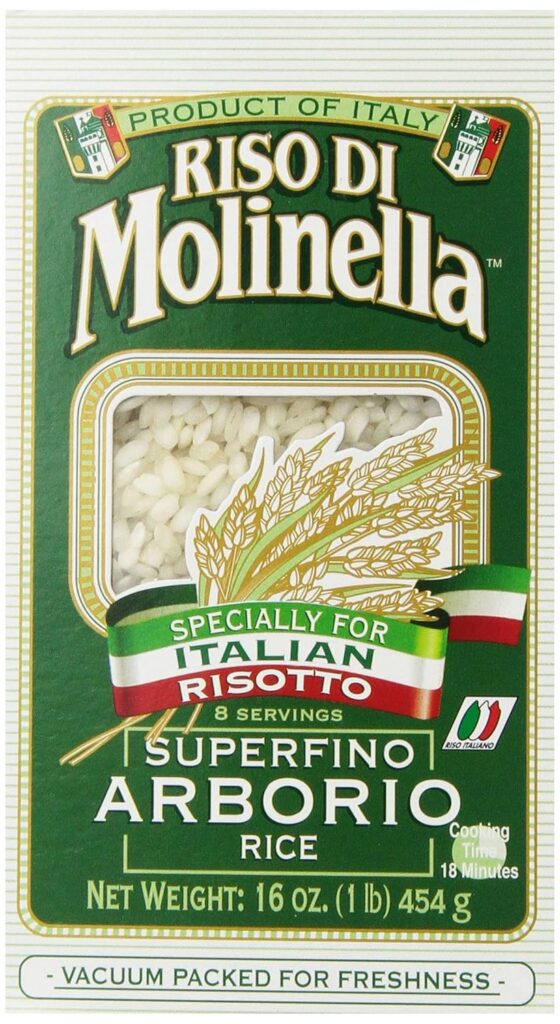
This rice’s starch is released as it cooks and is stirred, creating that lovely creamy consistency. Avoid using long-grain rice; it won’t give you the desired texture.
2.2 Building Flavor: Aromatics, Wine, and Stock
A flavorful base is key. We start with a “sofrito,” which is similar to a French mirepoix, in this case finely chopped shallots and celery, and of course, garlic. White wine adds a bright acidity and depth of flavor as it cooks down.
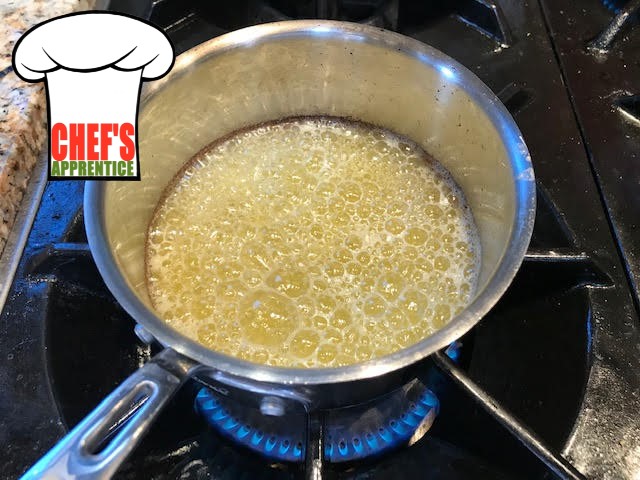
Warm stock is essential for consistent cooking; it should be kept hot in a separate pot. You can use chicken, duck, vegetable, mushroom, or even shellfish stock, depending on your desired final flavor.
For best results, make your own stock (see my Stock Chart). Making your own stock is a great way to control flavor. If you want to use any stock other than chicken stock, which is easy to buy in a store, you will probably need to make it yourself. See my videos on making duck stock and lobster stock. The method shown in the videos, together with my stock chart, can be used to make any kind of stock.
If you don’t have time to make your own chicken stock, be sure to buy stock (not broth) to which no sodium has been added. The reason for this is that if you use store-bought stock with added salt, it can become too salty as it reduces. Also, the cook should control salt, not a manufacturer.
2.3 The Supporting Cast: Cheese, Seasoning, and Garnishes
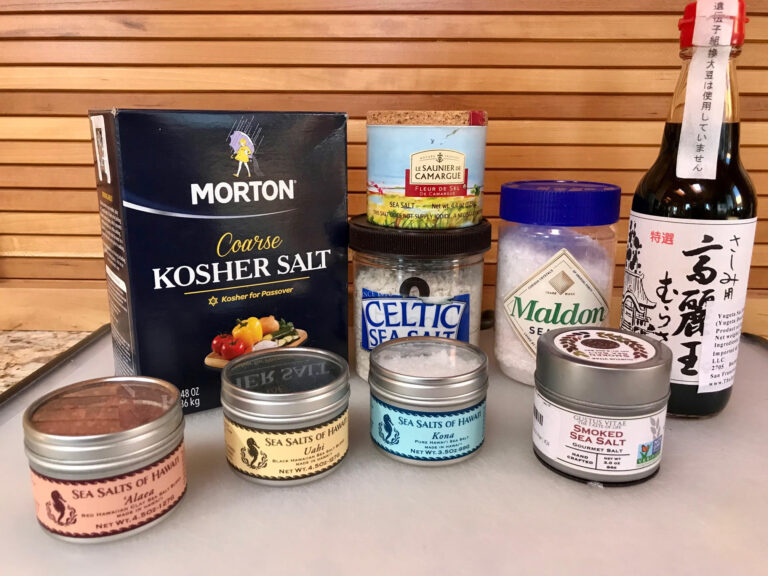
Parmigiano-Reggiano cheese is a must for its nutty, salty flavor and ability to enhance creaminess. For best results, buy a block and grate it yourself. Don’t discard the rind; it can be (and should be) simmered in the risotto for added depth. Season with kosher salt and freshly ground black pepper to taste. You can use ground white pepper if you want to avoid visible black specks, but freshly ground black pepper adds a nice visual appeal. Fresh parsley or chopped chives are common, bright garnishes that add a touch of freshness and color.
2.4 Necessary Tools for Risotto Success
You don’t need a lot of equipment. You will need a good-sized saucepan or Dutch oven for cooking the risotto itself, and a wooden spoon is perfect for stirring. You’ll also need a separate saucepan to keep your stock warm (here’s a link to a good, economical set), and a ladle for adding the stock.
Your risotto saucepan should have a heavy bottom. I like to use a 4 qt. saucepan because it gives me plenty of room to work and I can make small or large batches. I like the Made In brand, which is made in Italy and also comes in a 2 qt. size. It has a lid and a stay-cool handle, and is compatible with all types of heat sources (including induction).

You can also use a Dutch oven, which is a versatile kitchen tool that can be used for many other dishes, such as my Beef Shabu Shabu hotpot recipe.

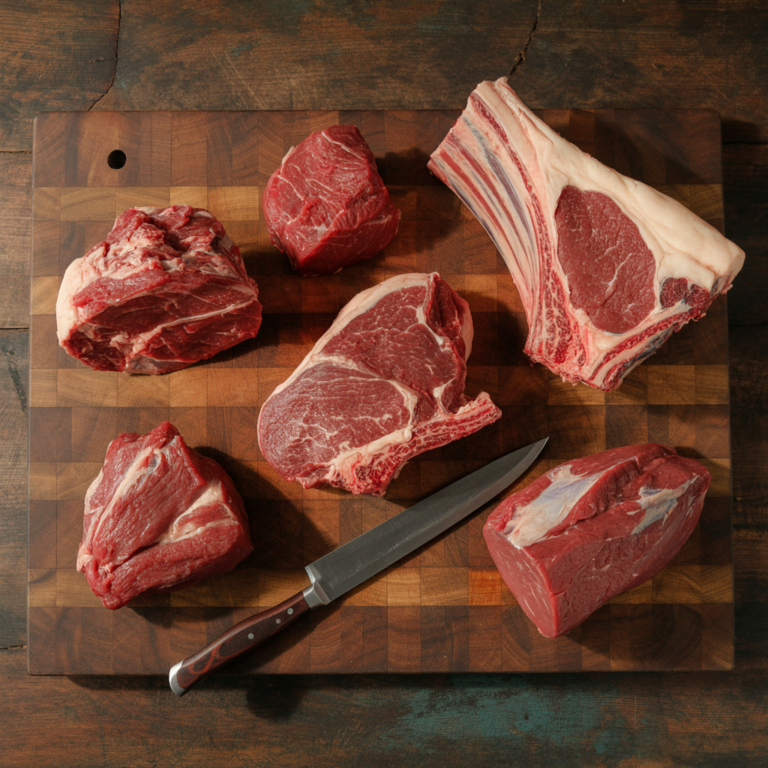
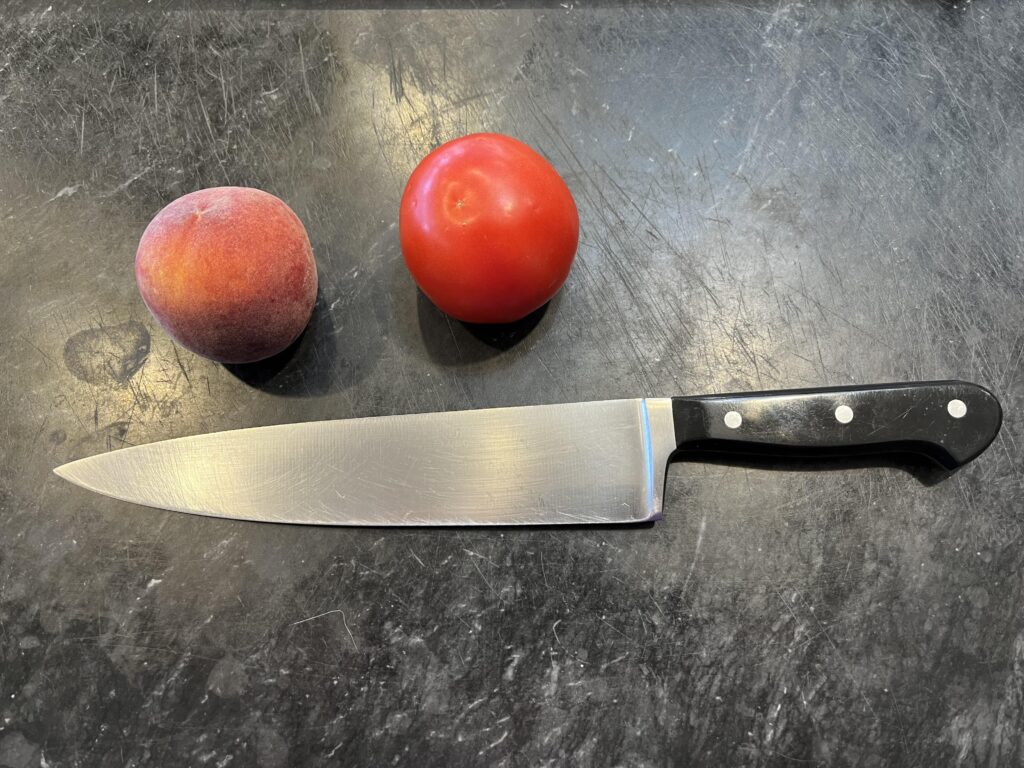
A good cutting board and a sharp chef’s knife are essential for prepping your aromatics and flavoring ingredients. I like the best-in-class True Board cutting board and I have been using a Wusthof chef’s knife longer than I can remember.
3. Mastering the Techniques: Step-by-Step Risotto Creation
Creating risotto involves a series of deliberate steps that build flavor and texture. Following these techniques carefully will ensure a perfect result every time. Patience and attention are your most important tools here.
3.1 The Aromatic Base: Sweating the Sofrito
Begin by heating olive oil in your saucepan over medium heat. Add the finely chopped shallots and celery. Gently cook these vegetables, stirring occasionally, until they become soft and translucent, but not browned. This process is called “sweating.” Then, add the minced garlic and stir for about 30 seconds more, being careful not to let it burn, as burnt garlic can turn bitter. Warning: garlic burns fast and easy.
3.2 Toasting the Rice: The Key to Texture
Add the Arborio or Carnaroli rice directly to the softened vegetables. Stir the rice continuously for about 30 seconds to a minute. This step, known as toasting the rice, coats each grain in oil. This helps the rice grains remain distinct and absorb liquid more evenly, contributing to the final texture.
3.3 The Wine Deglaze: Adding Depth and Aroma
Pour in the white wine, about half a cup. I use something dry, like a chardonnay or sauvignon blanc, which you can buy at Wine Express at good prices.

Stir the rice and wine together, scraping any bits from the bottom of the pan. Continue to stir until the wine is almost completely absorbed by the rice. This deglazing process adds a wonderful layer of flavor and a subtle brightness to the dish.
3.4 Gradual Liquid Addition: The Art of Stirring
Now, begin adding the warm stock, one ladleful at a time. Stir the risotto gently and constantly. Wait until each addition of stock is nearly absorbed by the rice before adding the next ladleful. This gradual process is crucial. It allows the liquid to be slowly absorbed by the rice and for the starch to release slowly, creating the signature creamy texture. Keep the heat at a medium-low setting.
3.5 Achieving “Al Dente”: The Perfect Bite
The goal is to cook the rice until it’s “al dente,” meaning it still has a slight firmness or bite to it when you chew. It should not be soft or mushy. This takes practice and tasting. Continue adding stock and stirring until the rice reaches this perfect stage. Consistent stirring not only helps the rice cook evenly but also encourages the release of starch for that luxurious creaminess. Stirring also prevents the rice from burning on the bottom of the pot.
4. Flavor Infusion and Finishing Touches
With the rice cooked to perfection, it’s time to add your chosen flavoring ingredients to finish the risotto. These final steps are about balancing tastes and achieving the ideal consistency.
4.1 Incorporating Flavorings: When and How
It’s important to cook your flavoring ingredients separately before adding them to the rice. Add cooked ingredients like shrimp, mushrooms, or asparagus by stirring them in during the last few minutes of cooking the rice. Be cautious with mushrooms; adding them too early can turn the entire risotto a dull gray color. These additions should be warmed through in the risotto.
4.2 Adjusting Consistency: Achieving the Desired Creaminess
Risotto can be made slightly firmer or more “soupy” depending on your preference. I like it more on the soupy side. If the risotto seems too thick, add a little more stock until you reach your desired consistency. The dish will continue to thicken as it sits. Aim for a texture that flows gently when spooned into a bowl.
4.3 Seasoning and Cheese: The Final Flourish
Stir in the freshly grated Parmigiano-Reggiano cheese. This adds richness and further enhances the creamy texture. Taste the risotto and adjust the seasoning with salt and freshly ground black pepper as needed. The cheese itself is salty, so season cautiously.
4.4 Removing the Rind: A Subtle Flavor Enhancer
If you added a rind of Parmigiano-Reggiano, locate it and remove it before serving. It may have softened or even dissolved slightly, but any remaining piece should be taken out. It has imparted its flavor, and leaving it in isn’t ideal for the final presentation.
5. Plating and Garnishing: Presenting Your Risotto Masterpiece
Presentation elevates any dish, and risotto is no exception. A few thoughtful touches can turn your perfectly cooked risotto into a visually stunning creation.
5.1 Serving Options: From Casual to Elegant
You can serve risotto in simple bowls for a comforting meal. For a more refined presentation, consider using ring molds to create neat, compact portions on a plate. If you use ring molds, you’ll want the risotto to be firmer and not soupy.
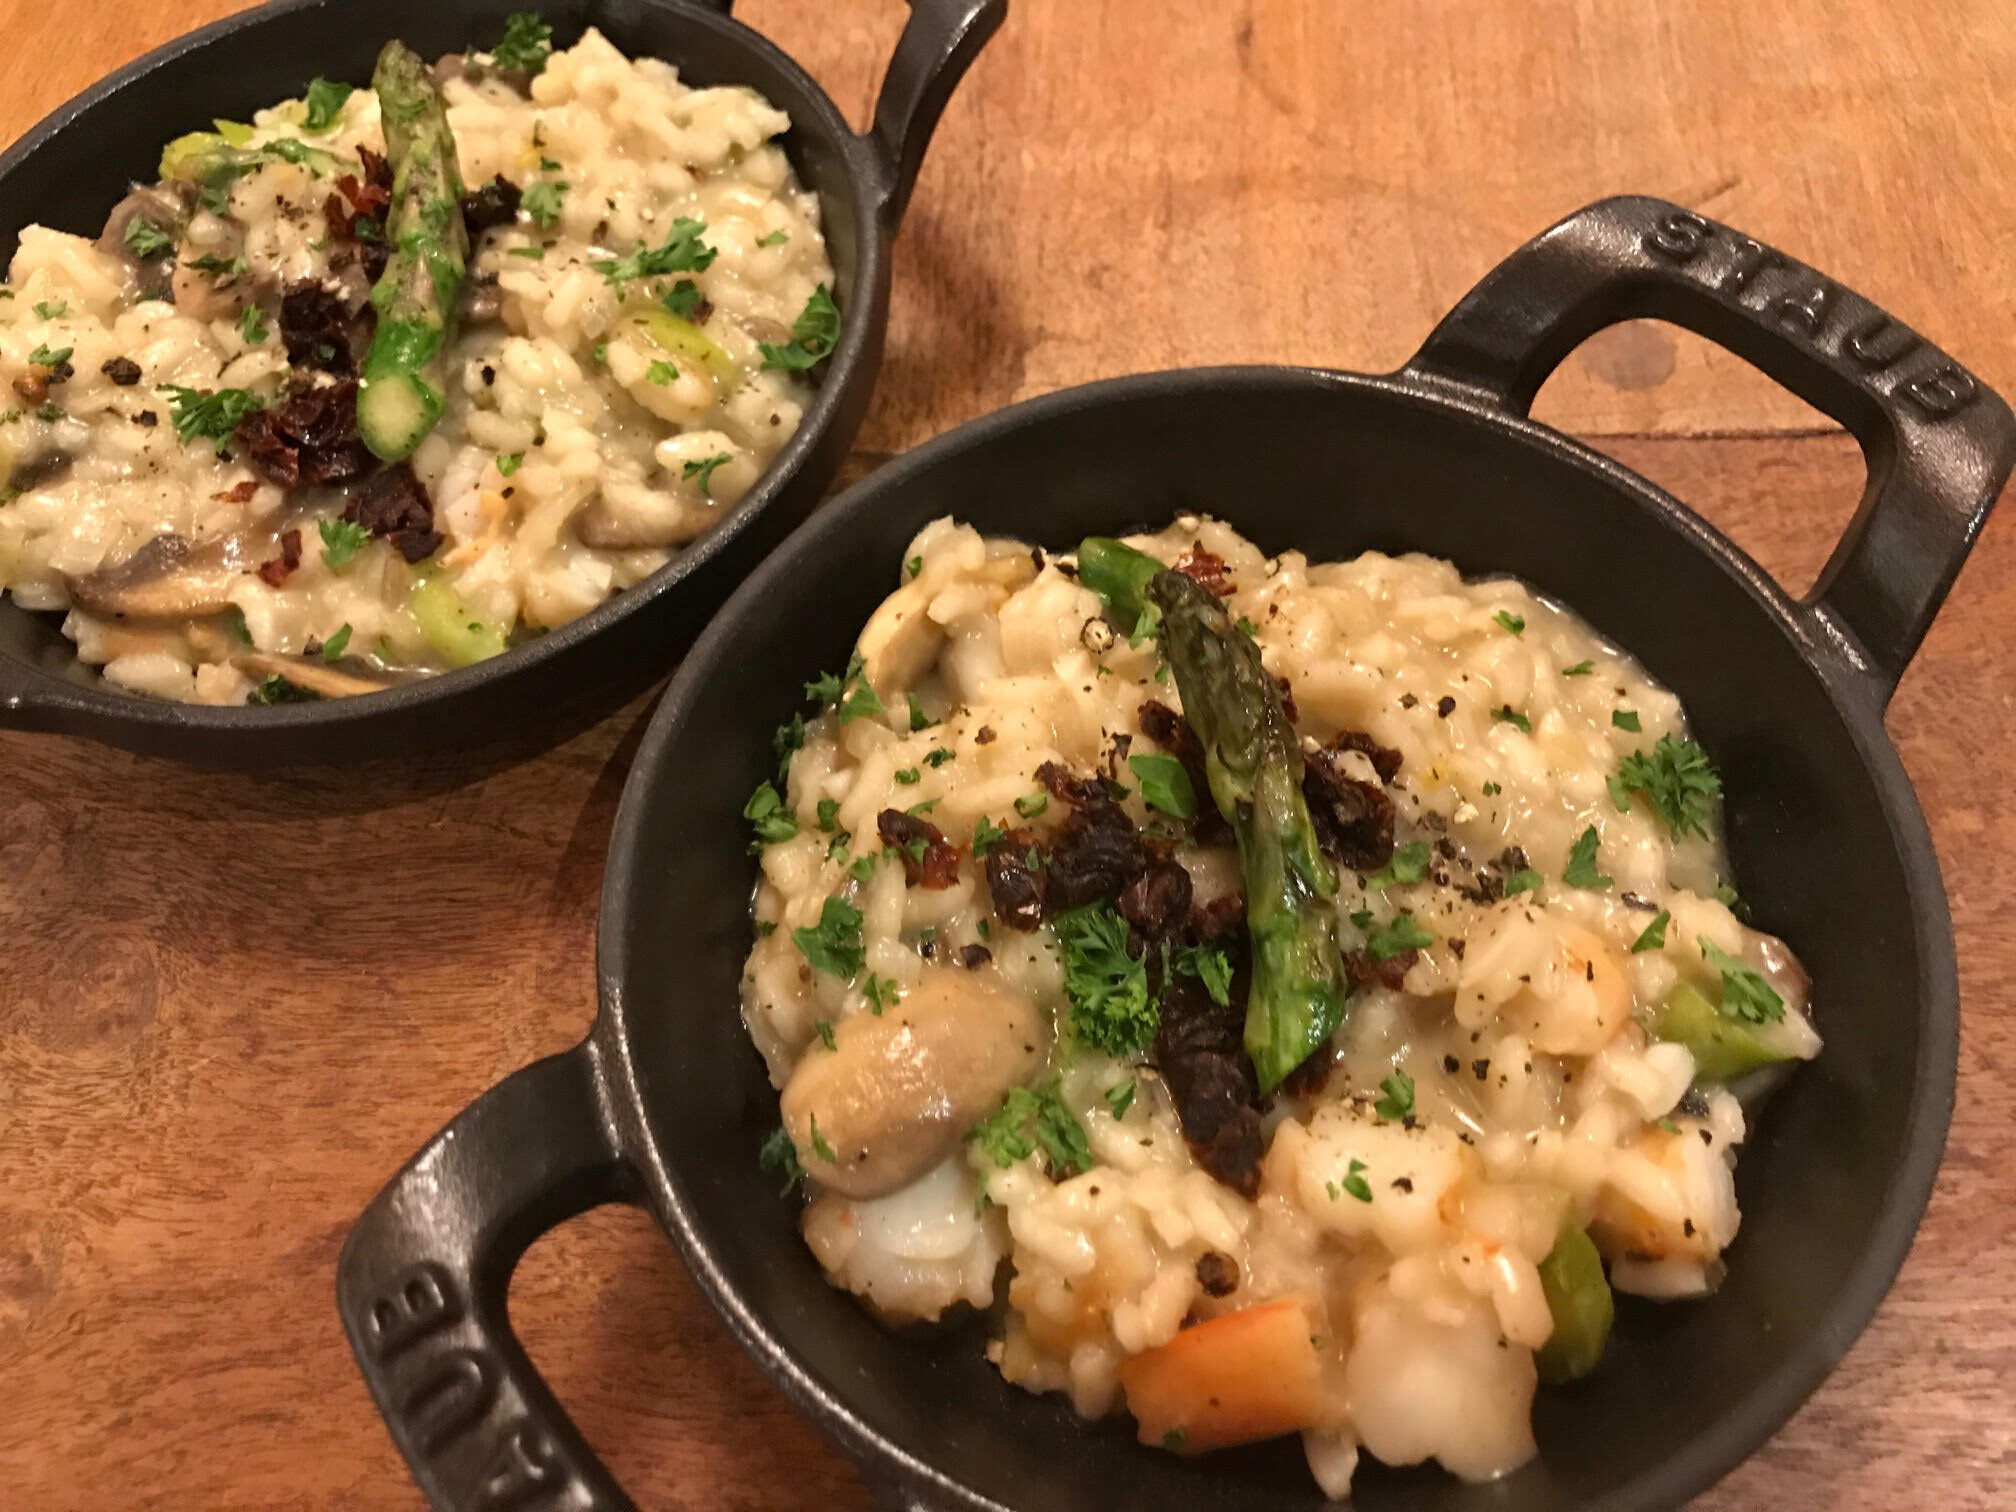
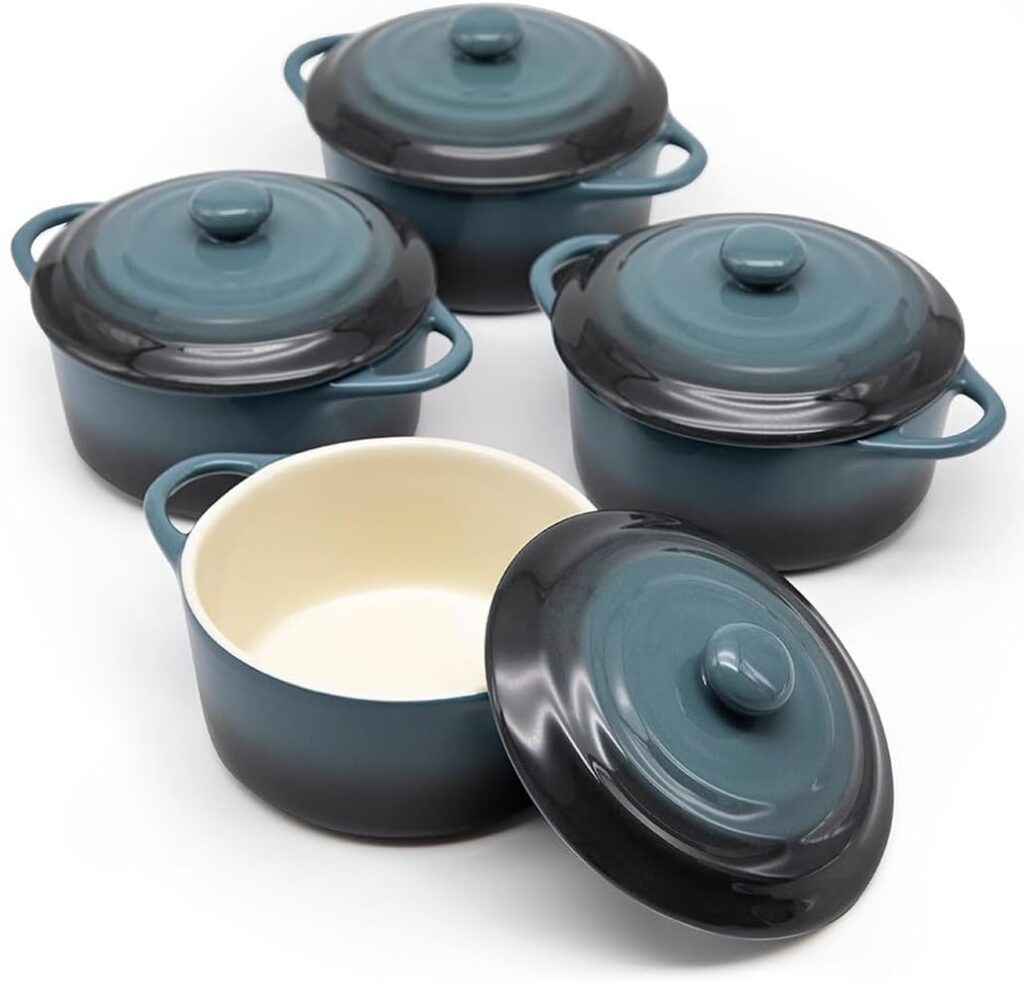
Ramekins can also be used, and a brief warming in the oven can ensure it stays hot. Small, shallow dishes or cocottes also make for attractive serving vessels.
5.2 Adding the Final Touches: Color and Texture
Reserved garnishes like blanched asparagus tips, a sprinkle of fresh parsley or chives, or a twist of pepper add visual appeal and complementary flavors. These final touches provide pops of color and texture that enhance the overall dining experience. Don’t overdo the garnishes; a few well-placed elements are best.
5.3 The Art of Presentation: Making it Beautiful
Garnish from about 12 to 18 inches above the dish. I call this “garnishing from on high”. This allows for a more even distribution of herbs. Think about how the colors and shapes of your garnishes interact with the risotto. A well-presented dish is more inviting and appetizing.
6. Risotto Variations and Creative Exploration
Once you’ve mastered this basic recipe, the possibilities for risotto are truly endless. Don’t be afraid to experiment and discover your own favorite flavor combinations.
6.1 Beyond the Basics: Popular Risotto Additions
Classic variations include mushroom risotto, using various types of mushrooms. Seafood risottos, with shrimp, scallops, or lobster, are also very popular. For a vegetarian option, consider adding peas, asparagus, or roasted vegetables. Saffron risotto, or Risotto alla Milanese, is another famous and delicious version.
6.2 Building Your Own Flavor Profile: Actionable Tips
Consider the flavor of your stock when choosing your main ingredients. For instance, mushroom stock pairs beautifully with mushrooms, while shellfish stock enhances seafood risottos. Balance rich ingredients with bright, acidic components. Think about contrasting textures as well; a creamy risotto can be wonderfully complemented by something crunchy.
6.3 The “Master Recipe” Mindset: Confidence in the Kitchen
Understanding the core techniques of risotto making – the toasting, the gradual liquid addition, the stirring – gives you the confidence to adapt. This master recipe is your springboard. With practice, you’ll develop an intuition for the process, allowing you to create unique and delicious risottos tailored to your taste.
7. Conclusion: Your Journey to Risotto Mastery
You’ve now learned the fundamental techniques and key ingredients to create a perfect risotto. The “master recipe” provides a solid foundation, but the true joy lies in the endless possibilities for customization. By practicing these steps and embracing experimentation, you can confidently whip up delicious and impressive risottos for any occasion.
Remember to focus on the quality of your ingredients, the precision of your techniques, and the patience to allow the rice to transform. Your next risotto will be even better than the last, as you continue to hone your skills and discover your own signature flavors.
Disclosure: As an Amazon Associate I earn from qualifying purchases. If you buy from a link on this site, I may earn a small commission from the vendor without any additional cost to you. No company pays me to say anything in particular, or to say nice things. I only stand behind products I believe in.
Ingredients
- 1 cup arborio or carnaroli rice
- About 3 Tb. olive oil
- About 1/3 cup shallots, chopped
- About ¼ cup celery, chopped
- About 1 tsp. garlic, chopped (use more if you like)
- About ½ cup white wine
- About 1 qt. stock, hot
- A piece of the rind of parmigiano-reggiano cheese, about 1” x 2”
- Kosher salt
- White pepper, ground
- About 1 cup grated or shredded parmigiano-reggiano cheese or similar
- Flavoring ingredients of your choice, such as peas, lobster, asparagus, fennel, shrimp, chicken, or mushrooms, cooked and seasoned
- About 1 Tb. parsley, chopped
- Optional: unsalted butter (softened) or warm cream
Step-By-Step
1. Sweat the mirepoix/sofrito in olive oil, without the garlic. When the mirepoix/sofrito is translucent, add the garlic and stir for about 30 seconds. Be careful not to burn it.
2. Add the rice and stir thoroughly so that the grains become coated with the oil in which the mirepoix/sofrito was cooked. Do this quickly and keep the rice moving so that it does not burn.
3. Add the wine and cook on medium heat, stirring constantly, until the wine is just absorbed.
4. Add enough stock to just cover the rice and drop in the cheese rind. Lightly season the rice. Some cooks stir in some of the flavoring ingredient at this point. Stir the rice constantly and add stock whenever the rice starts to look dry or thick. Be sure to stir the corners of the pot so the rice does not burn there. If you run out of stock before the rice is done, use hot or warm water.
5. After about 15 minutes of cooking, start checking the rice for doneness. When it is al dente, it is properly done. Just before it reaches al dente, remove and discard the remaining cheese rind, stir in the grated cheese, then the flavoring ingredient if you have not already done so, and cook until the rice is al dente. If you decide to finish with butter or cream, remove the risotto from the heat and stir it in now, to taste. Adjust the seasoning.
6. Plate the risotto by spooning it into a serving bowl and garnish with chopped parsley. Alternatively, place a ring mold in the center of each plate, then spoon equal amounts of risotto into the ring molds. Press the risotto gently with the bottom of the spoon to fill the molds and form rice cakes. While gently holding the bottom of the spoon on top of the rice, lift away the ring mold, leaving the rice cake on the plate (the more butter or cream you use to finish the risotto, the less these rice cakes will hold together; you may want to serve such risotto in ramekins instead) . Grate cheese over the rice, garnish with parsley, and serve immediately.