John Hornick — Chef’s Apprentice
Clarified butter is a kitchen staple because it can withstand higher heat without burning, making it perfect for frying and sautéing. It also lasts longer in the fridge. Plus, it’s a favorite for brushing onto baked goods to give a shiny, golden finish. This guide shows how to turn regular butter into pure, golden clarified butter and even brown butter, adding depth to your cooking.
What Is Clarified Butter and Why Use It?
Understanding Clarified Butter
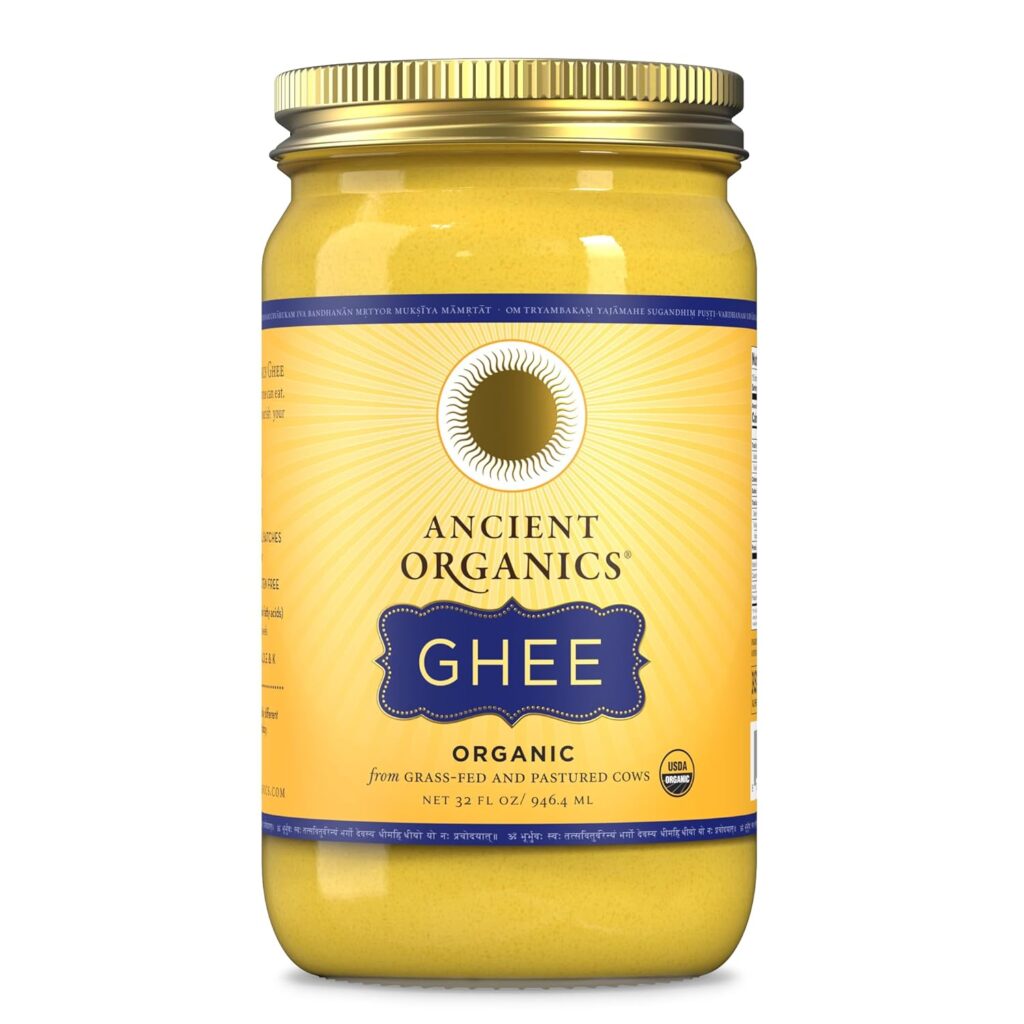
Regular butter is a mix of butterfat, milk solids, and water. When you clarify butter, you remove the milk solids and water, leaving you with pure butterfat. This process results in a clearer, more stable product, with a higher smokepoint. Clarified butter is also known as drawn butter. Indian Ghee is clarified butter.
Common Culinary Uses
Use clarified butter for quick sautéing, frying, and browning. It’s great for brushing pastry edges. It is also used to make sauces, such as bernaise, although plenty of bernaise gets made with regular butter. Compared to regular butter, however, clarified butter will not taste as rich.
Ingredients and Equipment Needed
Essential Ingredients
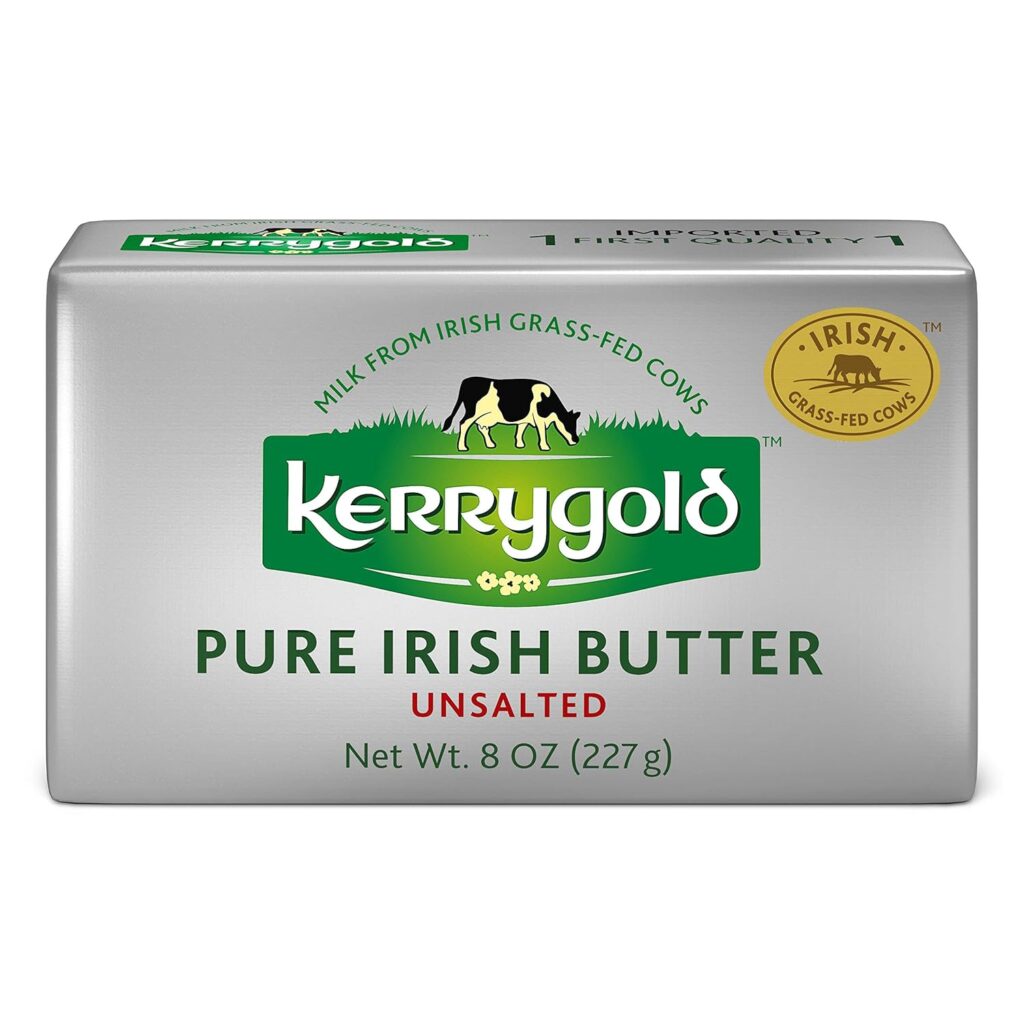
Use unsalted butter, preferably high-quality European-style butter, to get the best flavor. European-style butter is higher in butterfat (82-86%) than American butter (about 80%). The more butterfat, the better it tastes. Unfortunately, European-style butter can be hard to find in the U.S. A reliably available brand is Kerrygold, which has a butterfat content of about 82-83%. If you regard bread as just a vehicle to eat butter, as I do, you will appreciate the higher butterfat content.
Necessary Kitchen Tools
- Small saucepan
- Slotted spoon or skimmer
- Fine mesh strainer
- Stainless steel of other heatproof bowl with ice
Step-by-Step Process for Clarifying Butter
Preparing the Butter
Start by measuring eight tablespoons of butter, which equals one stick. Melt it over medium to medium-high heat in a small saucepan. Keep a close eye because the process can go from perfect to burnt quickly. See my video How to Clarify Butter.
Watching for Boil and Foam Formation
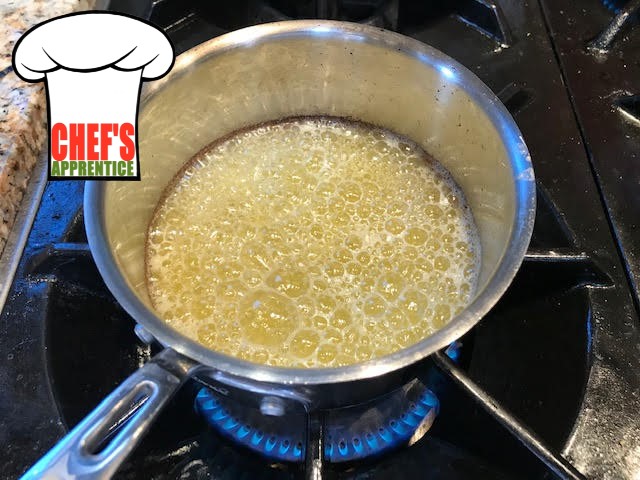
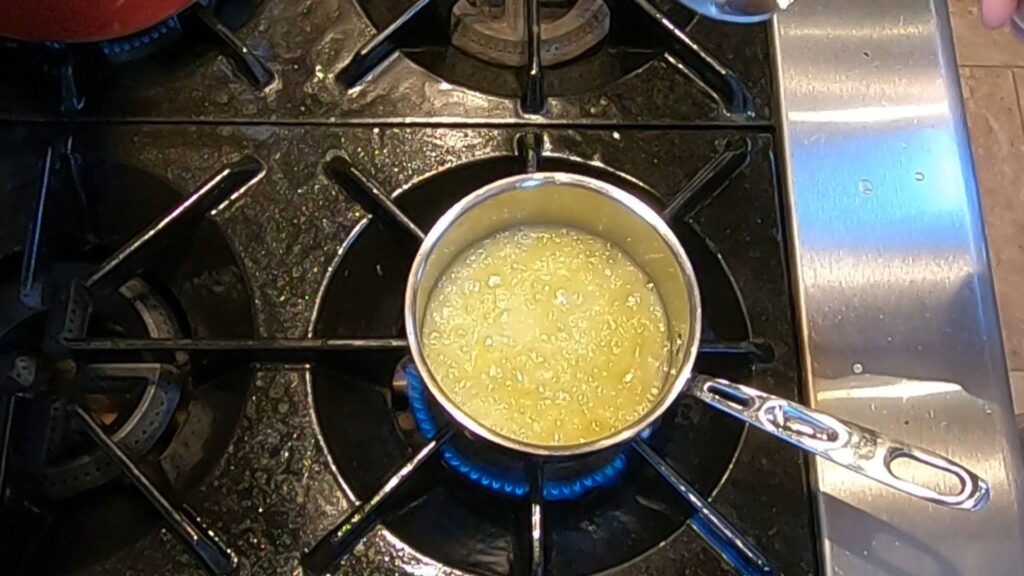
As the butter heats, you’ll see foam form on top. It’s not just foam — it’s milk solids rising. When the foam gets bigger and starts to bubble less, it signals that the butter is nearing clarity.
Removing Milk Solids and Foam
Use a slotted spoon or skimmer to gently remove the foam. This step helps keep your clarified butter clear and free of any burnt bits. Be careful so you don’t remove liquid along with the solids.
Achieving the Perfect Golden Color
Cook the butter until it turns is golden. If you notice a faint nutty smell, you have passed the clarified stage and the butter is now beurre noisette, or brown butter. This butter is good (great) and can be used for many dishes. But if you want clarified butter, start over.
Stopping the Cooking Process
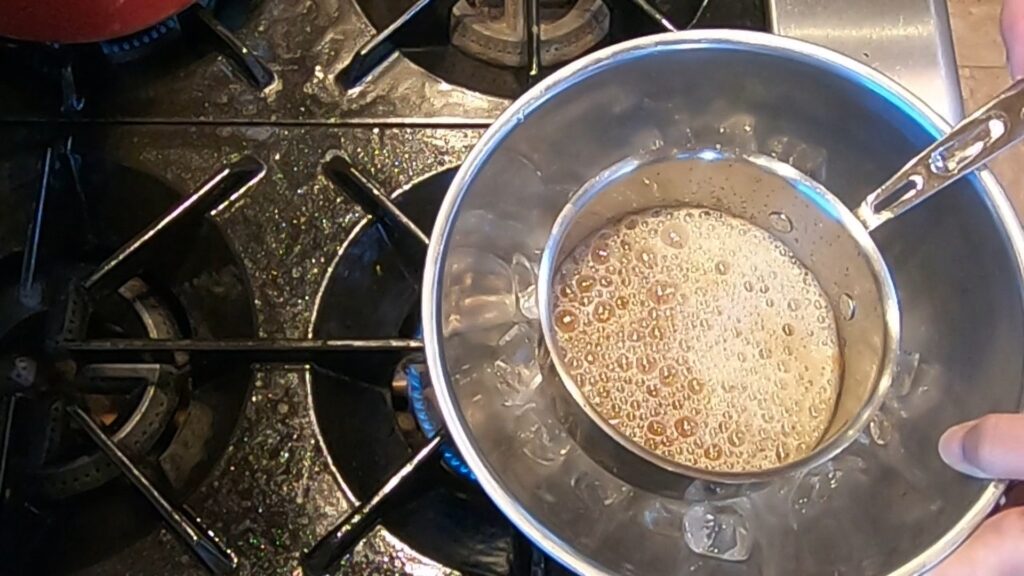
Quickly place the saucepan on top a bowl of ice. Place the pan directly on the ice and move it away from the flame. The photo below shows what I mean; the ice bowl is only near the flame so I could show this step without moving the camera. Hold the saucepan by the handle and swirl the butter gently in the pan. The combination of the metal pan sitting in the ice and the swirling will quickly lower the butter’s temperature. This rapid cooling halts the cooking and helps lock in the color.
Final Clarified Butter and Storage Tips
Once cooled, pour the clarified butter through a fine strainer into a container, leaving behind any sediment. Clarified butter keeps in the fridge for a long time, but most sources will say “up to a month”. This clarified butter is perfect for recipes needing a high smoke point or for brushing onto pastries.
Alternate Method
In my first job, in a restaurant, the chef made clarified butter by simply putting 2-5 lbs. of unsalted butter into a saucepan. Then he sat the saucepan on a warm but not hot part of the kitchen’s flatop stove. The butter gradually melted and all of the milk solids sank to the bottom. Then he used a ladle to draw off as much of the light yellow clarified butter as he needed when he needed it.
You can do this too. I suggest using at least 1 lb. of unsalted butter. Don’t put the sauce pan directly over a flame. You want the butter to get warmth but not direct heat. If you have a high shelf over your stove burners, sit the sauce pan on the shelf when something is cooking on the stove. Don’t rush the process. Let the butter melt, and let the milk solids sink to the bottom, very slowly
The advantage of this method is that you will not burn the butter. The disadvantage is that it takes substantially longer.
How to Achieve Beurre Noisette or Brown Butter
Extend the Cooking Time
Just a little past clarified, the butter will turn deep golden/light brown and release a nutty aroma similar to roasted hazelnuts. This is beurre noisette, or brown butter. Keep watching closely as the butter cooks. It can go from clarified to beurre noisette to burned in seconds. Stop the cooking by using the bowl-of-ice-and-swirling-the-butter-in-the-pan method described above.
Recognizing the Signs of Brown Butter
Color change is your cue — it should be a golden/light brown color. The scent will be strong and nutty. This stage happens fast.
Precautions to Avoid Burning
Be vigilant. Brown butter can go from perfect to burnt in seconds. Adjust your heat if needed, don’t walk away, and keep your ice bowl handy. Timing and attention are key for those complex, toasted aromas and flavor.
Uses of Brown Butter
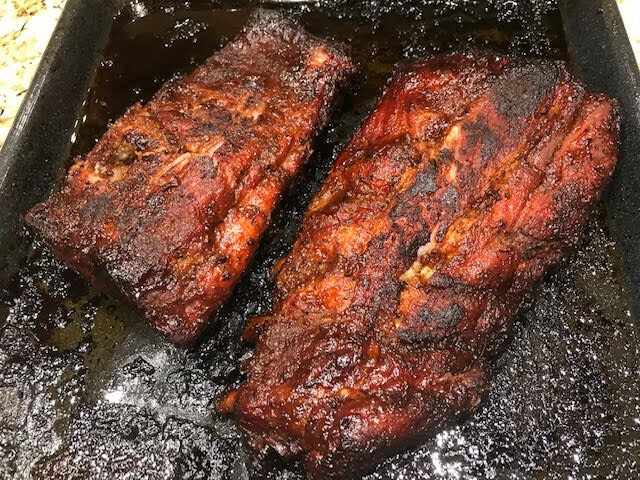
Add browned butter to sauces, drizzle over baked bread, or mix into cookie dough. It works wonders in dishes that benefit from a rich, nutty flavor, making simple recipes extraordinary. I use it as a sauce over many pasta dishes, such as my St. Louis Style Pork Ribs Ravioli with Brown Butter, Chevre Balls, Honey & Balsamic.
Tips and Expert Advice for Perfect Clarified Butter
Ensuring Clear Results
Start with high-quality unsalted butter — higher fat content means better flavor.
Troubleshooting Common Issues
Burnt bits at the bottom mean heat was too high or cooking too long. If your butter isn’t clear, it might be overcooked or contaminated with milk solids. Just start over with fresh butter. If the butter you cooked is brown but not burned, don’t waste it. It will be good on practically anything.
Practical Applications and Recipes Using Clarified or Brown Butter
Cooking Techniques
Sauté vegetables, sear fish, or fry meats in clarified butter for even, high-heat cooking. It adds a subtle buttery richness without burning.
Pastry and Baking
Brush pastry with clarified butter for a shiny, brown finish. Use brown butter in cookies or cakes to add complexity.
Special Dishes
Brown butter enhances everything from roasted vegetables to decadent desserts. It can be used for virtually any dish that calls for regular butter, to add nutty richness.
Conclusion
Mastering how to clarify butter and make brown butter opens up endless culinary possibilities. It’s all about patience. Practice, watch carefully, and soon you’ll add a new tool to your cooking repertoire: clarified butter, or rich, nutty brown butter. Keep experimenting, and enjoy the delicious results!
Disclosure: As an Amazon Associate I earn from qualifying purchases. If you buy from a link on this site, I may earn a small commission from the vendor without any additional cost to you. No company pays me to say anything in particular, or to say nice things. I only stand behind products I believe in.