John Hornick — Chef’s Apprentice
Cooking baby back pork ribs at home can turn any evening into a special occasion. When done right, they impress even the pickiest eaters. Better yet, slow-cooked baby back ribs are simple, reliable, comfort food, perfect for a any night. This guide will walk you through every step of cooking baby backs low and slow.
Choosing the Right Ribs
Baby Back vs. Spare Ribs
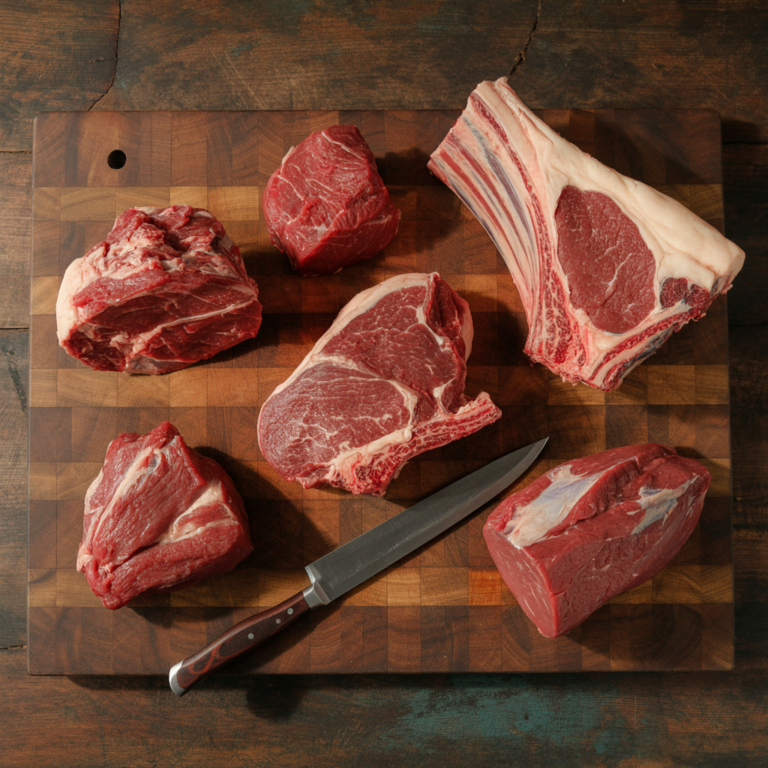
Not all ribs are the same. Baby back ribs are smaller and leaner. Baby backs tend to be more tender and melt-in-your-mouth—ideal comfort food. Spare ribs, on the other hand, take longer to cook and have more fat, which can be excellent if you love rich, hearty flavors. “They” say baby backs cook faster than spare ribs. They do, but I cook them both for about the same amount of time for fall-apart baby backs.
How to Pick Quality Ribs
Always check for fresh, pink meat with a good amount of marbling. Ribs should smell fresh, not sour. When buying, look for ribs that are moist but not slimy. High-quality ribs will make all the difference in flavor and tenderness. I like the products from Porter Road, which sells — as they say — “Life Changing Meat”, which is my only known source for Pig Wings.

Preparing Ribs for Cooking
Bring Ribs to Room Temperature
Let your ribs sit out for about 30 minutes before cooking. This step helps them cook evenly and doesn’t drop the temperature of your smoker or oven, as fridge-cold ribs would.
Removing the Membrane
On the bone side, a thin membrane covers the ribs. Removing it lets flavors penetrate better and results in a more tender bite. Use a paper towel or kitchen towel to grip one end, then peel it away slowly. It might take a little effort.
Confession: I often don’t remove the membrane. I believe not doing so makes little difference in the final result. In fact, I didn’t remove the membrane from my most recent rack and it may have been the best I have ever made. And the smoked meat easily pealed away from the membrane.
Applying the Rub
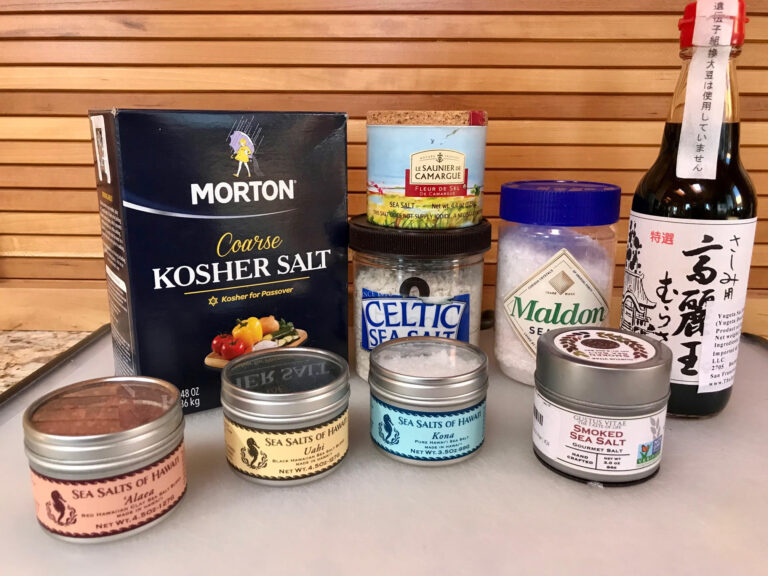
A good rub packs in flavor. You can buy a store-made spice blend or use a simple mix of salt, pepper, paprika, garlic powder, and brown sugar. I always use my Anything Rub, which can be used on, well, anything. Rub the mixture all over the ribs, making sure to cover every inch. That’s why they call it “rub”. For easier handling, slice the rack into halves or thirds.
Choosing Your Sauce
The sauce sets the tone. For a fruity twist, try my Killer Apricot Cherry sauce. Want something tangy? Use vinegar-based sauces like my Carolina-ish Vinegar BBQ Sauce. Prefer mustard-based sauces? Use my Carolina-ish Mustard BBQ Sauce (my fave for ribs and pulled pork). For a good store-bought sauce, I like Sweet Baby Ray’s. You will brush your chosen sauce on during the last hour of cooking.
Slow Cooking Baby Back Ribs
Smoker/Oven Setup and Preheating
Set your smoker or oven to 270°F. For a long time I set to 250°F but I believe I get better fall-apart-tender results at 270F. This relatively low temperature gently breaks down the connective tissues, making the ribs tender without drying them out.
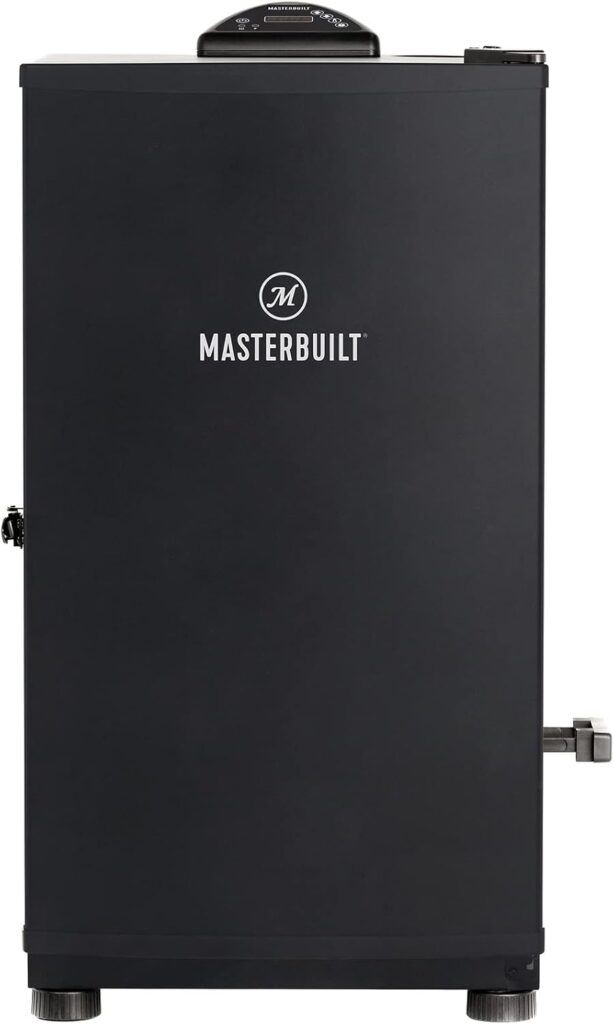
I prefer using a smoker over an oven, and love the Masterbuilt electric smoker. I did a lot of research before buying it. It turned out to be a great choice, which I have been using for many years. It maintains a constant temperature, it’s easy to add wood chips if I want smoke, and it’s built like a tank. If I don’t want to add smoke but want a little smokiness, I simply rely on the residual smoke in the smoker’s chamber.
Check out my video on making baby back ribs.
Arranging the Ribs
Place the ribs in a roasting pan (9″ x 13″ for the Masterbuilt smoker) with the bone side down. Lightly oil the pan or line it with foil for easier cleanup. Bones facing down keeps moisture locked in and preserves flavor.
I use an old roasting pan dedicated to the smoker, which is where it lives when I’m not using it. I don’t store it in the house because it smells of smoke. Any pan you use in the smoker will develop black soot on the sides and bottom. I don’t even try to clean that off. I simply line the pan with foil or a 9′ x 13″ disposable aluminum pan, which can easily be cleaned or discarded after each smoke.
Cooking Time and Technique
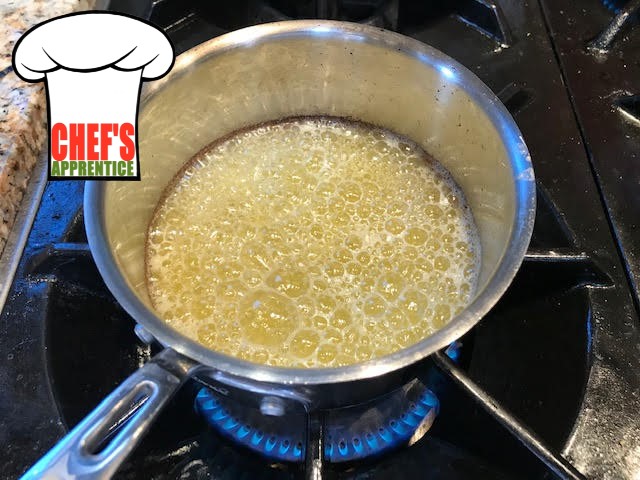
I get great results by cooking the ribs for a total of 6 hours. I start by cooking them for 2 hours bone-side down. After the first 2 hours, I brush them with pan juices and pineapple juice to keep them moist and to add depth, then cover the pan with foil to trap moisture and cook two more hours. The pineapple juice infuses the meat with sweetness and helps tenderize.
After the second 2 hours of cooking, I brush them again with the mixed pan juices and pineapple juice, cover them with foil again, and return them to the smoker for another hour (5 hours so far).
After the 5th hour, I brush the ribs with pan juices and my barbecue sauce of choice, cover with foil, and return to the smoker for 30 minutes. Timing is key for adding sauce—too early and the sauce burns; too late, the glaze won’t set.
After 30 minutes, I turn off the heat but leave the ribs in the smoker for about 30 more minutes. This brings the total cooking time to 6 hours.
Final Caramelization and Searing
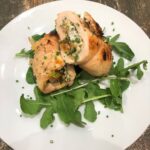
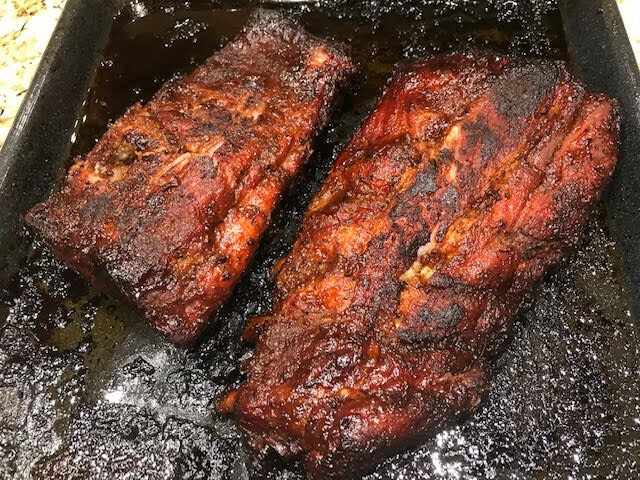
After the ribs have spent their time in the smoker or oven, I often do an optional final step: searing them in a frying pan or on the grill. This helps to create a glossy, caramelized crust, which not only looks great but enhances the flavor. As I said, this step is optional. The ribs will be delicious without it, and even better with it.
Final Presentation and Serving Tips
Rest, Cut, and Serve
I don’t rest the ribs after removing them from the smoker because they were resting in the smoker or oven for the last 30 minutes when the heat was turned off and the temperature was dropping gradually.
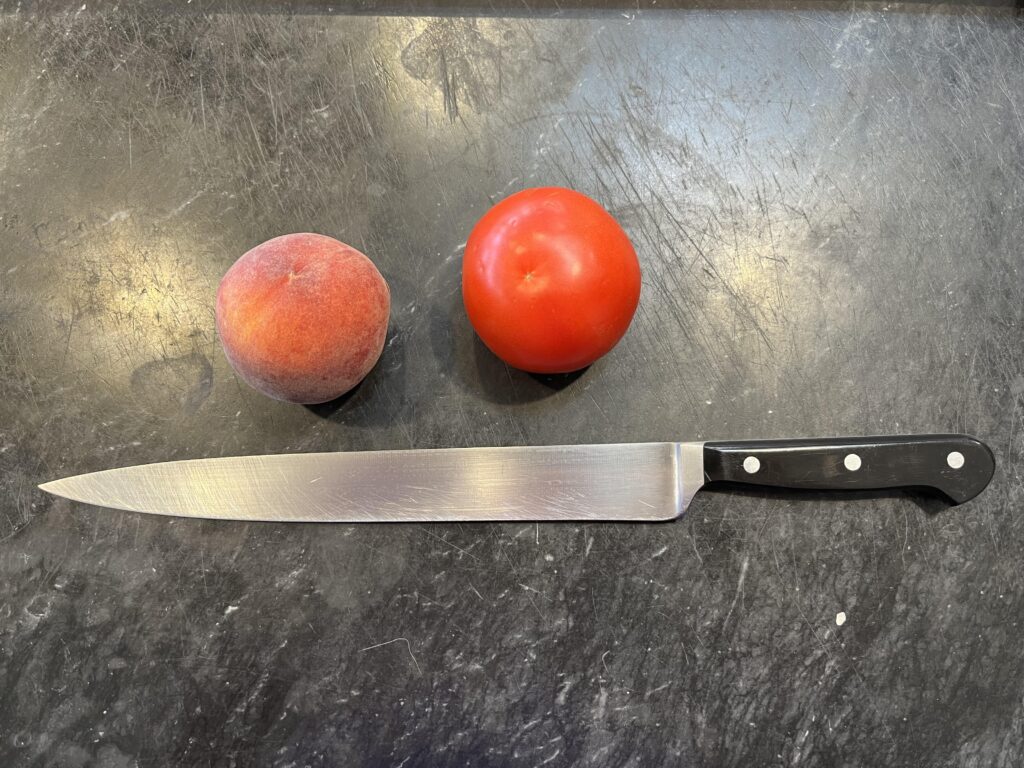
Slice between the bones for neat, easy-to-eat portions. When you slice to the point where the ribs connect, turn the knife slightly and keep slicing. This will get you past the connecting bone. This Wusthof slicer has sliced many ribs. For a cutting board I recommend True Board, the best board ever.
Pairing Ideas
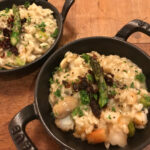
Serve with your favorite sides—coleslaw, potato salad, baked potato, corn on the cob, or cornbread work well. For drinks, consider a cold, crisp lager or sweet iced tea. We drink wine with everything, so we always pair ribs with a red wine with a lot of body, like a Cabernet Sauvignon or a meritage.
Expert Tips
- Feel free to customize the rub with your favorite spices or experiment with different sauces.
- Use a basting brush for even application.
- Don’t worry about overcooking or undercooking. If you follow this procedure, your ribs should come out great.
- Fill the water pan in your smoker to maintain a humid atmosphere. If it has no such pan or you are using an oven, place a pan of water in the smoker or oven.
- If you are not confident of your smoker’s or oven’s temperature stability, use a thermometer with a probe for measuring the temperature.
Conclusion
Preparing slow-cooked baby back ribs is a simple way to elevate any occasion. Follow these steps—season, slow roast or smoke, glaze, and caramelize—and you’ll create tender, flavorful ribs that will impress everyone. The best part? It’s easier than you think to cook ribs at home. So, get your ingredients ready, and let the deliciousness begin.
Disclosure: As an Amazon Associate I earn from qualifying purchases. If you buy from a link on this site, I may earn a small commission from the vendor without any additional cost to you. No company pays me to say anything in particular, or to say nice things. I only stand behind products I believe in.
Ingredients
- 1 rack of baby back pork ribs
- About ½ cup Anything Rub (or another BBQ rub)
- About ½ cup Pineapple juice (I buy the 6 oz. cans and use about 1/2 can)
- Olive Oil
Suggested sauces:
Step-By-Step
Serves 2 (with leftovers)
Preparation time: about 6 hours
Start at about 1:30 to eat at about 8p
- 1. Preheat to 270 F (oven or smoker)
- 2. Remove membrane (optional); slice in half
- 3. Rub ribs
- 4. Oil roasting pan
- 5. Roast bone side down, 2 hrs. (2p-4p), with or without smoke
- 6. Brush with pan juices (@ 4p)
- 7. Add pineapple juice, brush
- 8. Cover with foil
- 9. Roast 2 hrs. (4p-6p)
- 10. Brush with pan juices (@ 6p)
- 11. Foil
- 12. Roast 1 hr. (6p – 7p)
- 13. Brush with sauce and juices (@ 7p)
- 14. Foil
- 15. Roast 30 minutes, then with no heat about 30 minutes (7p to 8p)
- 16. Sear ribs (optional)