John Hornick — Chef’s Apprentice
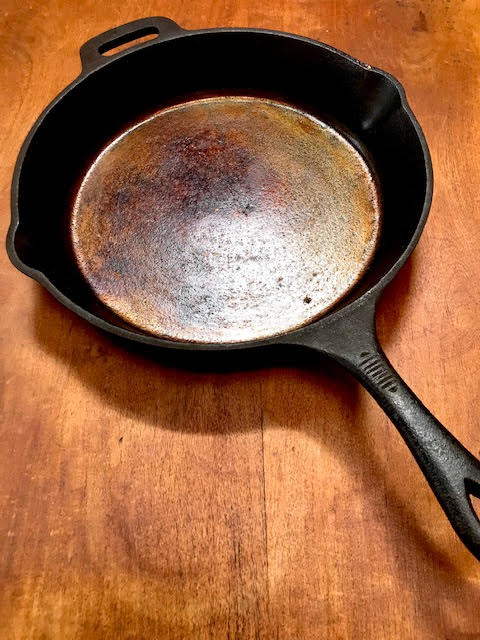
Restoring a cast iron skillet doesn’t have to be a complicated task. If your pan looks more like a worn thrift-shop piece rather than shiny and black, you’re not alone. I found one of my pans in a thrift shop, and it needed a lot of work.
Many cooks face this issue and worry about ruining the pan or doing too much work. The good news? One: It’s cast iron. Hard to hurt it. Two: My method is easy.
With this simple method, you can bring your cast iron skillet back to life without scrubbing forever. It may not be as beautiful as some of the restored pans you can see online, but you can do it with less work and it won’t be so beautiful that you would rather frame it than use it. The key is focusing on easy steps that clean thoroughly and create a durable seasoning layer for years of great cooking.
Understanding Cast Iron Care and Maintenance
Why Proper Care Extends the Life of Your Cast Iron
Cast iron cookware is tough but needs proper care to be give you the best results. When you season it well, it resists rust, is easy to clean, and sears food beautifully. Proper maintenance helps keep the seasoning intact and prevents rust from forming, saving you time and money. Skipping care means more rust, stuck-on food, and disappointing dishes.
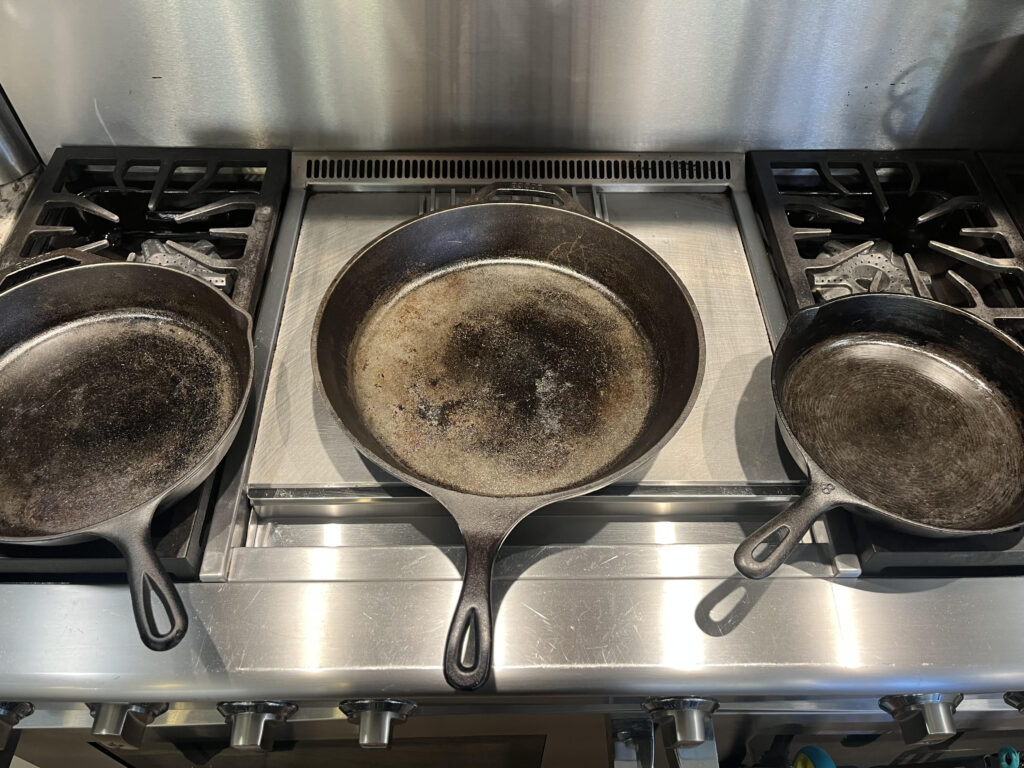
These are my cast iron pans, 10″, 12″, and 15″. Can you tell which one is used the most and is best seasoned (answer at the bottom)?
Common Issues with Cast Iron Pans
- Burnt-on residue: Food or grease baked or burnt onto the surface.
- Rust formation: Usually from moisture left on the pan.
- Loss of seasoning: When the surface becomes dull, sticky, or rusty.
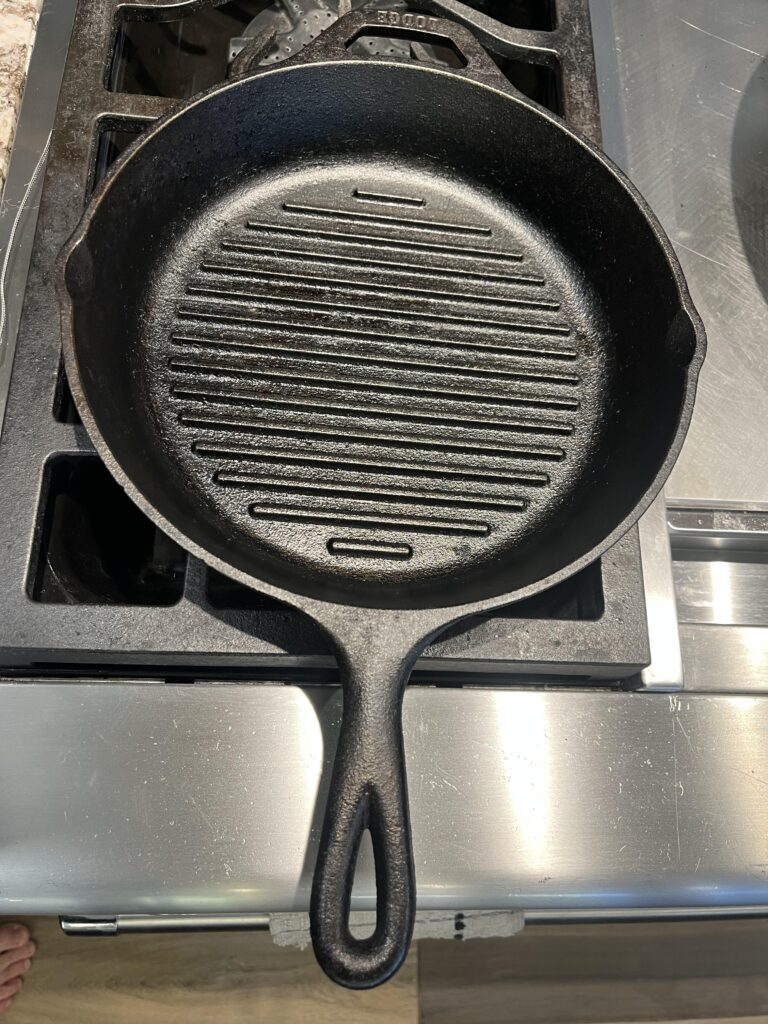
Here’s my cast iron grill pan. It’s much harder to clean but it’s really handy sometimes.
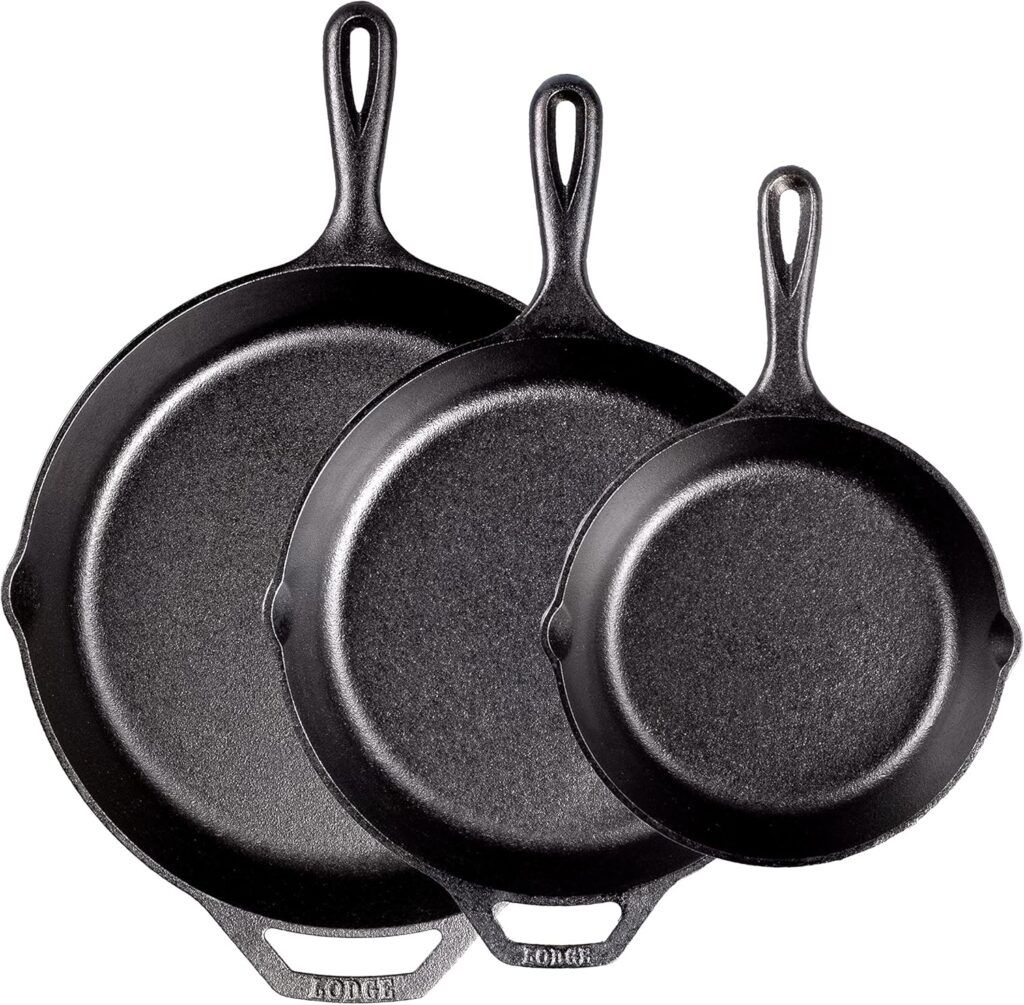
These pans are all made by Lodge, which in my opinion is the best brand, and they’re made in the U.S.
The Science Behind Seasoning and Restoring Cast Iron
Seasoning is just oil that bonds with the pan’s surface and pores to create a natural non-stick layer. Over time, cooking and cleaning methods can wear this layer down, especially if you use soap and water for cleaning (I never do — read on). Restoring involves cleaning off old, baked-on buildup and building a new, strong coating of oil. That way, your cast iron stays non-stick and rust-free.
Step-by-Step Guide to Restoring a Worn Cast Iron Pan
Preparing Your Workspace and Tools
Get ready with these essentials (I have provided links for everything you need):
- Oven set to 350°F.
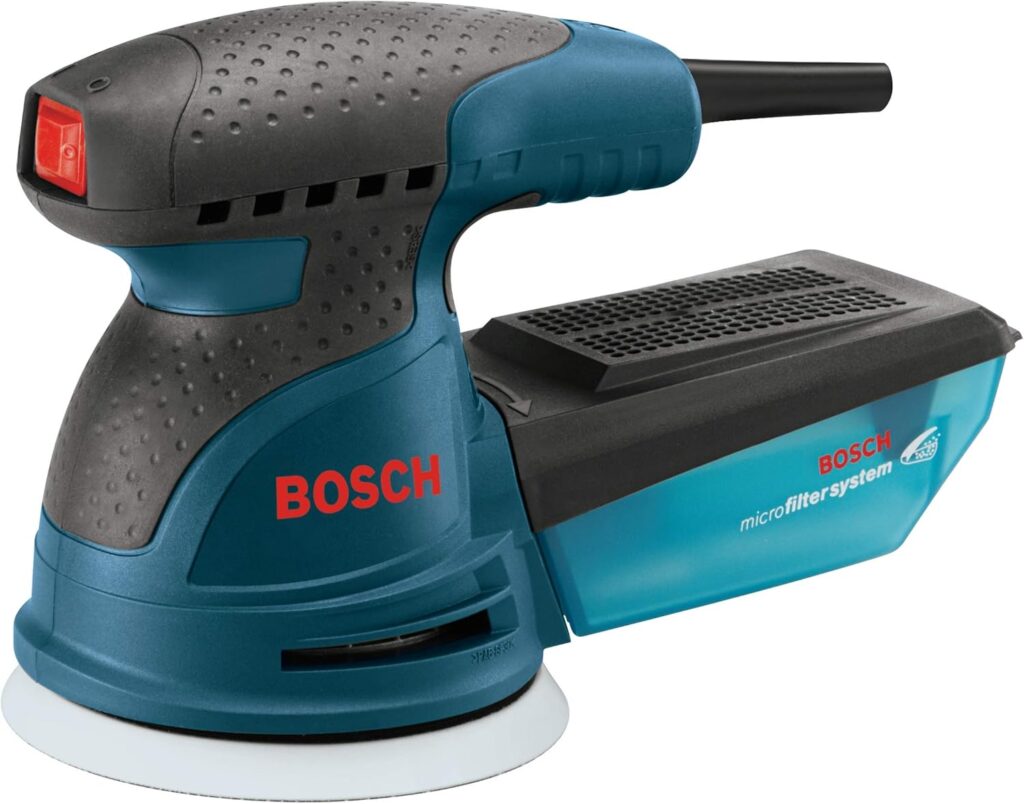
- A random orbit sander with 80 and 120 grit sandpaper.
- Safety gear: respirator or dusk mask.
- A sturdy cloth or paper towels.
- Tongs and potholder for handling hot cookware.
Safety reminder: Sanding creates dust, so wear a respirator or dusk mask.
Stripping Old Residue with Power
Start by sanding the bottom of your pan with the random orbit sander and 80 grit paper to remove baked grease and food residue. You’ll see the surface turn from black to a shiny silver-black tone. Make sure to move the sander evenly and avoid pressing too hard in any one spot. If you care about restoring and seasoning the inside sides of the pan (I don’t), sand them too.
Switch to new 80 grit paper when the old one gets covered with residue. After that, change to 120 grit to smooth out any rough spots. Keep sanding until the surface looks even, with a nice matte finish. This process removes the old seasoning and prepares the surface for re-seasoning. See my video showing how I do this.
Achieving a Smooth, Silver-Black Finish
The goal of this method isn’t perfection but a clean, smooth surface. Don’t worry about small pock marks—they’re part of the cast iron’s character. The key is to make sure no baked-on gunk or rust remains. Once done, brush away dust with a clean cloth.
Re-Seasoning Your Cast Iron Pan for Better Cooking Performance
Applying the Initial Coat of Oil
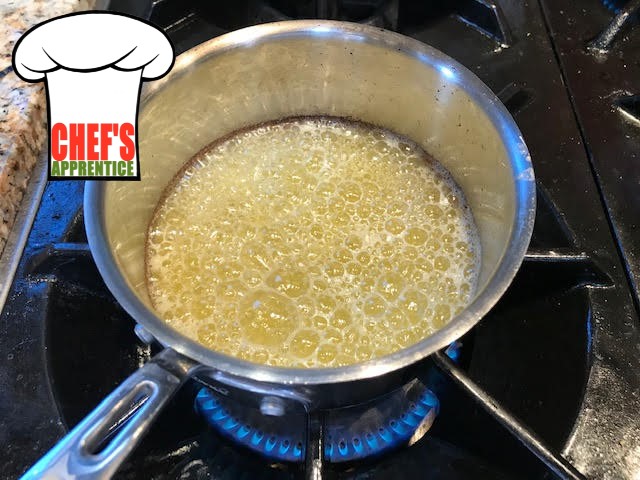
Choose an oil with a high smoke point like Crisco shortening, canola, or grape seed oil (I use Crisco). Coat the entire bottom generously, spreading an even layer. It should be well coated, but not gloppy. If you care about seasoning the sides, coat them too. This is the base for building your non-stick surface.
Heating and Baking Process
Preheat your oven to 350°F. Place the pan on medium heat on the stove, just until you see light whiffs of smoke. Use a potholder and tongs to transfer it to the oven. Leave it in the oven for 1 hour. Repeat this oiling and baking step 2–5 times (for a total of 3-6 times) for a solid build-up. But be careful because the pan will be really hot. You can use a folded paper towel held with tongs to coat the pan safely. This process is what turns oil into a durable protective layer that improves with each cycle.
Cooling and Finishing
When finished, cool the pan at room temperature. Store it in a dry place, with or without a moisture-absorbing pack, to keep rust at bay.
Routine Cleaning and Maintenance for a Well-Seasoned Cast Iron Pan
After-cooking Cleaning Techniques
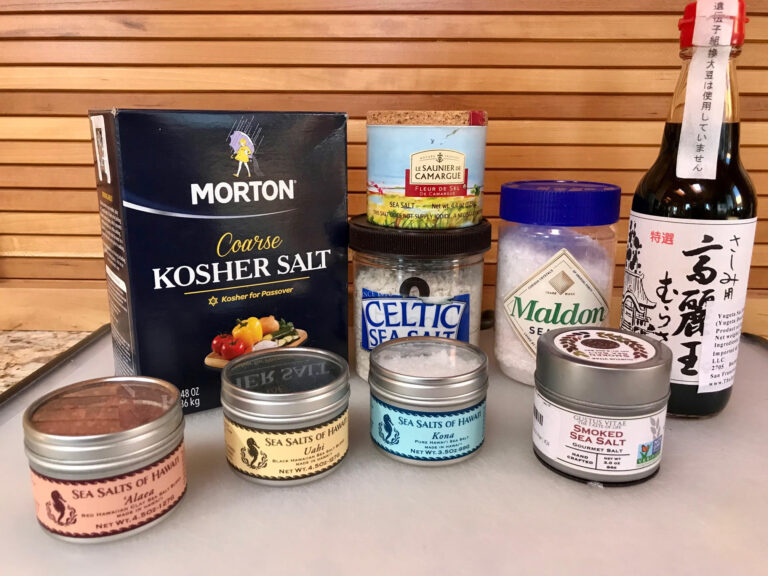
After cooking, wipe out the pan with a dry paper or cloth towel to remove loose food. I also use paper towels to remove as much grease as possible, so it doesn’t end up down the drain or leaking through garbage bags. For stubborn spots, sprinkle coarse kosher salt inside, add a splash of olive oil, and scrub with a rough pad. This acts as an abrasive and lifts stuck bits without harming the seasoning. Scrape if you need to, but don’t use water or soap.
Avoiding Water-Based Cleaning
Water can wash away your seasoning and cause rust. Skip soap —use coarse salt and oil instead. Some people use water and salt, but the water melts the salt. Oil doesn’t. If you must use water, dry the pan thoroughly afterward and wipe it with a little oil to restore the surface.
Deep Cleaning and Re-Seasoning When Needed
When your pan becomes dull, sticky, or rusty, it’s time for a deep clean. Follow the restoration steps: strip, sand, and re-season. Regular maintenance extends the life and keeps it performing like a dream. But if you clean it as recommended, you shouldn’t need to strip and sand for a long time. It’s been years since my last restoration.
Storage Tips to Prevent Rust
Always ensure your cast iron is fully dry before storing. A desiccant packet can absorb moisture and prevent rust. Storing with a paper towel on the cooking surface or hanging the pan also helps keep air circulating and moisture out.
Additional Expert Tips and Best Practices
- Regularly maintain your seasoning with thin layers of oil after each use.
- Don’t let rust form — keep it dry.
- Keep the pan seasoned so you don’t have to re-season.
- Remember, a little work now saves many headaches later.
- Try to avoid caramelizing sugar in the pan, which makes it harder to clean.
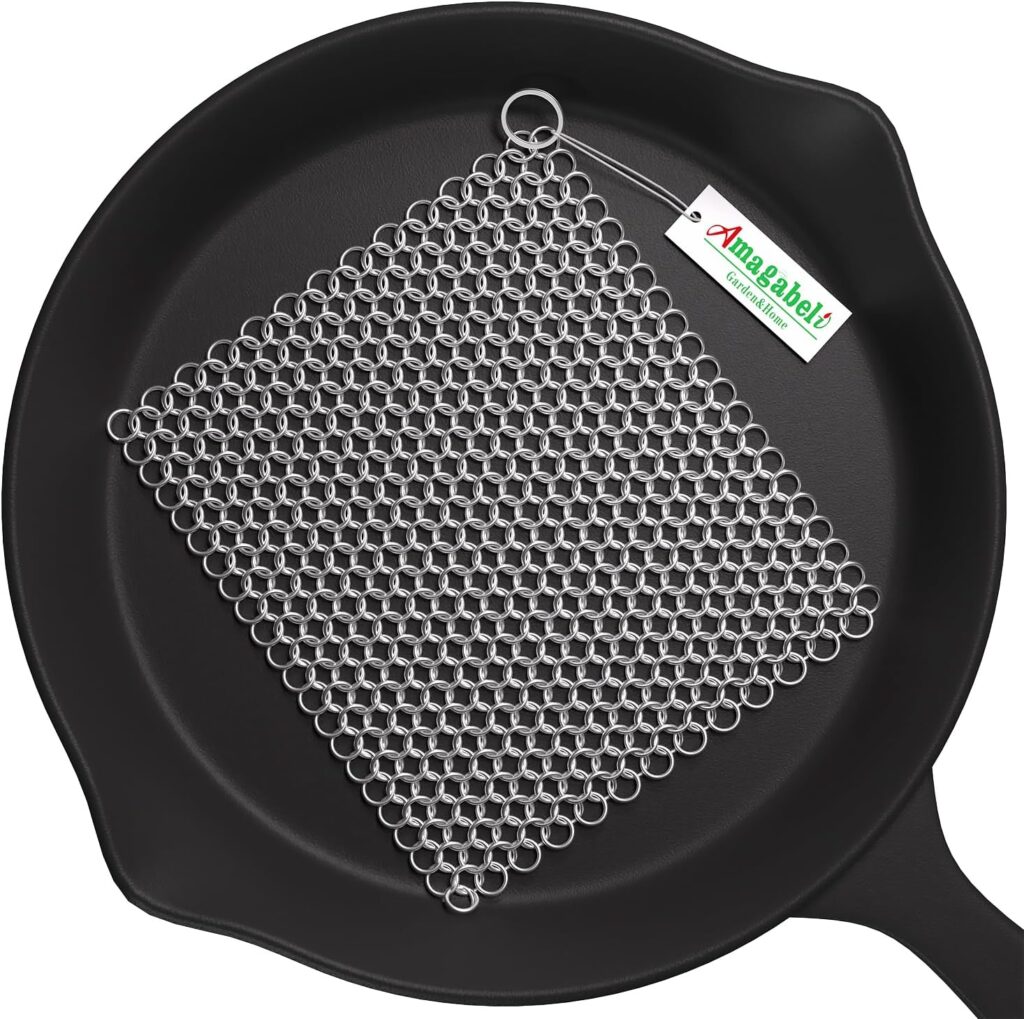
- When cleaning, avoid soaps—abrasive coarse salt and oil are enough, with a pad made for cleaning cast iron. If you use this cool chain mail pad, you can clean your cast iron and make it part of a Renaissance Fair costume.
Conclusion
Restoring and caring for cast iron is straightforward once you know the steps. Sanding off old buildup, applying multiple layers of oil, and proper cleaning keep your pan performing for decades. A well-maintained cast iron pan lasts forever, improves with age, and becomes as essential in the kitchen as a good knife. Take the time to care for it now, and enjoy non-stick cooking and rust-free results for years to come. Your favorite skillet is just a few steps away from being like new—so get started today!
Answer: The 10″ pan on the right is used the most and is the best seasoned.
Disclosure: As an Amazon Associate I earn from qualifying purchases. If you buy from a link on this site, I may earn a small commission from the vendor without any additional cost to you. No company pays me to say anything in particular, or to say nice things. I only stand behind products I believe in.