John Hornick — Chef’s Apprentice
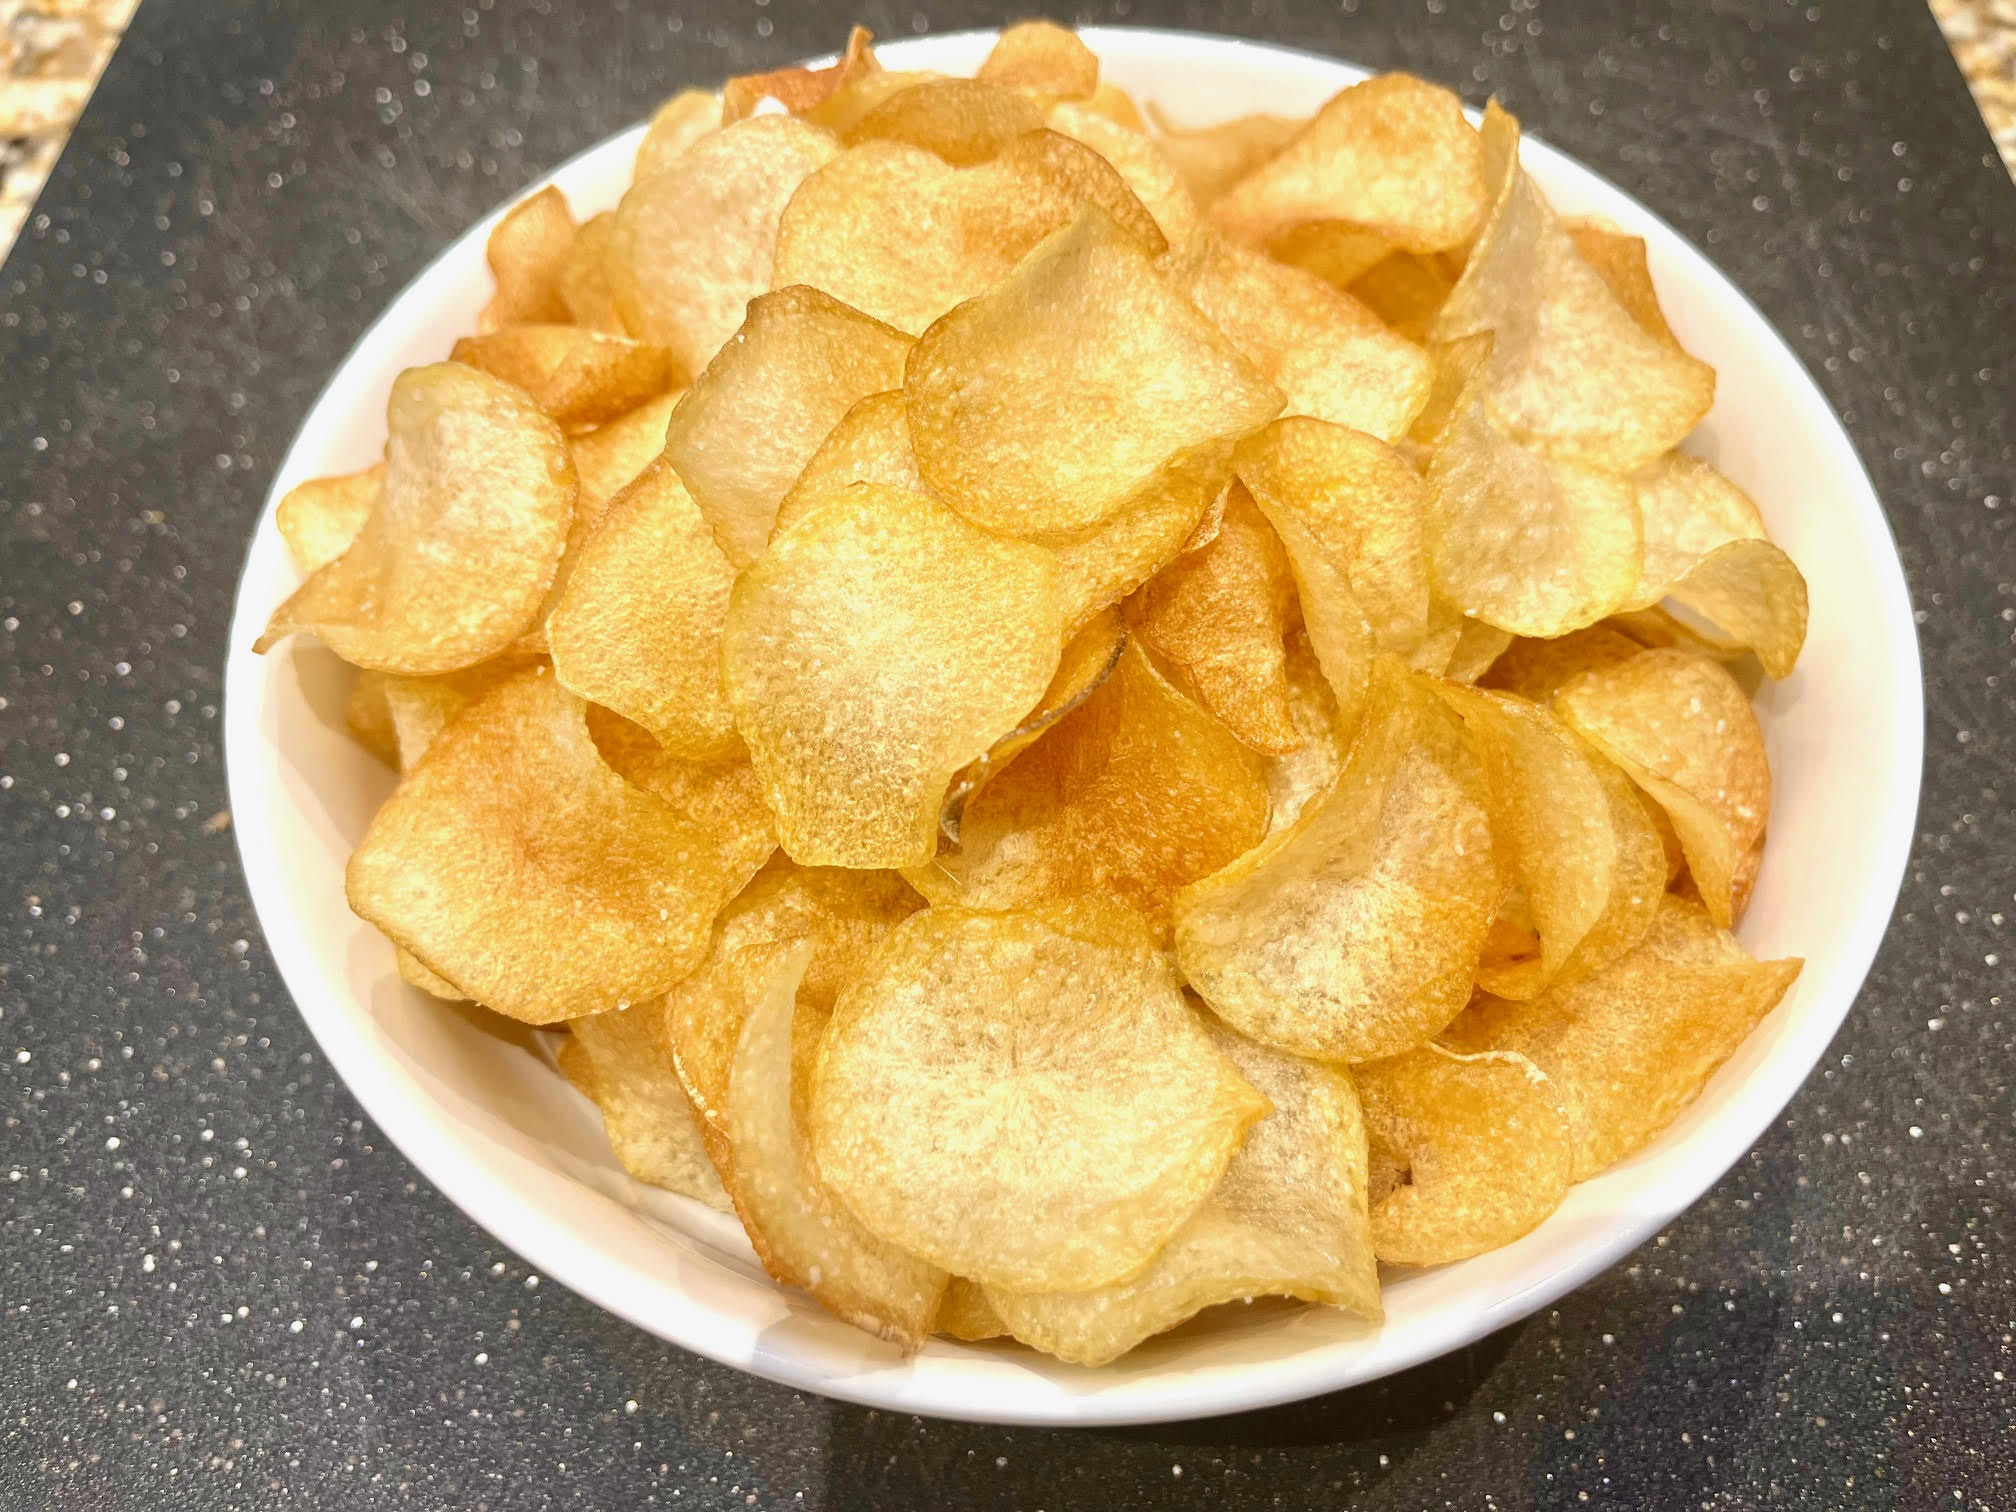
Nothing Beats Homemade Chips
Nothing beats the taste of fresh, crispy chips you prepare yourself. But many techniques on the Internet don’t work; the chips cook too fast and turn brown. Whether you’re craving a snack or want to impress friends, this technique works. This guide breaks down every step from selecting potatoes, to my unique cooking method, to storing your crispy treats, helping you master the art of homemade chips.
If I could have only one food, it would be potato chips. I especially like Utz, which are from Pennsylvania. I ate them throughout my childhood. Unfortunately, the area where I live now is an Utz-free zone. So sometimes I make chips myself, golden and paper thin. I provide a link below in case you want to try Utz (by the way, I’ve found that it’s less expensive to order them from Amazon than directly from the company, especially is you have Prime free-shipping).

Choosing the Right Potatoes for Homemade Chips
Selecting the Best Potatoes
The key to crispy, delicious chips starts with picking the right potatoes. Russet potatoes are the best choice because they have high starch content, which helps them fry up crisp and flavorful. You want a variety that’s firm, free of sprouts, and not overly moist.
Preparing the Potatoes
Start by peeling your potatoes to remove any dirt and eyes. Rinse well to ensure they’re clean. Once peeled, keep them in water until you’re ready to slice. This prevents browning and keeps the potatoes fresh until you’re ready to work. Proper preparation helps everything go smoother and results in better chips.
See my video Potato Chips 1.
Preparing Potatoes for Slicing
Slicing Techniques
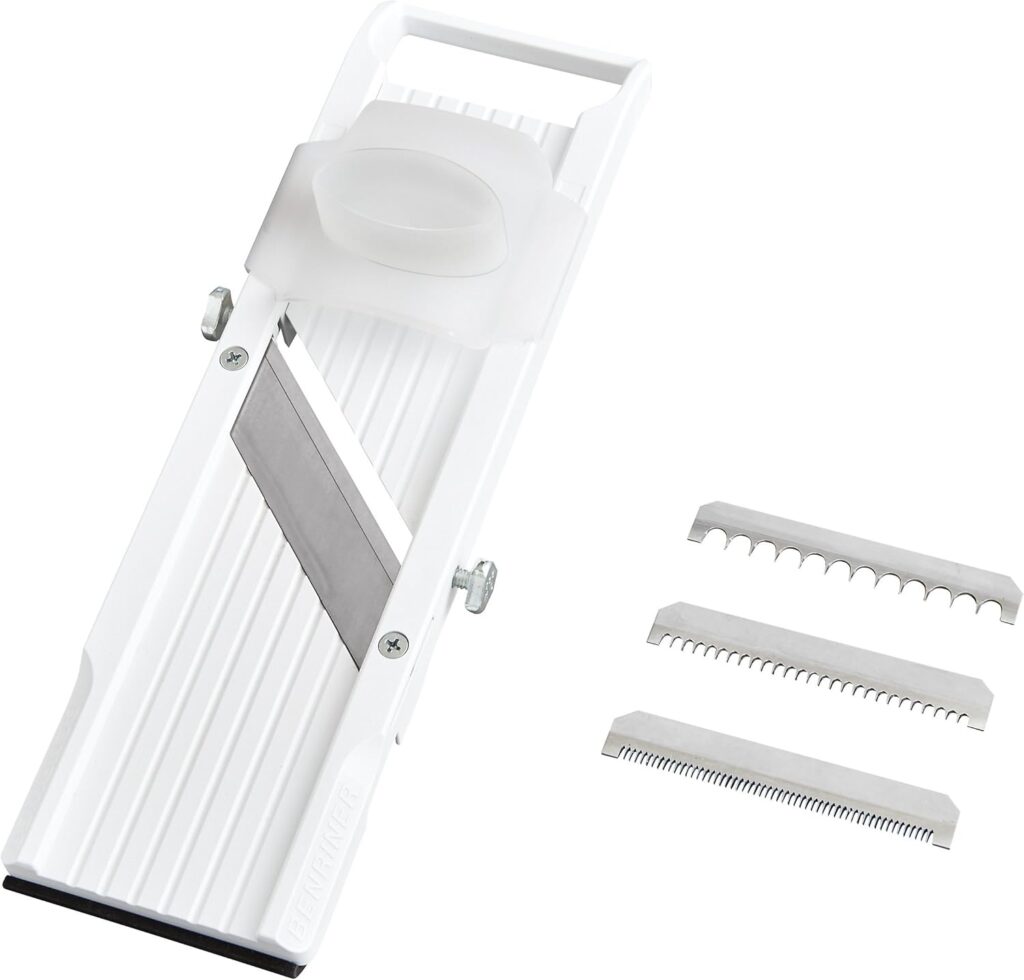
Use a mandoline to get ultra-thin slices—about 1/16-inch thick. I like them paper-thin and flexible (before cooking). Thin slices cook faster, become crispier, and have that perfect crunch many crave.
I slice the potatoes in half, which provides a flat surface for the mandoline. Slice all potatoes evenly for uniform cooking, which guarantees they fry at the same rate. Be careful when slicing. Make sure your fingers are stay away from the blade.
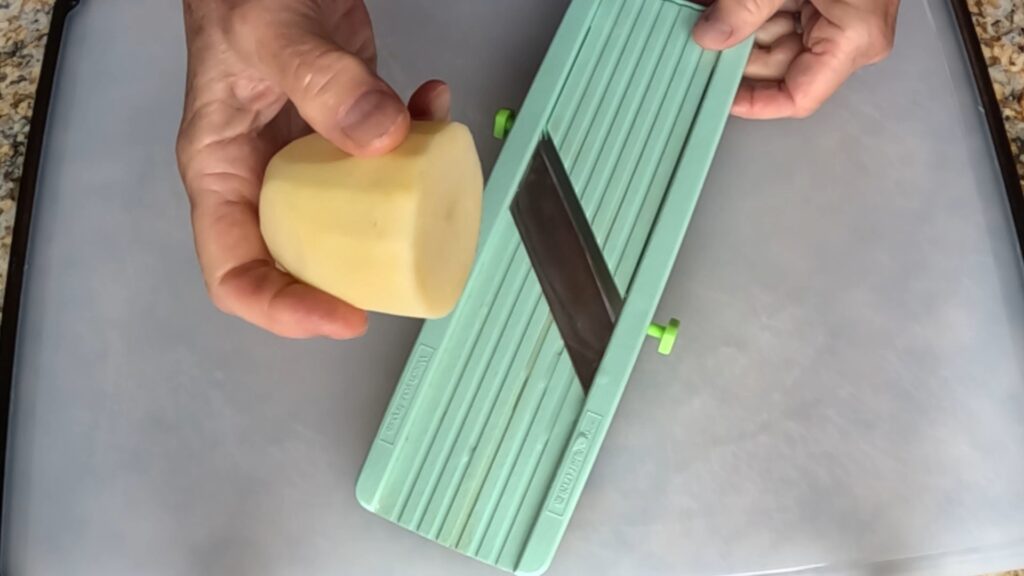
I have a fancy French mandoline that I never use. This one works great and cost far less than the French one.
Removing Excess Starch
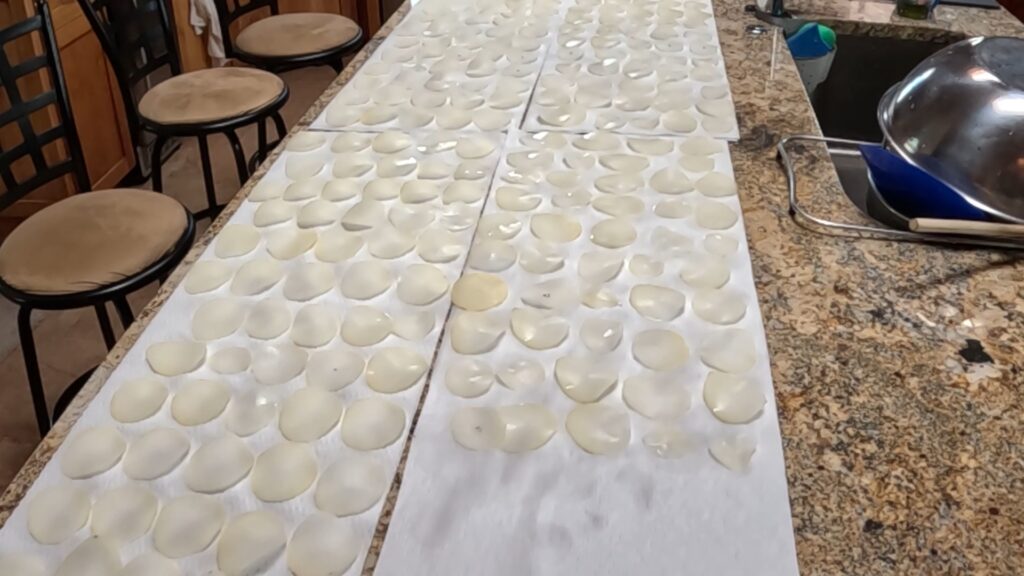
Place the sliced potatoes in ice water immediately after cutting, to prevent browning, which is first ice-water soak. This step helps remove surface starches that can cause chips to stick together or burn easily. Soaking also prevents browning before frying.
Soaking the Slices
For best results, after the initial soak, transfer the slices into a bowl of ice water to leach out more starch. Let the slices soak in ice water for about 20-30 minutes. This is the second soak. Gently stir the slices now and then to prevent sticking. This process significantly boosts the chips’ crunchiness, keeps the slices from turning brown before you cook them, and reduces the chances that the chips will stick together or burn while cooking.
Repeat the soak one more time, for 10-15 minutes, for a total of three ice-water soaks. After the third soak, the water should be pretty clear, not milky.
Drying and Blotting Potato Slices
Why Drying Matters
Moisture is the enemy of crispiness. Wet slices can cause oil splatters and make chips soggy. Proper drying ensures that your chips turn out golden, not greasy.
Drying Method
Lay the slices on paper towels in a single layer. Avoid stacking to allow air to circulate so they dry completely, and to prevent sticking together. Pat them gently with another towel to absorb surface water. This process might take some time, especially with a large batch, but it pays off (1-2 hours in a low-humidity environment, more where it’s humid). Make sure they are dry.
Climate Considerations
Humidity and temperature affect drying time. In warm, dry environments, slices dry faster—sometimes in about an hour. Humid places may need longer. Adjust your drying process accordingly to get the best results.
Deep Frying Perfect Potato Chips
Choosing the Right Oil
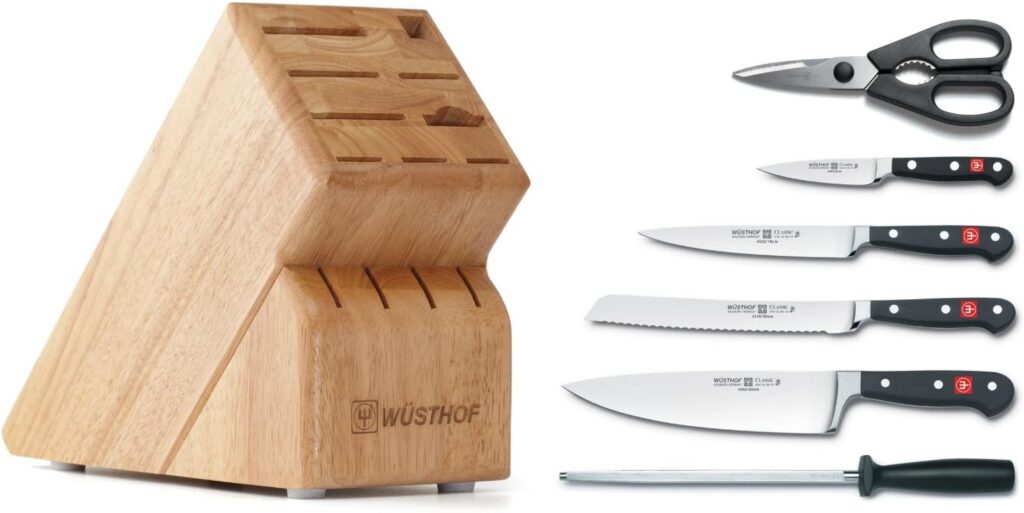
Opt for oils with high smoke points like canola or peanut (I like canola). Fill a deep pot with enough oil to fully submerge the slices—about an inch below the rim. More oil helps maintain consistent temperature and prevents overcrowding. Use at least 64 oz. of oil. I use a pan made for deep frying.
Choosing Equipment
Because you will be using at least 64 oz. of oil, you will need a pot deep enough to hold the oil with at least 1″ between the oil and the rim (preferably more). I use a pan made for deep frying. Here is a good, inexpensive deep fry pot.
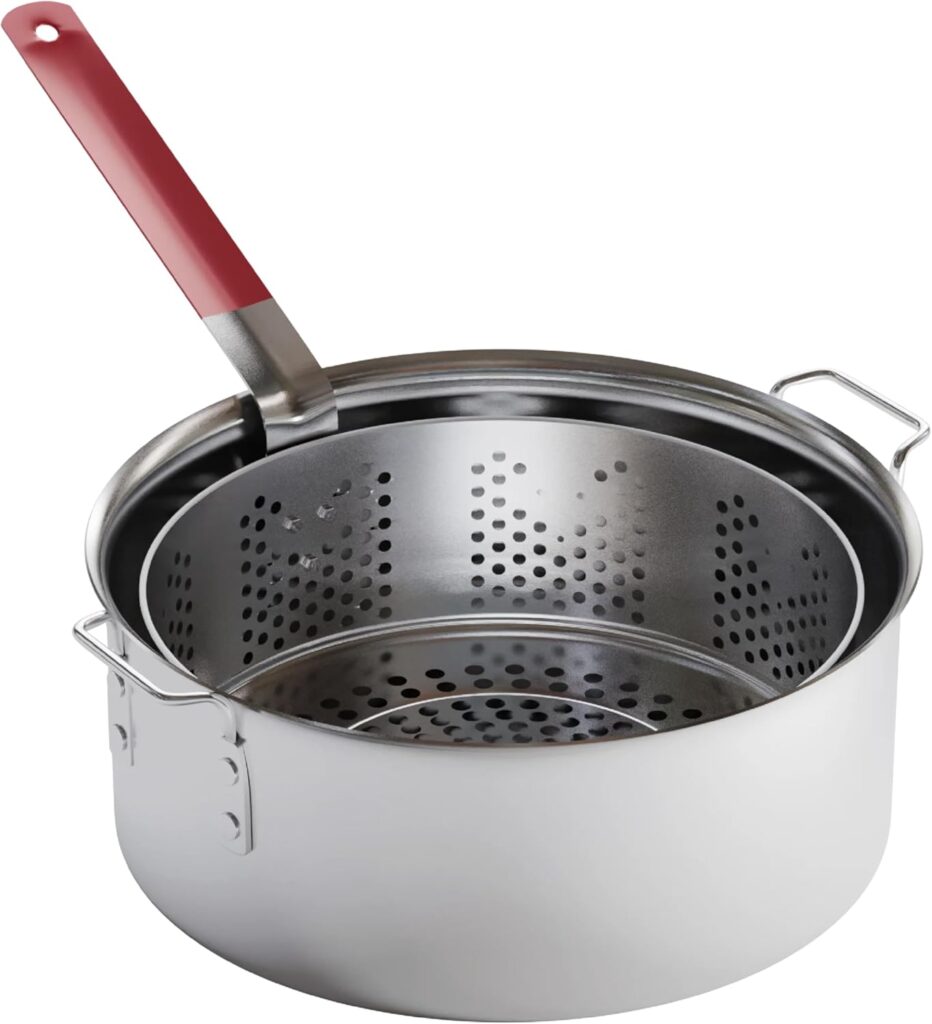
I prefer a pot like this over a gas burner because I can regulate the temperature by adjusting the flame. If you have an electric range, you may get better results from an electric deep fryer made for home use.

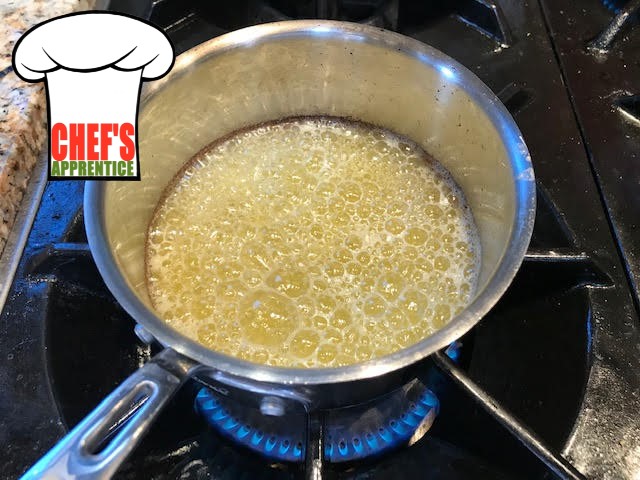
Setting the Correct Temperature
Heat the oil to 320°F and use a deep-fry thermometer to monitor the temperature. This temperature strikes a balance—hot enough to crisp without burning. Heat the oil slowly and control the flame so the oil temperature doesn’t shoot past 320F.
The next step is VERY important if you want golden (not brown) paper-thin chips: turn OFF the heat as soon as the temperature is reached and dump in the slices immediately (only enough to make a single layer).
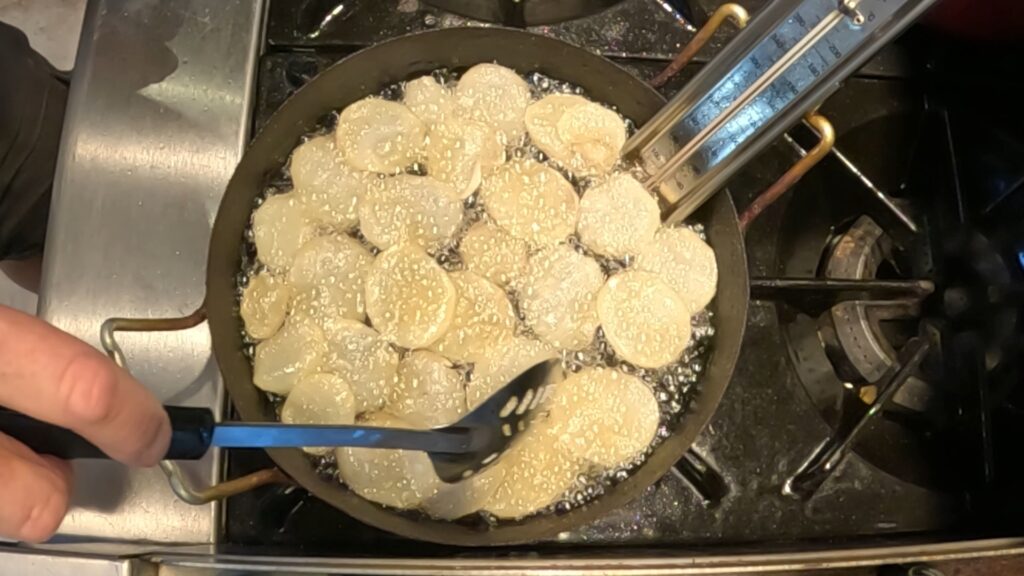
Cook the slices in batches of a single layer, to avoid sticking and dropping the heat of the oil too fast, before the chips cook. This technique is different from any that I have seen on the Internet or in cookbooks, but it works. Cooking the chips while the temperature drops allows moisture to cook out without cooking too fast and turning brown. If you leave the heat on while cooking, the chips will turn brown. If the temperature drops as low as 260F, turn the heat back on.
Frying in Batches
Drop slices into the oil gently, ensuring they spread out evenly in a single layer. Don’t overcrowd the pan—the chips need space to cook. Stir gently during frying to keep them separate. Watch for bubbles; when they slow down, it signals that chips are nearly done.
Timing Is Everything
Fry until bubbles almost stop appearing—that’s when chips are crispy and cooked through. This doesn’t take long, so watch carefully. If the pot has a basket, lift it out at this stage. If you have no basket, use a strainer that fits in your pot to scoop all of the chips out at the same time. Shake off excess oil before laying out the chips to cool. Be careful, the oil is very hot.
Cooling, Salting, and Storage
Cooling the Chips
Lay the hot chips on dry paper towels in a single layer, so they don’t steam each other. This cools them quickly and removes surface oil. Proper cooling locks in the crispy texture.
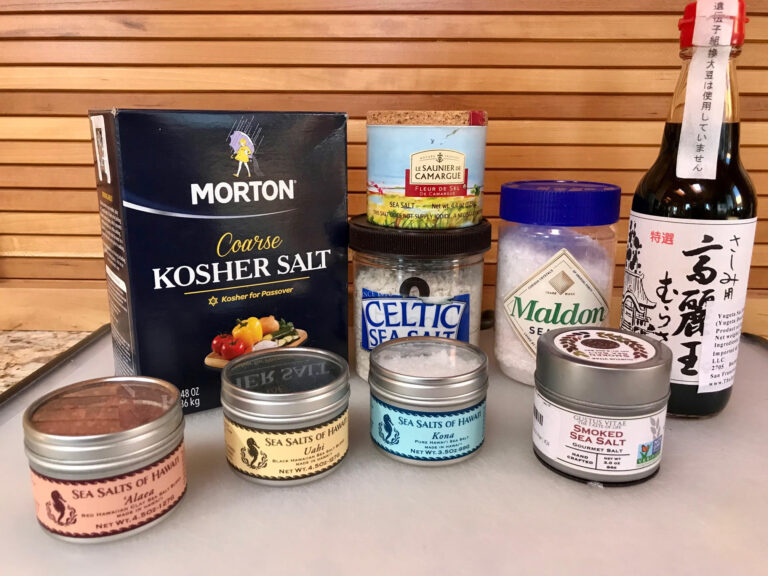
The Perfect Time to Salt
Sprinkle with salt while the chips are still warm. I use coarse Kosher salt. Salt sticks better when the surface is hot, enhancing flavor. Light seasoning is best.
Storing Your Chips
For the best crunch, store chips in a paper bag or a tin. Brown paper bags absorb excess oil and allow air exchange, keeping chips crispy longer. Avoid airtight containers if possible—trapped moisture can soften the chips quickly.
Consume the chips within a few days for optimal freshness. Storage is never an issue for me; the chips don’t last very long before they have all been eaten.
Tips for Achieving Different Results
Adjusting Frying Temperature
Frying paper-thin thin slices at 320°F or higher without turning off the burner results in darker, browner chips—great if you like a more toasted flavor. For lighter, golden chips, follow the method of heating to 320°F, then turning off the heat and adding slices.
Experimenting with Chip Thickness
Thicker slices take longer to cook and may have a chewier texture. Thin slices become crisp almost instantly. Try both to see which you prefer.
Customizing Flavor
Add herbs, spices, or even vinegar to seasonings after frying. Salt is classic, but paprika, garlic powder, or parmesan cheese can make your chips stand out. I’m a purist: I like salt only. Seasoning during frying can also work but be careful not to burn delicate spices.
Conclusion
Making crispy, golden homemade potato chips is easier than you think. The secret lies in selecting good potatoes, slicing them evenly, removing surface starch, drying, and controlling the frying temperature. Now, it’s your turn to experiment and make your perfect chip. Enjoy the satisfaction of munching on fresh, homemade chips that beat store-bought any day. Share your creations and watch them disappear fast!
Disclosure: As an Amazon Associate I earn from qualifying purchases. If you buy from a link on this site, I may earn a small commission from the vendor without any additional cost to you. No company pays me to say anything in particular, or to say nice things. I only stand behind products I believe in.
Ingredients
- 4 large russet potatoes, peeled (makes about 500 paper-thin chips)
- About 64 oz. canola oil or other high-smoke-point oil
- Kosher salt
Step-By-Step
- 1. Slice potatoes very thinly, about 1/16”; soak slices in ice water while slicing the remaining potatoes.
- 2. Soak potato slices in fresh ice water 20-30 minutes to leach out excess starch (so they don’t cook too fast and get too brown, and so they don’t stick together); stir gently from time-to-time to separate.
- 3. Change ice water and soak 10-15 minutes, stirring gently from time-to-time, so they don’t stick together.
- 4. Pat and dry slices in a single layer on paper towels until slices and paper towels are completely dry (use the same dry paper towels to cool the chips after frying).
- 5. Heat oil to 320F and turn off the heat.
- 6. Add a batch of slices immediately and all at once (roughly enough for one layer); stir to separate and form one layer; deep fry as temperature drops, stirring occasionally to keep them separate, until bubbles almost stop; if temperature hits 260F, turn heat back on low.
- 7. When golden, cool in one layer on paper towels so they don’t steam each other; salt while hot.
- 8. Store in brown paper bag or cookie tins.