John Hornick — Chef’s Apprentice
Introduction
Few things beat the aroma of freshly made chasu pork drifting over a steaming bowl of ramen. It’s a hallmark of Japanese cuisine, adding richness and depth to every bite. The secret to restaurant-quality chasu at home? It all comes down to good ingredients and a proper technique. Whether you’re a seasoned home cook or just starting out, this guide will walk you through every step—selecting the right pork, preparing a flavorful braising liquid, cooking it perfectly, and serving it in style. Ready to elevate your ramen game? Let’s get started.
Understanding Japanese Chasu Pork — The Essential Ramen Topping
Chasu pork is a special treat in ramen bowls, made by slow-cooking pork belly or shoulder until it’s tender and flavorful. Unlike other pork dishes, chasu is all about balance—rich fat, tender meat, and savory seasonings. It’s what gives ramen its signature flavor and melt-in-your-mouth texture.
Historically, chasu originated in Japan’s Chiba Prefecture and has become a beloved staple all across the country. Variations exist depending on region, with some adding spicy or smoky notes. The key to great chasu is understanding its role: a flavorful, juicy topping that harmonizes with the soup and noodles beneath.
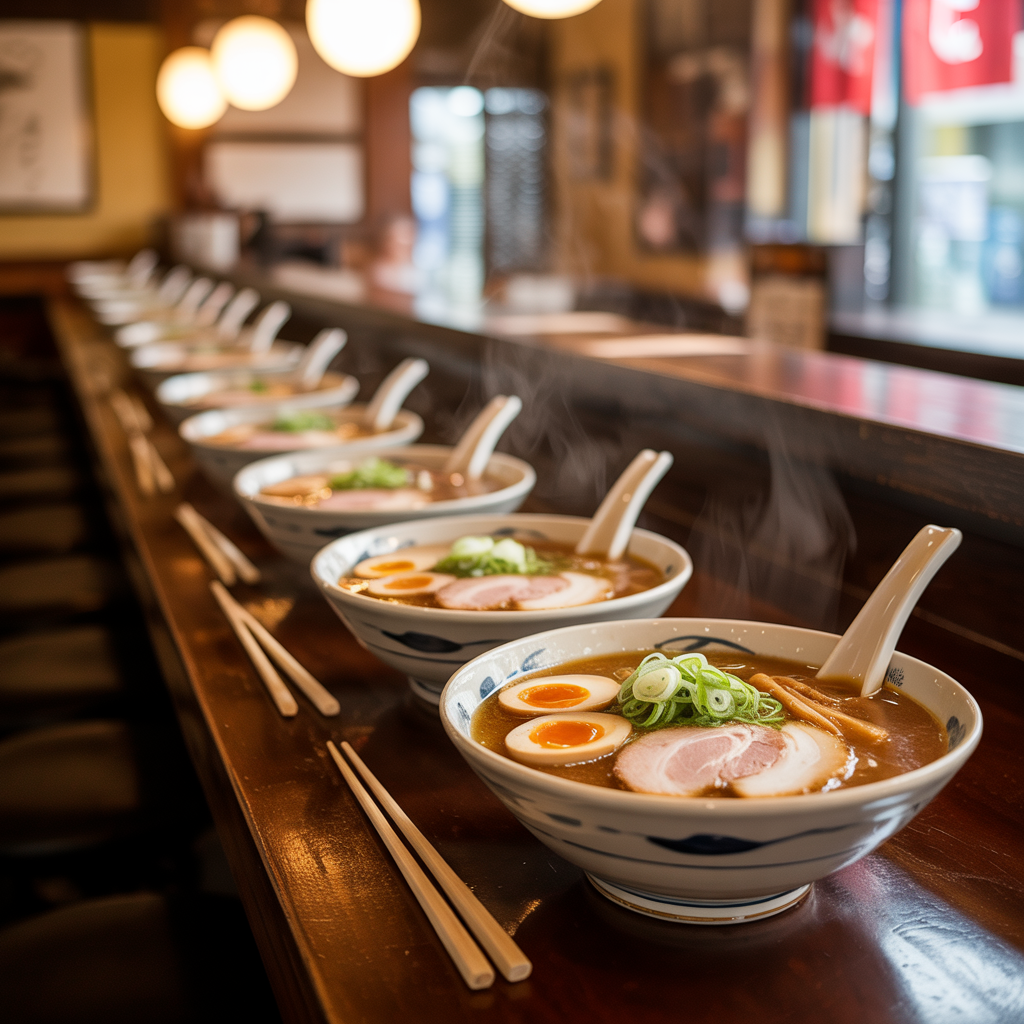
Experience Ramen with Chasu Pork in Japan
Maybe you’re heading to Japan and would like to experience ramen with chasu pork in a Ramen Ya (ramen shop/restaurant). Maybe you love food travel and have been struggling to decide your next destination. Maybe you would like to do a ramen crawl in Tokyo’s Shinjuku, area, famous for its nightlife. Maybe you would like to see if ramen in Japan is different than ramen in the U.S. If you fall into one of these categories, CLICK HERE TO PLAN YOUR JAPAN TRIP and CLICK HERE TO BOOK JAPANESE RAMEN ADVENTURES.
Selecting the Perfect Pork Cut for Chasu
Choosing the Right Pork Shoulder or Belly
The choice of pork greatly impacts your chasu’s texture and flavor. Pork belly is the classic pick—rich, fatty, and perfect for slow cooking. On the other hand, pork shoulder tends to be leaner but becomes very tender with proper cooking.
Aim for a good fat-to-meat ratio to get that melt-in-your-mouth feeling. Pork belly beats shoulder here, so if you use shoulder, pick a piece with good marbling.

Preparing the Marinade and Seasoning for Chasu
Key Braising Ingredients
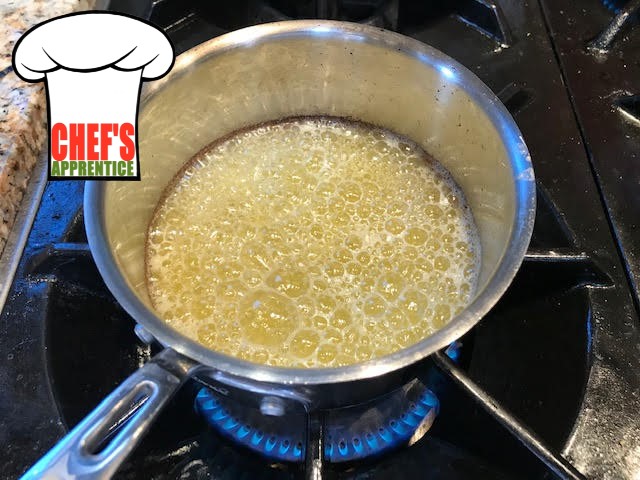
After browning the pork (see below), you will be adding the braising ingredients: shoyu (Japanese soy sauce), sake, mirin, garlic, and ginger. Scallions add a fresh note, balancing the savory elements. I mix these up in advance. The goal is to create an umami-rich braise.
Here’s my mix:
- 2/3 cup shoyu (Japanese soy sauce) (you don’t need expensive shoyu)
- 2/3 cup sake (use my 1-time “CHEF’S APPRENTICE” discount code at checkout)
- 2/3 cup mirin without high fructose corn syrup
- 10 garlic cloves, crushed
- 2 Tb. ginger, sliced
- About 5 scallions, diced
- ½ medium onion (quartered)
This mix should be enough for your pork, but if it looks like this amount of braising liquid will not cover the pork by at least half, then double the mix.
Tips for Infusing Flavor
I don’t usually marinate the pork before braising it, but marinating will infuse extra flavor. I find that braising the pork for 6 hours develops wonderful flavor without marinating. If you chose to do this step, marinate the pork in the braising liquid for at least four hours, but overnight is best for deeper flavor.
Cooking Techniques for Tender, Juicy Chasu
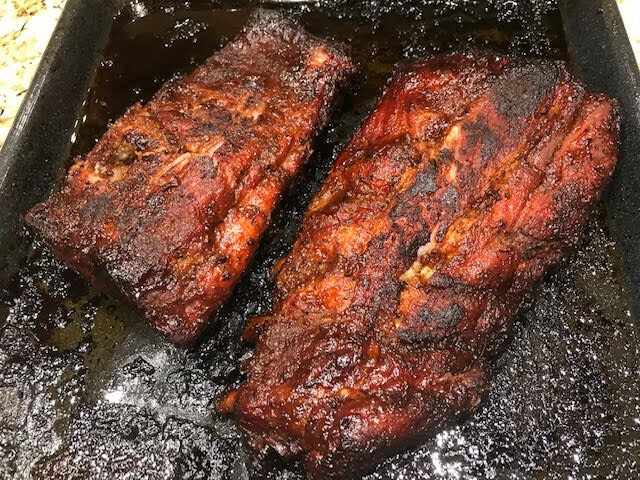
Browning the Pork
To begin building flavor, season the pork with salt and pepper, then brown it in your Dutch oven in a couple of tablespoons of a high-smoke-point oil. I use canola oil. This causes the Maillard Reaction, which increases flavor.

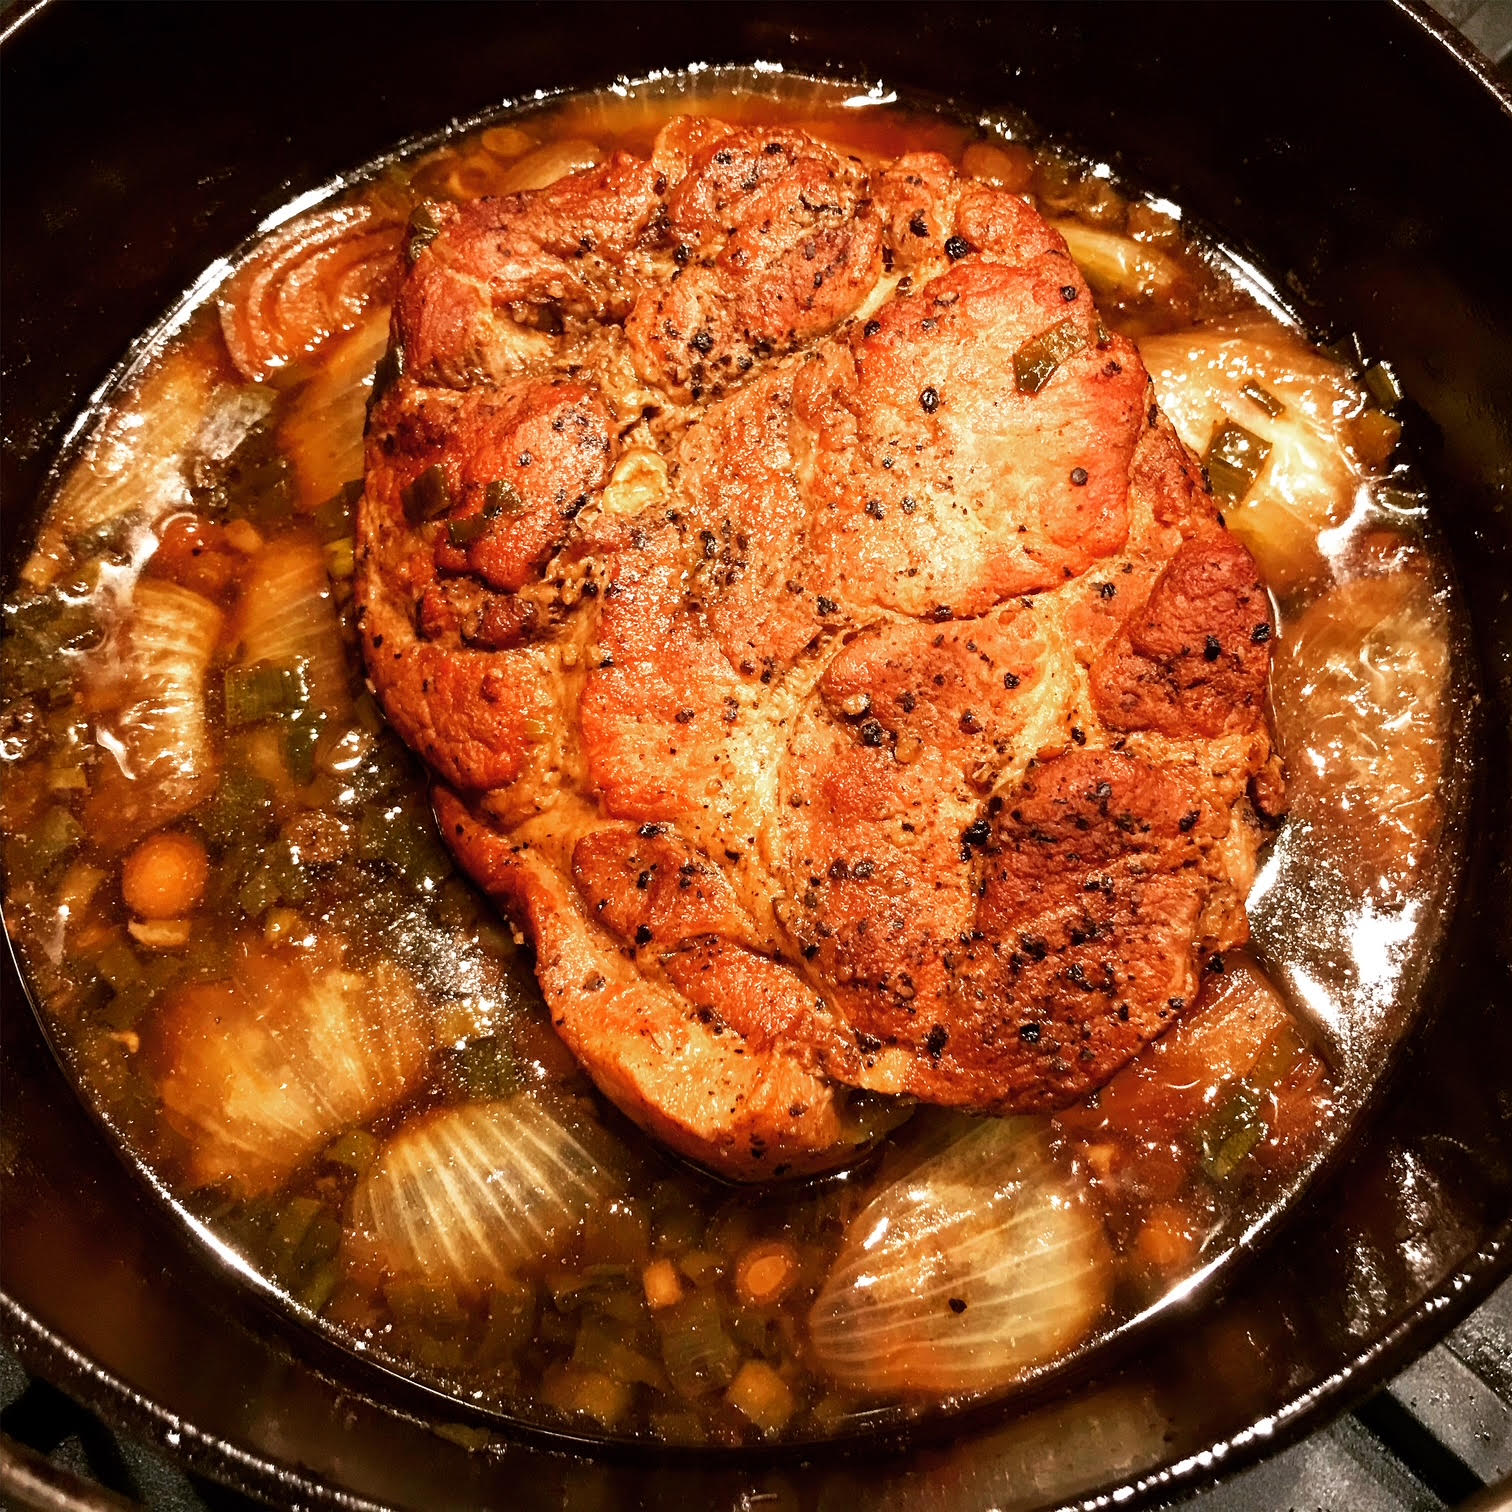
Braising Method
Slow braising is the gold standard. Preheat your oven to 250 F.
After browning the pork in the Dutch oven, add the braising liquid —to cover at least half-way-up the meat. If you don’t have this much braising liquid, mix up more. Place the lid on the Dutch oven and place the Dutch oven in the 250 F oven.
Roast the pork this way for 2 hours. This low and slow heat helps break down the collagen, making the meat tender and juicy.
After 2 hours, turn the pork and roast it for 2 more hours. After the second 2 hours, turn the pork and roast it for 1 more hour (for a total of 5 hours so far).
During the fifth hour, I cook hard boiled eggs in the braising liquid, which can later be halved or sliced as a ramen topping.
After the fifth hour, turn the pork and roast for 1 more hour (for a total of 6 hours).
After the sixth hour, remove the eggs and chill them in the fridge. Cool the pork in the broth, in the fridge. This is important. It allows the flavors, which were drawn out of the meat into the broth, to be reabsorbed into the pork. After chilling for about 1 hour, remove the pork before the fat congeals. Continue chilling the pork, wrapped in plastic.
Now strain the solids out of the broth, discard the solids, and chill the broth. After the fat rises to the surface and congeals, remove and discard it. Use the broth for making your ramen broth.
See my video Ramen 1: Chasu Pork.
Alternative Cooking Methods
- Oven roasting: Wrap the marinated pork in foil, set the oven to 300°F, and cook for about 2 hours. The foil keeps the meat moist. But I don’t think the results are as good with this method as they are with the low-and-slow Dutch oven method.
- Sous-vide: Vacuum seal the pork in a bag, set your immersion cooker to 165°F, and cook for 3-4 hours. Perfect for precise tenderness. This method works very well, but I still prefer the Dutch oven method for restaurant-quality chasu pork.
Serving and Incorporating Chasu into Ramen
Slicing and Presentation
If the pork is tied, remove the twine. Slice the pork about 1/8″ to 1/4″ thick while the pork is still cold. Use a sharp knife and don’t saw the meat. Thin slices highlight the tender texture and make every bite melt in your mouth. Warm the pork just before serving. Tightly wrap and remaining pork in plastic wrap.
Expert Insights and Proven Tips for Perfect Chasu
Avoid high heat; low and slow is the way to go.
A common mistake is slicing the meat too thick. Always slice thinly for the best ramen experience. Remember, quality ingredients and attention to detail elevate homemade chasu from ordinary to extraordinary.
See my videos on making ramen noodles from scratch, making ramen noodles from scratch, making shoyu-based broth, making my Anybones broth, making Chasu chicken, and ramen assembly and vegetables.
Conclusion
Making authentic Japanese chasu pork at home is about balancing patience with precision. From choosing the right cut to slow-cooking it for hours, each step enhances the flavor and tenderness. Think of it as crafting a gift—attention to detail makes all the difference. With a little practice, your homemade chasu will taste like it came from a top ramen shop. So, gather your ingredients, take your time, and enjoy the process. Your perfect bowl of ramen is just a few steps away.
Disclosure: As an Amazon Associate I earn from qualifying purchases. If you buy from a link on this site, I may earn a small commission from the vendor without any additional cost to you. No company pays me to say anything in particular, or to say nice things. I only stand behind products I believe in.
Ingredients
- 3-4 lbs. pork shoulder or pork belly, preferably tied
- About 2 Tb. canola oil
- 2/3 cup shoyu (Japanese soy sauce)
- 2/3 cup mirin without high fructose corn syrup
- 2/3 cup sake (use my 1-time “CHEF’S APPRENTICE” discount code at checkout)
- 10 large cloves garlic, crushed
- About 5 scallions, diced
- About 2 Tb. ginger, sliced
- ½ medium onion, quartered
- 2 hard boiled eggs
Step-By-Step
Serves 8
Preparation time: 7-8 hours, plus optional marinating overnight, plus chilling the broth overnight (this would be a total of two nights)
- 1. Heat oven to 250 F
- 2. Season pork
- 3. Brown pork in high-smoke-point oil, in Dutch oven
- 4. Add 2/3 cup shoyu, 2/3 cup mirin, 2/3 cup sake, ~10 large crushed garlic cloves, ~ 5 diced scallions, ½ medium onion (quartered), ~2 Tb. sliced ginger.
- 5. Roast covered 2 hrs.
- 6. Turn pork, roast 2 more hours.
- 7. Turn pork, add hard boiled eggs, then roast 1 more hour.
- 8. Turn pork, then roast 1 more hour.
- 9. Remove eggs; chill eggs until ready to serve
- 10. Cool pork in broth, in fridge; remove pork before fat congeals; chill pork.
- 11. Strain broth; chill broth.
- 12. Remove fat layer; keep broth for making ramen broth.
- 13. Remove twine; slice and warm pork when ready to serve.
- 14. Wrap pork tightly in plastic wrap